 Skip to content
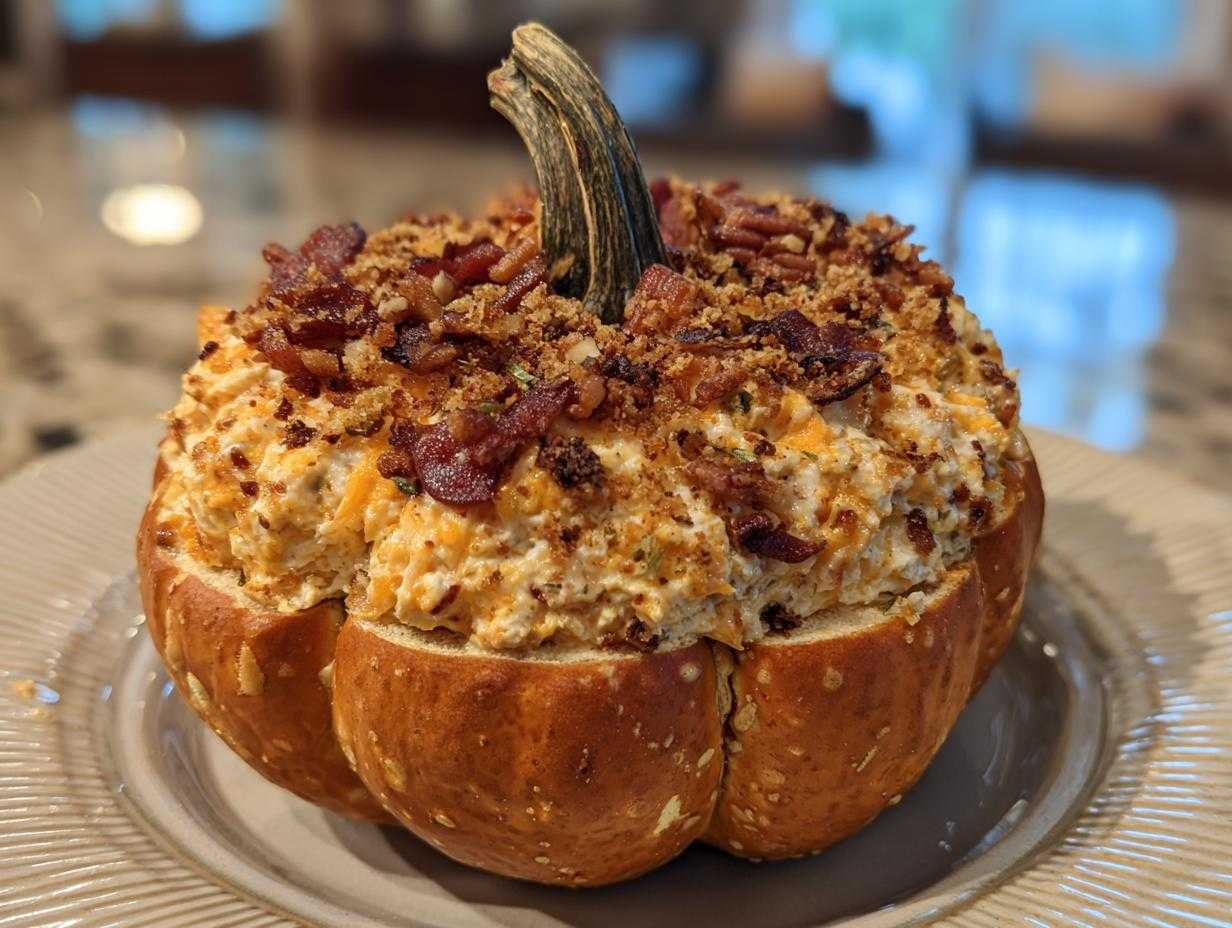

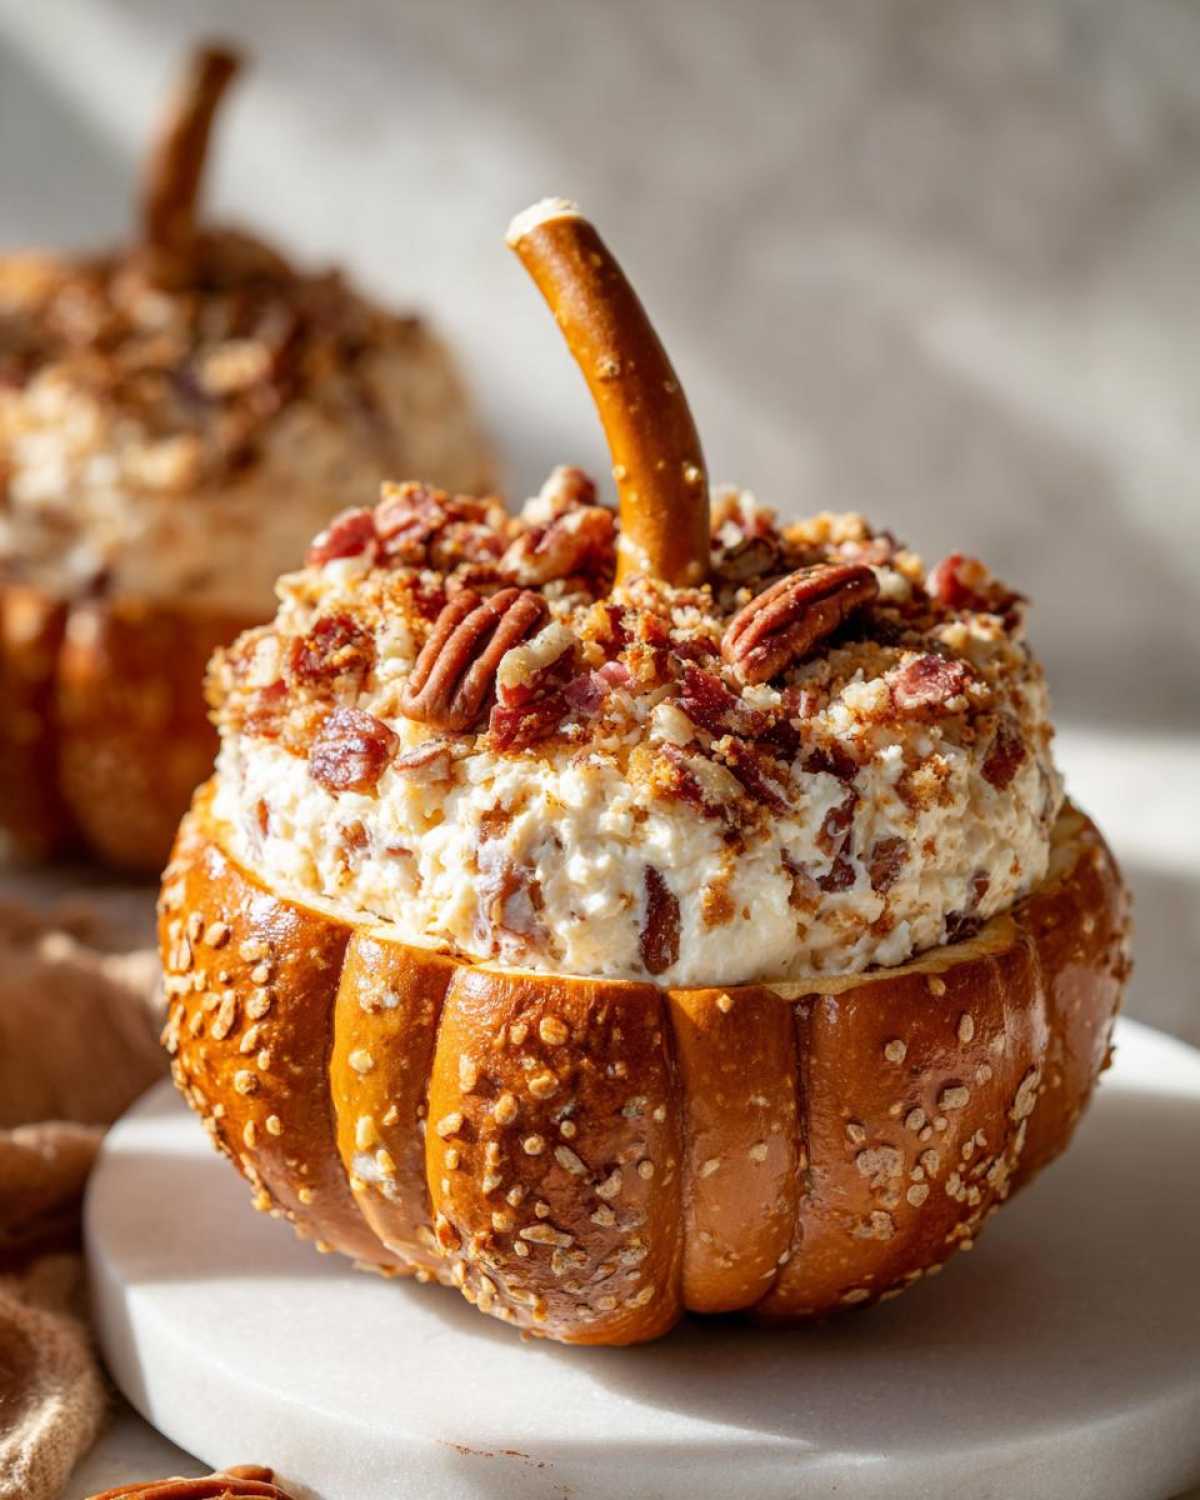
Okay, you guys, seriously – get ready to wow your guests with the most adorable and delicious appetizer you’ll make all season! This pumpkin cheese ball is hands-down my favorite way to kick off fall gatherings. It’s got that perfect blend of creamy, savory goodness with sharp cheddar and smoky bacon, all shaped into the cutest little pumpkin you ever did see. It’s that kind of simple, joyful food I love to share, just like how I discovered cooking can bring peace even when life gets crazy. If you’re looking for a festive, make-ahead-friendly bite that doesn’t require a chef’s degree, you’ve come to the right place. Trust me, this one’s a keeper!
- Why You'll Love This Pumpkin Cheese Ball Recipe
- Gather Your Ingredients for the Perfect Pumpkin Cheese Ball
- Crafting Your Festive Pumpkin Shaped Cheese Ball
- Tips for a Perfect Cheddar Bacon Cheese Ball
- Serving Your Fall Cheese Appetizer
- Storing and Reheating Your Make Ahead Cheese Ball
- Frequently Asked Questions About This Pumpkin Cheese Ball
- Estimated Nutritional Information
- Share Your Festive Creations
Why You’ll Love This Pumpkin Cheese Ball Recipe
Seriously, this pumpkin cheese ball is a total winner, and here’s why:
- Festive Fall Presentation: It looks SO CUTE! Like a little edible decoration for your table. Perfect for Halloween parties or Thanksgiving dinner, it just screams fall.
- Make-Ahead Convenience: You can totally whip this up the day before your party. That means less stress on the big day and more time to actually enjoy yourself.
- Irresistible Cheddar Bacon Flavor: The combo of sharp cheddar, crispy bacon, and that creamy base is just heavenly. It’s savory, a little smoky, and so addictive.
- Gluten-Free Friendly Serving Options: Serve it with some gluten-free crackers or crisp apple slices, and everyone can dig in!
Gather Your Ingredients for the Perfect Pumpkin Cheese Ball
Alright, let’s get our kitchen ready! To make this amazing pumpkin cheese ball, you’ll need just a few simple, good-quality ingredients. Having everything measured out makes the whole process a breeze, trust me. You’ll want 8 ounces of cream cheese, make sure it’s nice and soft so it mixes up easily – take it out of the fridge a little bit before you start. Then, grab 4 ounces of sharp cheddar cheese, shredded nice and fine, and about 2 ounces of Gruyere cheese, also shredded. Oh, and don’t forget 2 slices of bacon, cooked until perfectly crisp and then crumbled up. We’ll also add in 1/4 cup of finely chopped pecans for a little texture, plus 1/4 teaspoon of garlic powder and just a pinch of smoked paprika for that warmth. A little salt and black pepper to taste, of course! And for the cute stem, grab a pretzel stick or a small piece of celery. Sometimes I even tuck in a little fresh parsley or chives around the stem to make it look like leaves!
Crafting Your Festive Pumpkin Shaped Cheese Ball
Alright, let’s get this party started! Making your own adorable pumpkin shaped cheese ball is actually super easy, I promise. It’s all about getting that yummy cheese mixture just right and then giving it a little shape magic. Follow these steps and you’ll have a showstopper in no time!
Combining the Savory Base
First things first, grab your biggest mixing bowl. Toss in that softened cream cheese, your shredded sharp cheddar and Gruyere, all that glorious crumbled bacon, the chopped pecans, plus the garlic powder and smoked paprika. Now, get in there with a spoon, or honestly, your hands work best for this part! Mix it all up until everything is just perfectly combined. You want it all blended, no big pockets of just one ingredient. Make sure to season it with salt and pepper to your liking – I always give it a little taste test here.
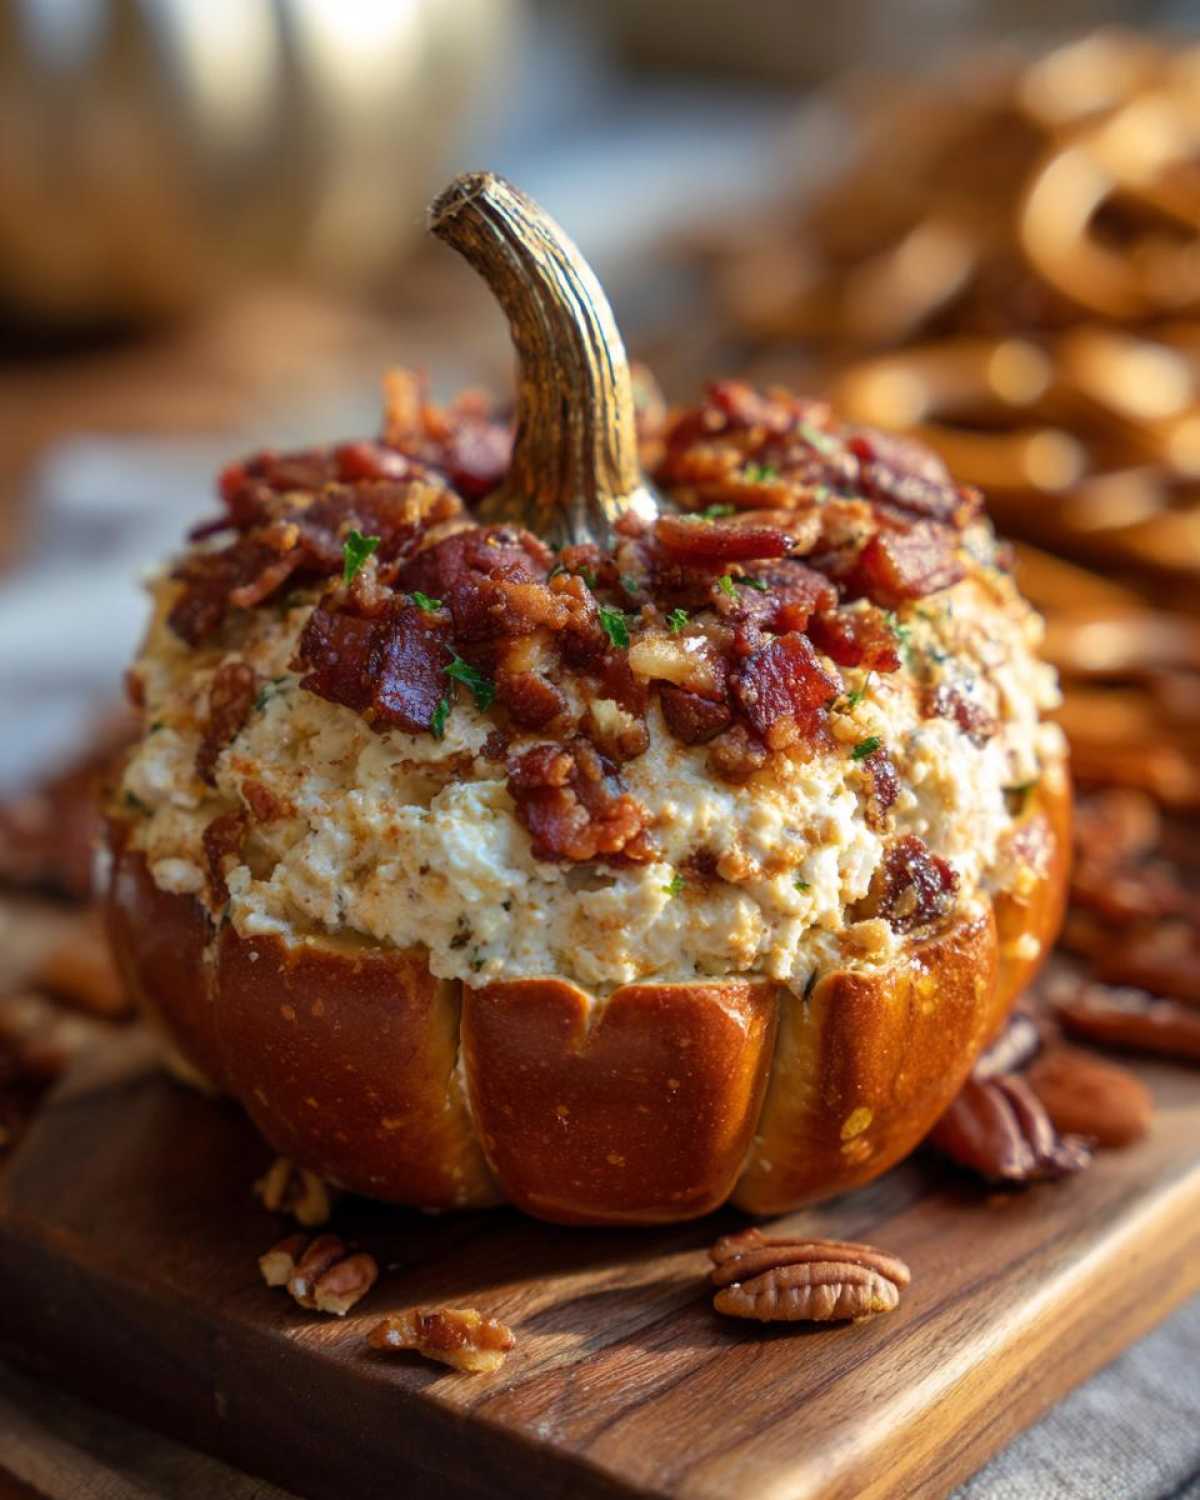
Shaping Your Pumpkin Cheese Ball
Once everything is happily mixed, lay out a big piece of plastic wrap. Dump your cheesy mixture onto the center of it. Now, here’s where the pumpkin magic happens! Use your hands to gently start shaping the mixture. You want to form it into a nice, round ball first, and then gently press down on the bottom so it has a bit of a flat side. This helps it sit nicely on your serving platter and look more like a real pumpkin! Just take your time, you don’t want it to get *too* messy, but it doesn’t have to be perfectly smooth either – a little rustic charm is good!
Chilling for Perfect Form
This step is super important, don’t skip it! Once you’ve got your pumpkin shape all nice and neat, wrap it up tightly in that plastic wrap. Tuck it into the fridge for at least 2 hours. This lets all those yummy flavors meld together and, more importantly, firms everything up so your pumpkin cheese ball holds its shape when you serve it. Honestly, you can even do this the day before!
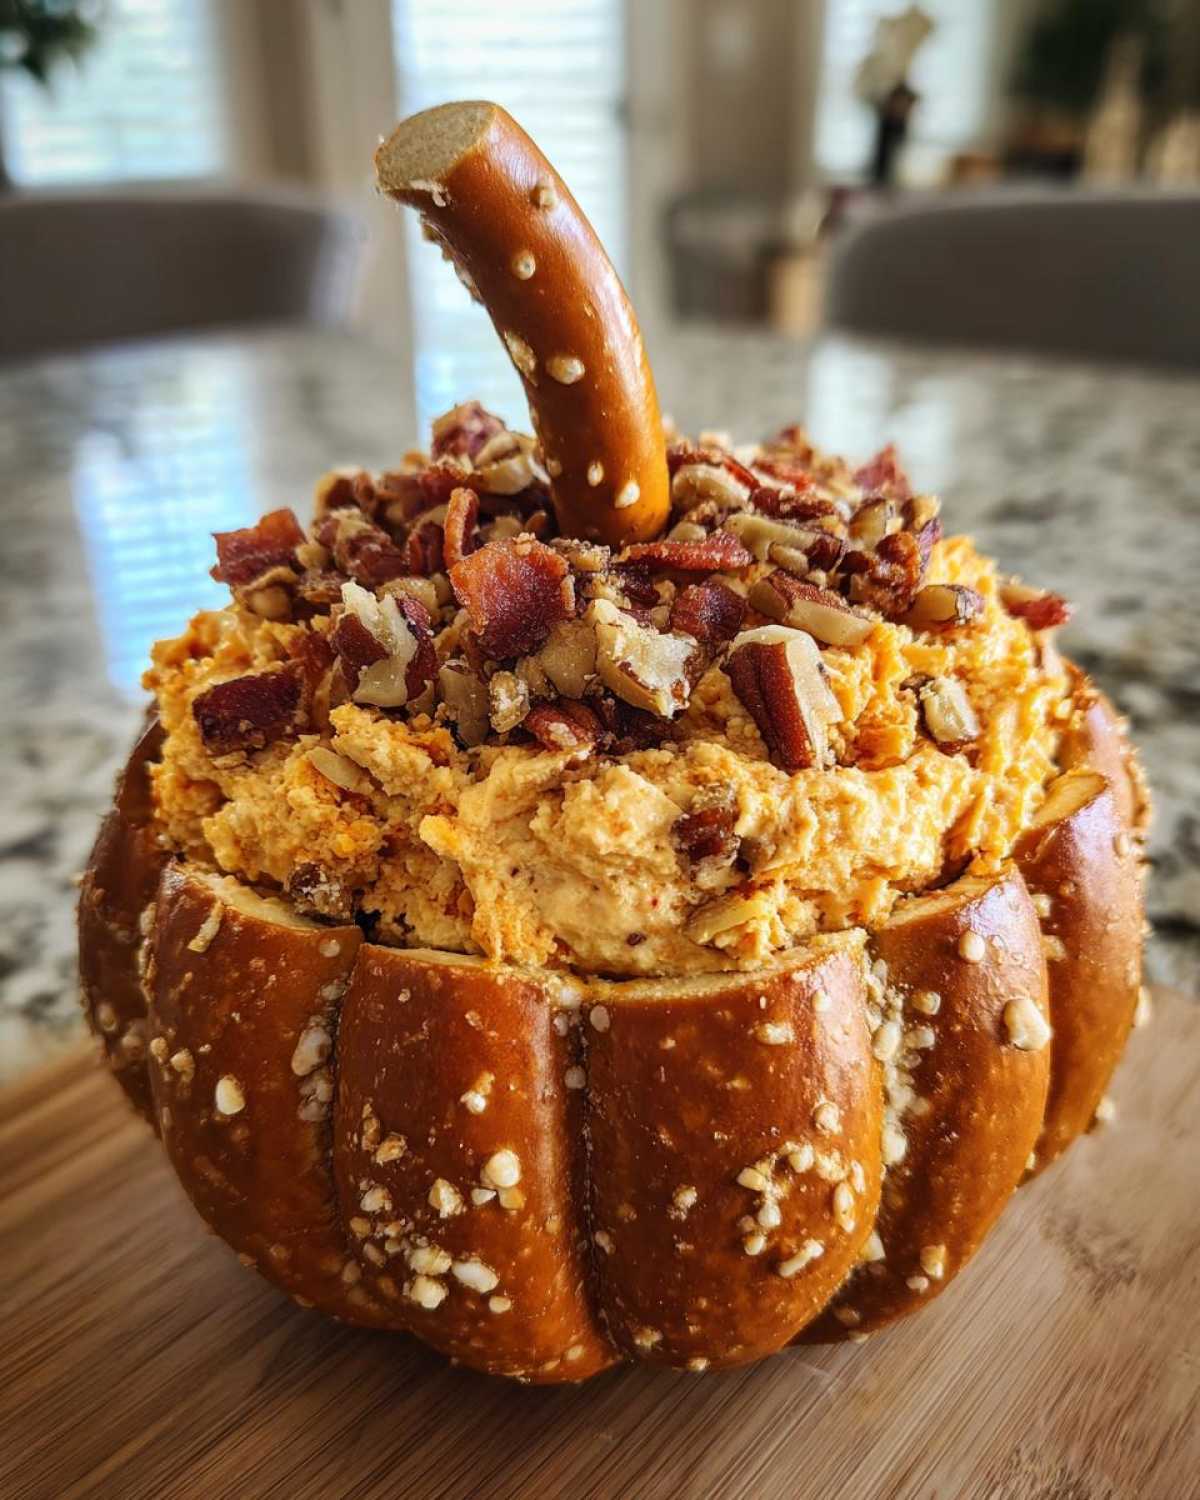
Adding the Finishing Touches
Okay, the moment of truth! Once your cheese ball is nice and firm, carefully unwrap it. Now for the stem! Gently push a pretzel stick straight into the top center. You could also use a small piece of celery if you prefer. If you’re feeling fancy, tuck a few sprigs of fresh parsley or some chopped chives around the stem to make it look like little leaves. It just adds that extra bit of charm to your Halloween pumpkin appetizer or Thanksgiving centerpiece!
Tips for a Perfect Cheddar Bacon Cheese Ball
Want to make sure your cheddar bacon cheese ball is absolute perfection? You’ve got it! A few little tricks can elevate this gorgeous pumpkin from great to *chef’s kiss* amazing. It’s all about those small details that make a big difference, just like Alex says about finding joy in simple, delicious food. Let’s dive into a couple of my favorite tips to get it just right!
Achieving the Best Texture
The secret to that super smooth yet perfectly firmed-up texture in your pumpkin cheese ball is all about ingredient temperature. Make sure that cream cheese and the other shredded cheeses are nice and soft, at room temperature. This makes them blend so much better without getting clumpy. Also, don’t overmix once the dry ingredients like pecans and spices go in; just mix until everything is combined. That way, you’re not making it tough, just perfectly creamy and ready to chill into shape.
Creative Pumpkin Cheese Ball Variations
While this cheddar bacon cheese ball is fantastic as is, sometimes it’s fun to play around! Feeling adventurous? Try swapping out some of the cheddar for a spicy pepper jack, or even some Monterey Jack for a milder flavor. A little pinch of cayenne pepper in the mix adds a lovely warmth that’s perfect for a fall cheese appetizer. You could even add a tiny bit of Dijon mustard for a zesty kick. And for the pecans, toasted walnuts or even pepitas work wonderfully too! It’s about making it your own delicious creation.
Serving Your Fall Cheese Appetizer
Now that you’ve got this beautiful pumpkin cheese ball ready to go, let’s talk about how to serve it up so everyone devours it! Presentation is key, especially with something this cute. I love placing it right in the center of a platter. For pairings, you can never go wrong with a mix of crunchy textures. Think about some gluten-free crackers, of course, but also crisp apple slices – they add a lovely freshness that cuts through the richness. Some folks even use fresh veggie sticks like carrots or celery around it. It really makes your Thanksgiving cheese ball pop!
Storing and Reheating Your Make Ahead Cheese Ball
So you’ve got some delicious pumpkin cheese ball leftover? Lucky you! Or maybe you made it the day before to save time, which is totally the way to go. Keeping it fresh is super easy. Just wrap it up really tight in plastic wrap, making sure there are no air pockets, and pop it back in the fridge. It’ll stay tasty for a good couple of days that way. As for reheating, you actually don’t need to! It’s meant to be served cold or at room temperature, so just pull it out of the fridge about 30 minutes before you plan to serve it again. It’s perfect for snacking whenever the craving hits!
Frequently Asked Questions About This Pumpkin Cheese Ball
Got questions about crafting the perfect pumpkin cheese ball? I’ve got you covered! It’s all about making things easy and delicious.
Can I make this pumpkin cheese ball ahead of time?
Absolutely! This is totally one of those recipes you can prepare in advance, which is a lifesaver for entertaining. Just shape it, wrap it up tight in plastic wrap, and pop it in the fridge. It’ll keep perfectly for up to two days, so you can have it ready to go whenever your guests arrive. So handy!
What are good gluten-free dippers for a pumpkin cheese ball?
Oh, for sure! Serving this with gluten-free options is super simple. Besides the gluten-free crackers we mentioned, crisp apple slices are fantastic—they give a little sweet crunch. Carrot sticks, cucumber slices, or bell pepper strips also work wonderfully and add a nice freshness that balances out the rich cheese.
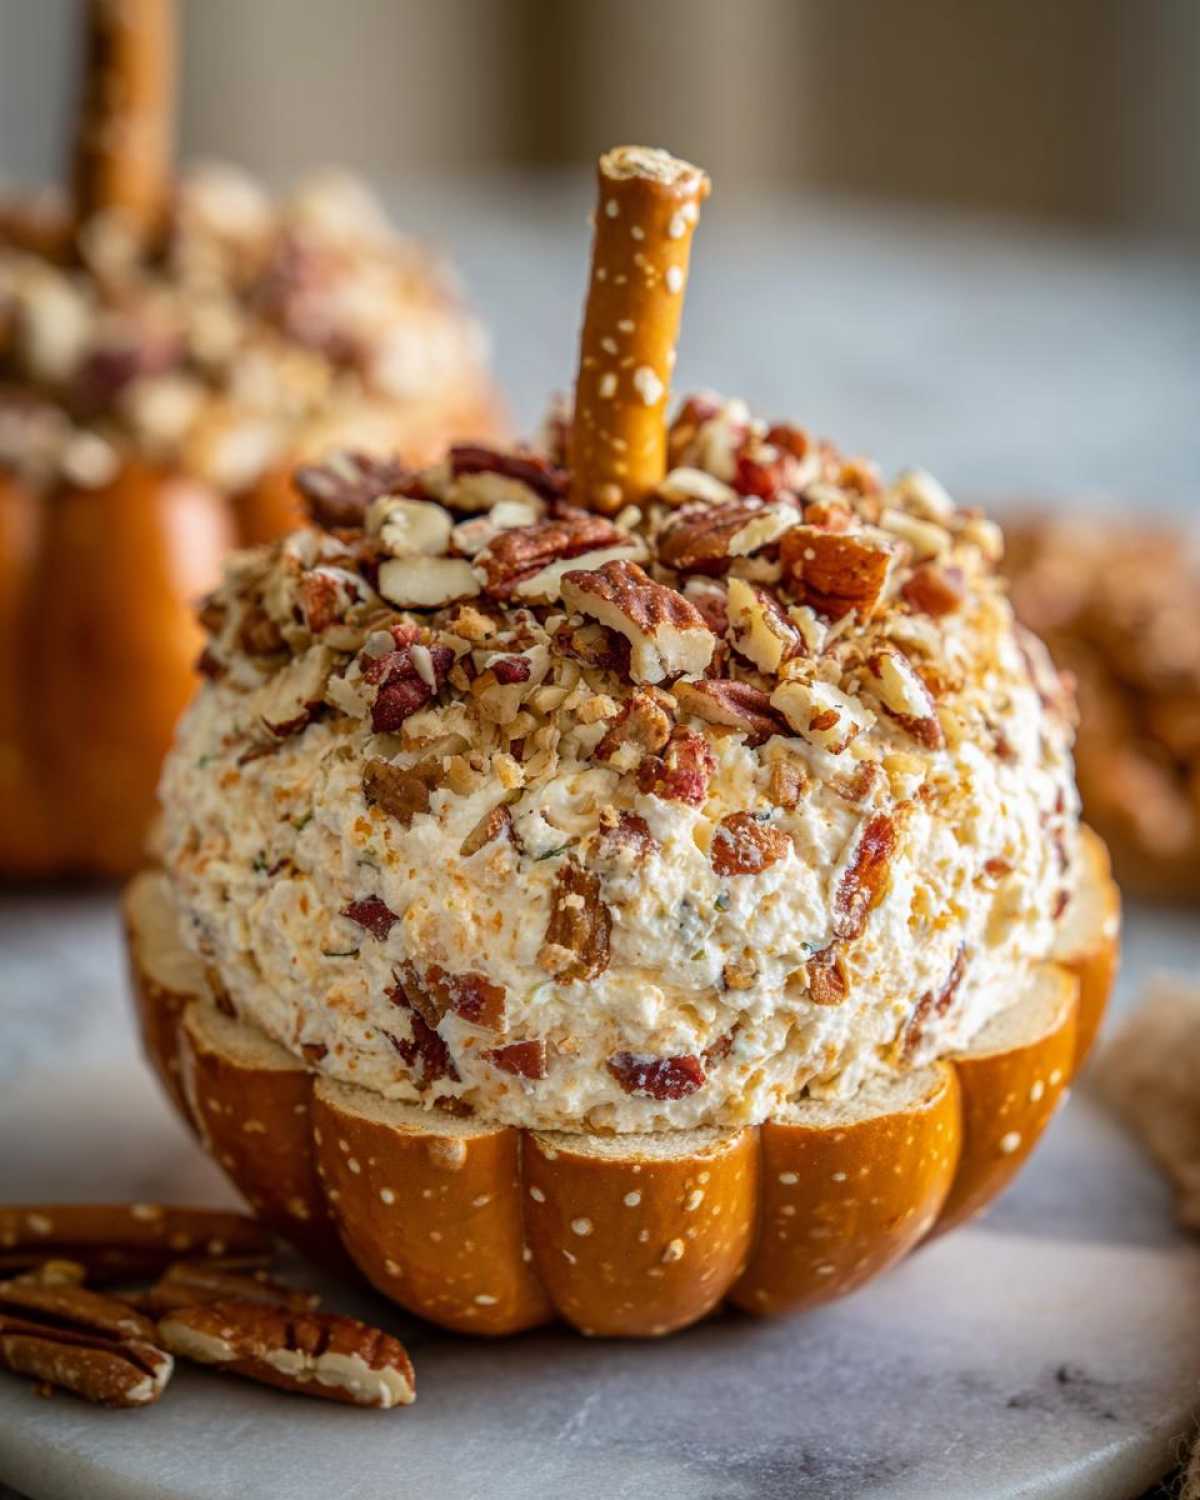
How do I get the pumpkin shape just right?
Honestly, don’t stress too much about it being *perfectly* round! The key is to shape it into a ball first, then gently flatten the bottom so it sits nicely. You can even use the back of a spoon or your finger to make slight indentations around the sides to mimic pumpkin ridges if you’re feeling artsy. And that pretzel stick stem really sells the whole look!
Estimated Nutritional Information
Just a heads-up, the nutritional information for this amazing pumpkin cheese ball is an estimate, you know? It can totally vary based on the specific brands of ingredients you use and how big your serving is. But generally, a serving (about 2 tablespoons) usually comes in around 150 calories, with about 13 grams of fat, 7 grams of protein, and only 3 grams of carbs. It’s a pretty satisfying bite for how simple it is!
Share Your Festive Creations
Now that you’ve got all the tips and tricks for making this adorable pumpkin cheese ball, I really hope you give it a try for your next fall party! When you do, please let me know how it turned out! Drop a comment below, and I’d love to hear your thoughts or any little tweaks you made. And if you snap a pic of your gorgeous creation, tag me on social media – I absolutely love seeing your kitchen successes!
Recipe inspired by Taste of Home.
PrintPumpkin Shaped Cheese Ball

Create a festive pumpkin-shaped cheese ball appetizer perfect for fall gatherings. This cheddar and bacon cheese ball is easy to make ahead and looks impressive on your holiday table.
- Prep Time: 20 min
- Cook Time: 10 min
- Total Time: 2 hr 30 min
- Yield: 8–10 servings 1x
- Category: Appetizer
- Method: No Bake
- Cuisine: American
- Diet: Vegetarian
Ingredients
- 8 ounces cream cheese, softened
- 4 ounces sharp cheddar cheese, shredded
- 2 ounces Gruyere cheese, shredded
- 2 slices bacon, cooked and crumbled
- 1/4 cup finely chopped pecans
- 1/4 teaspoon garlic powder
- 1/8 teaspoon smoked paprika
- Salt and black pepper to taste
- For Decoration:
- Pretzel sticks or a small piece of celery for the stem
- Fresh parsley or chives for leaves (optional)
- Gluten-free crackers or apple slices for serving
Instructions
- In a medium bowl, combine the softened cream cheese, shredded cheddar cheese, shredded Gruyere cheese, crumbled bacon, chopped pecans, garlic powder, and smoked paprika.
- Season with salt and black pepper to your preference.
- Mix all ingredients together until well combined. You can use a spoon or your hands.
- On a piece of plastic wrap, shape the cheese mixture into a ball.
- Continue shaping the ball into a pumpkin form, slightly flattened on the bottom.
- Wrap the cheese ball tightly in plastic wrap.
- Refrigerate for at least 2 hours, or until firm. This step is crucial for holding its shape.
- Before serving, unwrap the cheese ball.
- Insert a pretzel stick or a piece of celery into the top center to create a stem.
- If desired, garnish with fresh parsley or chives around the stem to resemble leaves.
- Serve with gluten-free crackers, apple slices, or your favorite dippers.
Notes
- For a smoother texture, you can use a food processor to combine the ingredients.
- You can add a pinch of cayenne pepper for a little heat.
- This cheese ball can be made up to 2 days in advance and kept refrigerated.
- Experiment with different cheese combinations like Monterey Jack or Colby.
Nutrition
- Serving Size: 2 tablespoons
- Calories: 150
- Sugar: 1g
- Sodium: 200mg
- Fat: 13g
- Saturated Fat: 8g
- Unsaturated Fat: 5g
- Trans Fat: 0g
- Carbohydrates: 3g
- Fiber: 0g
- Protein: 7g
- Cholesterol: 40mg
