 Skip to content
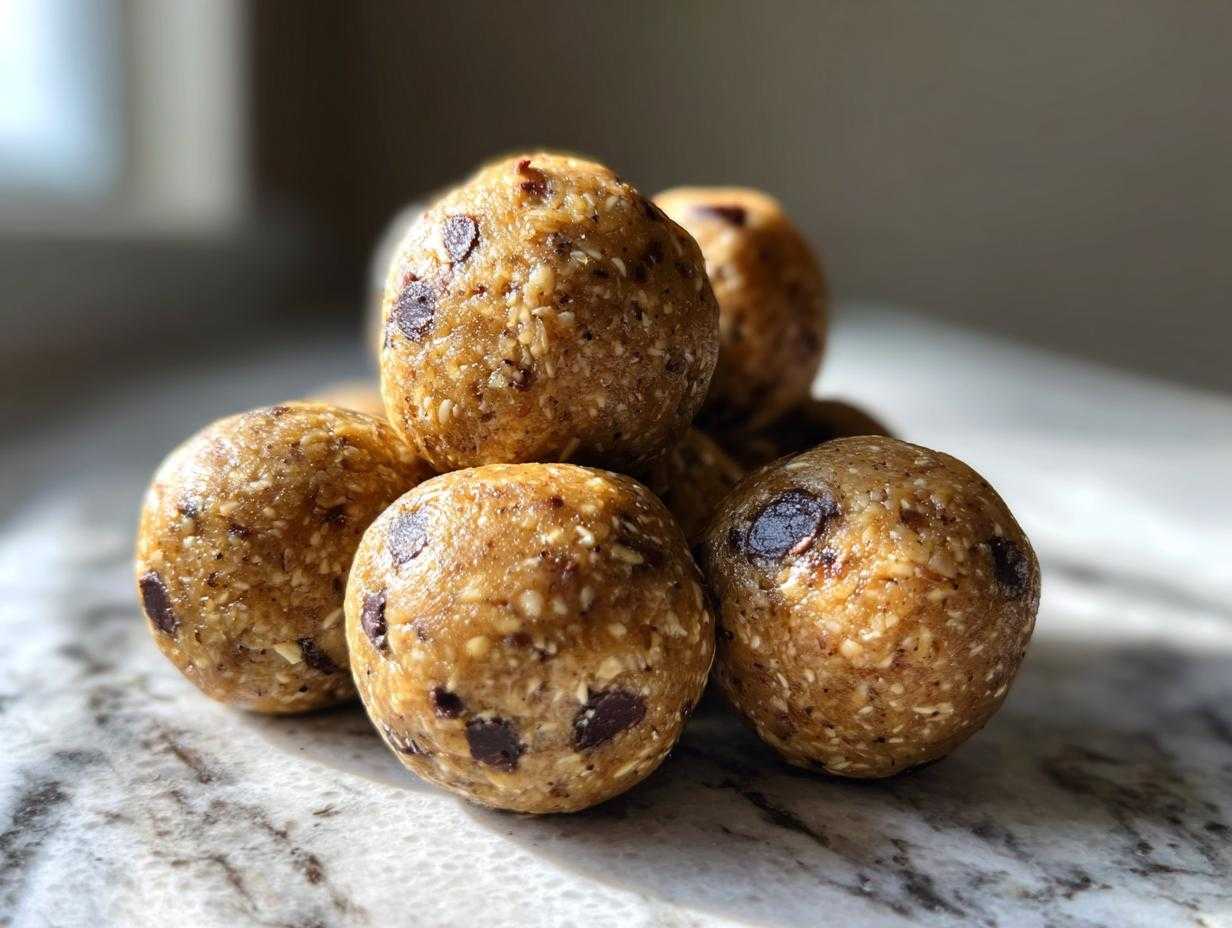

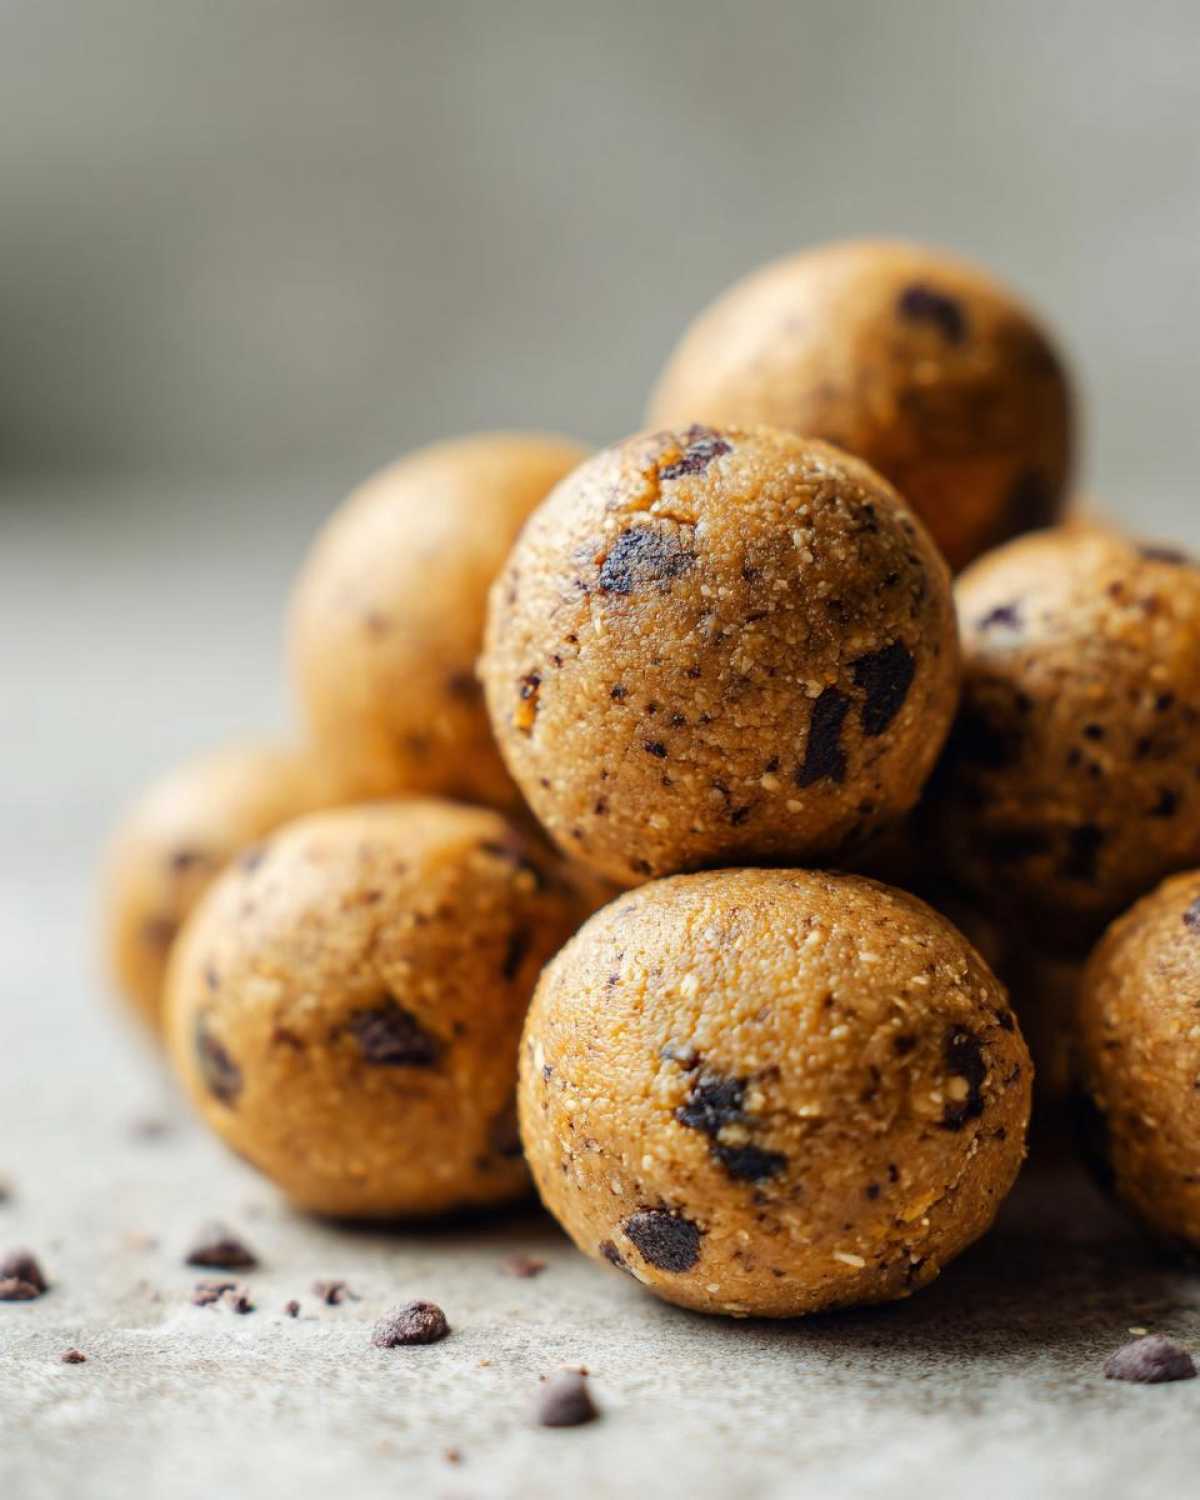
You know, I used to think spending time in the kitchen was just another chore. My life was pretty hectic for a long time, and the idea of making something from scratch felt impossible. But then I discovered how finding joy in simple things, like baking bread (after a lot of funny kitchen flops, I might add!), can totally change your perspective. That’s exactly the feeling I put into these incredibly easy no-bake protein balls! They’re the perfect solution when you need a quick, healthy snack that actually tastes amazing and keeps you going. Seriously, they’re a game-changer for anyone who feels like they don’t have time to “cook.” These little bites are proof that delicious, satisfying food can come together in minutes, bringing a little bit of that pure kitchen joy right into your busy day.
- Gather Your Ingredients for Perfect Protein Balls
- Effortless Steps to Make Your Protein Balls
- Why You'll Love These No-Bake Protein Balls
- Flavor Variations for Your Protein Balls
- Serving Suggestions for Your Protein Balls
- Storing and Reheating Your Protein Balls
- Frequently Asked Questions about Protein Balls
Gather Your Ingredients for Perfect Protein Balls
Alright, let’s get down to business and gather what you need for these amazing little energy boosters! Everything comes together so quickly, it’s almost magical. You’ll want to grab:
- 1 cup rolled oats – make sure they’re the old-fashioned kind, not the instant stuff. Trust me, it makes a difference in texture!
- 1/2 cup protein powder – I usually go for whey or a good plant-based one, and unflavored is best so you can control the taste.
- 1/4 cup of your favorite creamy nut butter – peanut butter is classic, but almond or cashew butter works beautifully too!
- 1/4 cup honey – this is the magic binder and sweetener. Maple syrup is a fantastic vegan swap if that’s your jam.
- 1/4 cup milk – dairy or non-dairy is fine, just add a little at a time until it feels right.
- 1 teaspoon vanilla extract – don’t skip this! It just adds that perfect little something extra.
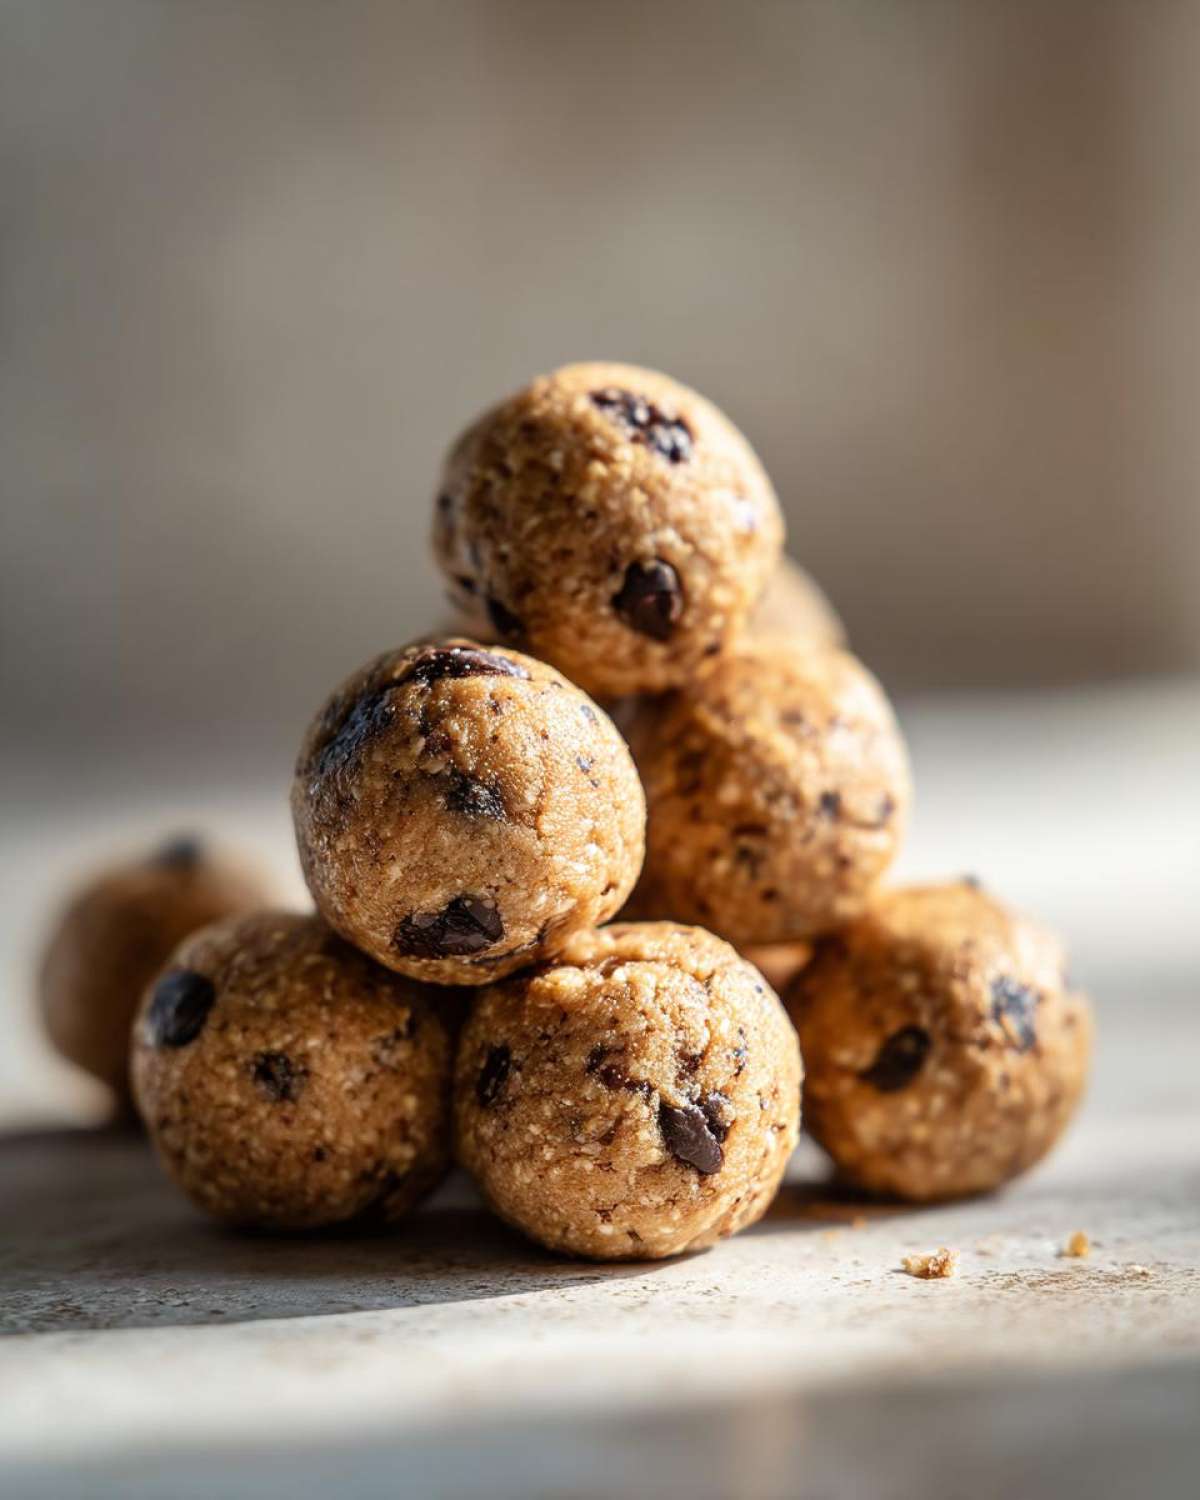
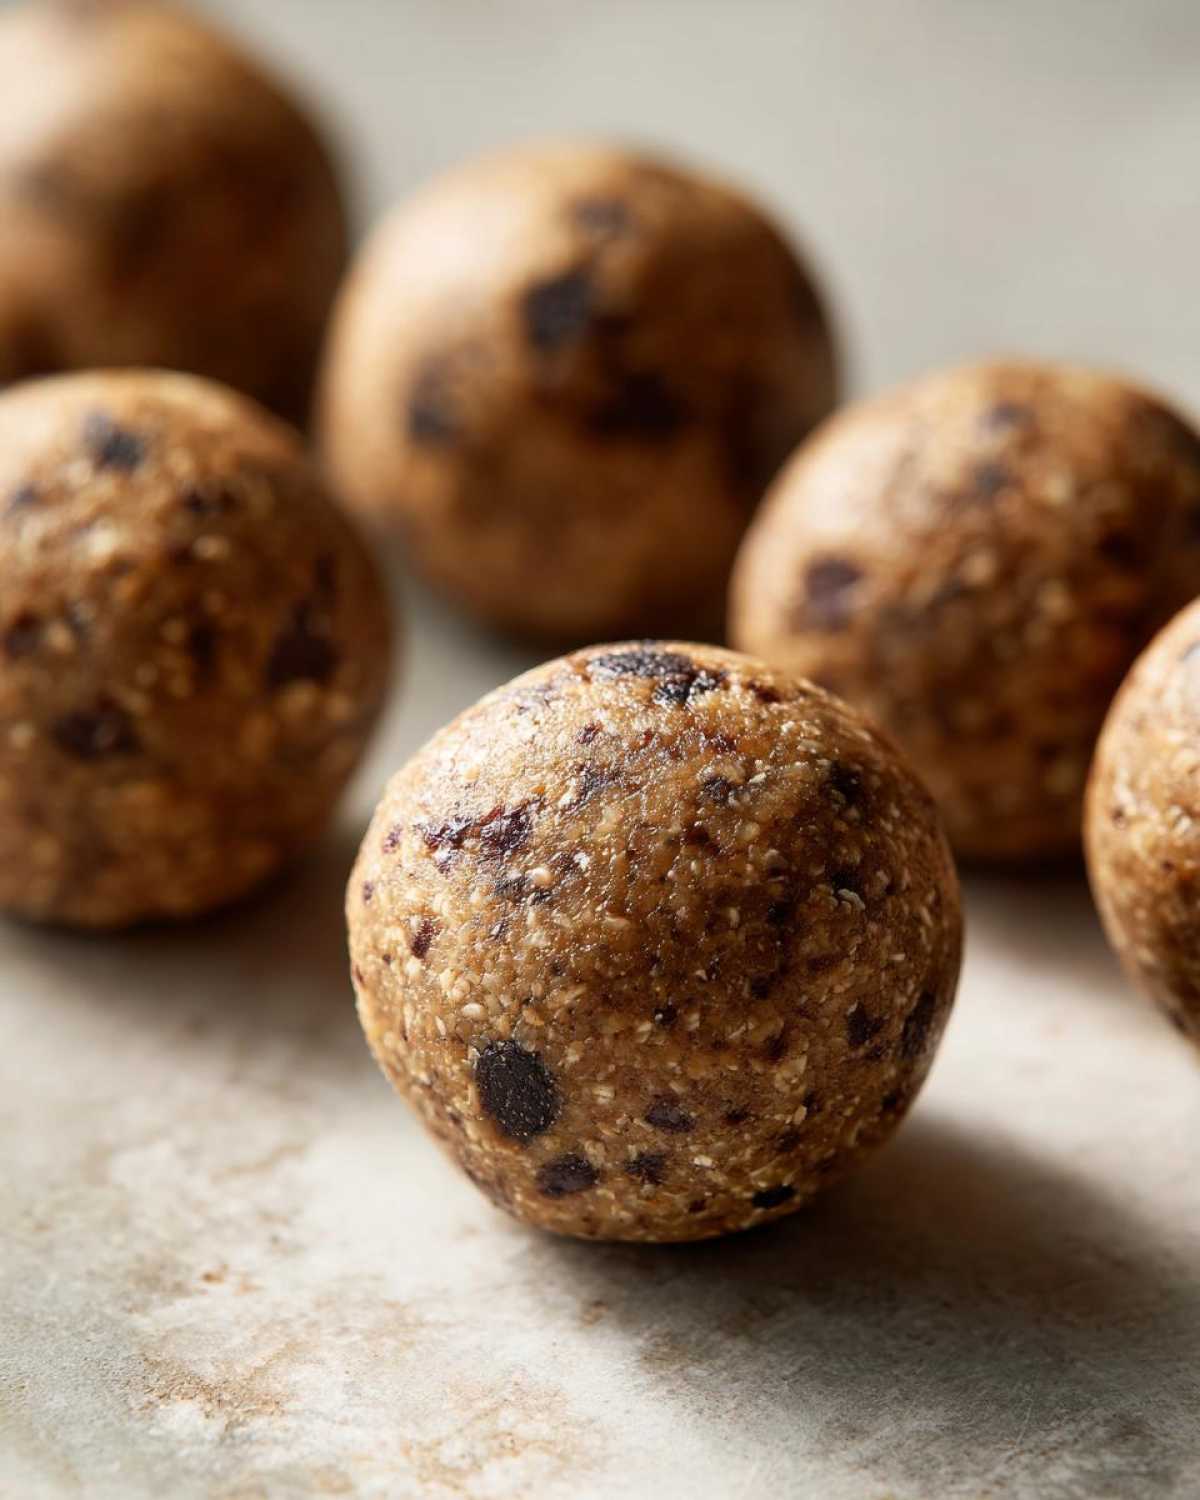
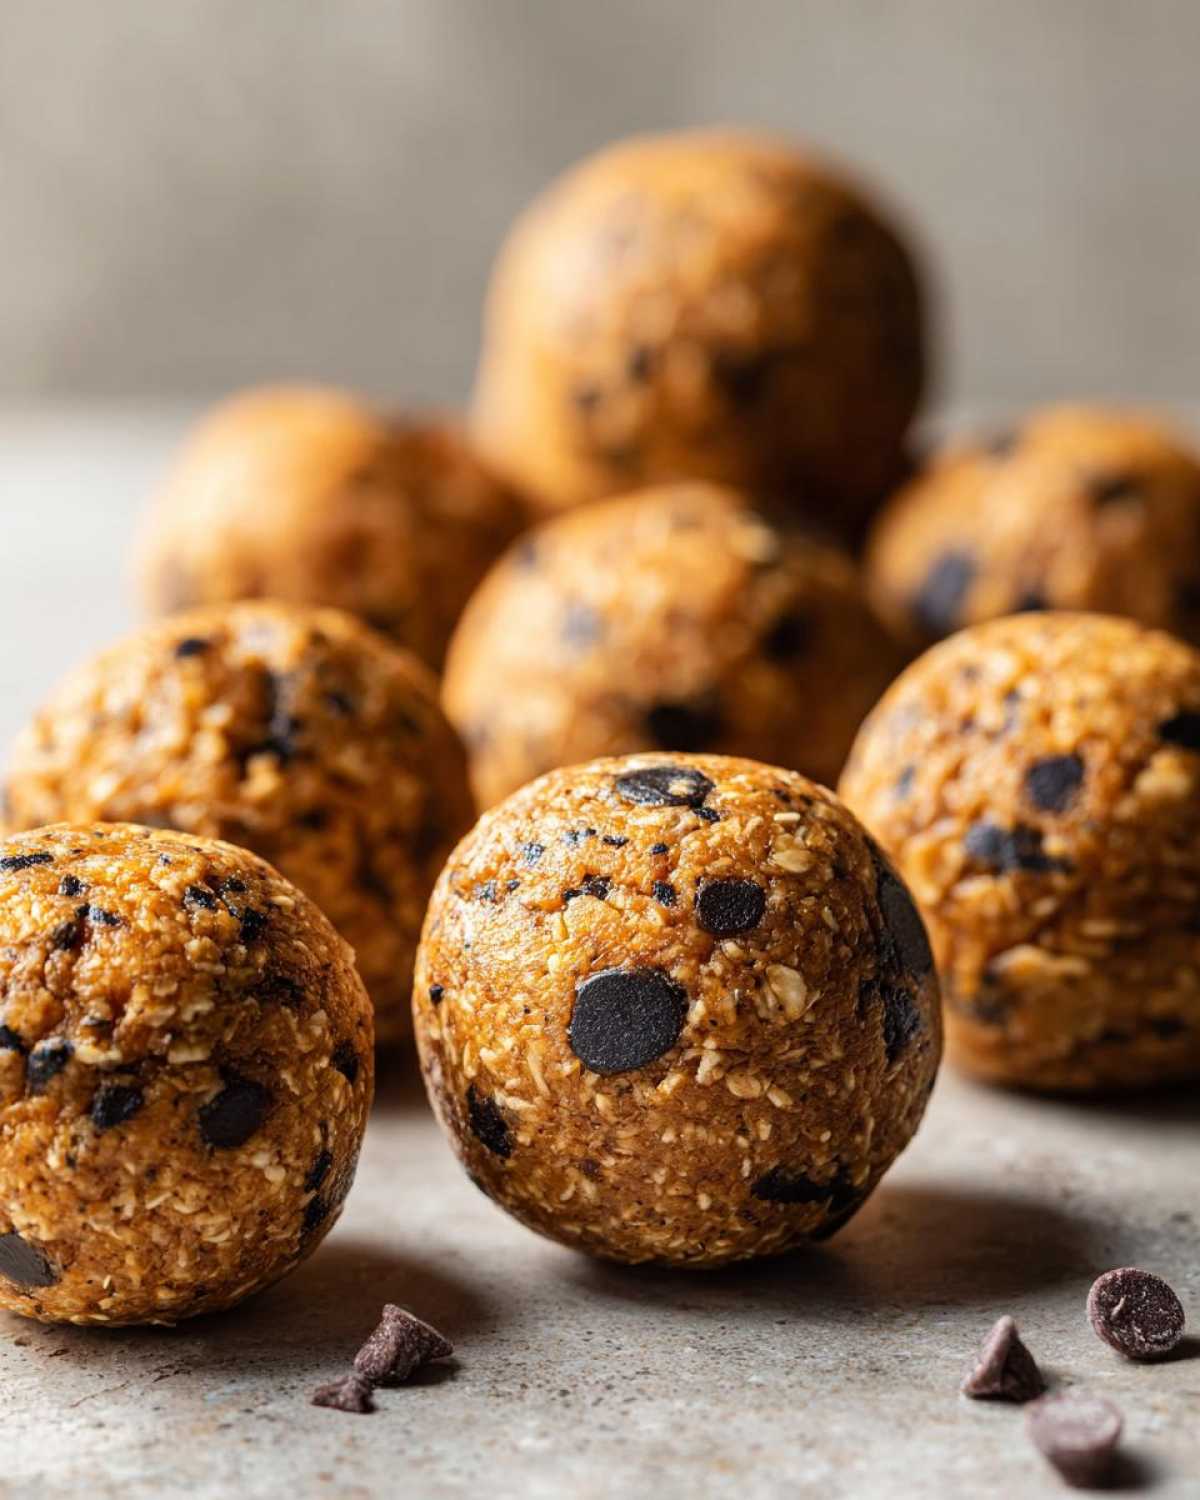
- And for fun? About 1/4 cup of add-ins like mini chocolate chips, shredded coconut, or some yummy dried cranberries.
Ingredient Notes and Substitutions for Your Protein Balls
The beauty of these protein balls is how forgiving they are! If you don’t have rolled oats, quick oats will work in a pinch, but the texture might be a little softer. For the nut butter, anything creamy works – sunflower seed butter is a great nut-free option. When it comes to the sweetener, maple syrup is a perfect vegan alternative to honey, and it still gives you that lovely sweetness. Remember, if you decide to use flavored protein powder, it can really change the finished taste, so stick to unflavored for maximum control over your flavor creations!
Effortless Steps to Make Your Protein Balls
Okay, this is where the real magic happens, and honestly, it’s so easy you’ll wonder why you ever bought snacks from the store! First things first, grab a medium-sized bowl. Toss in your rolled oats and that protein powder. Give it a quick little mix so they’re acquainted. Next, it’s time for the wet stuff: add in your creamy nut butter, the honey (or maple syrup!), your milk, and that splash of vanilla extract. Now, dive in with a sturdy spoon or spatula and stir everything together. You’re looking for a mixture that’s nice and cohesive, kind of sticky, but holds its shape. If it feels a bit too dry, a tiny splash more milk usually does the trick. If it’s a touch too wet, a sprinkle more oats can help. Once it’s all combined into a delightful, sticky dough, it’s time for the fun part – those optional add-ins! Gently stir in your chocolate chips, coconut, or dried fruit. Then, get your hands a little bit sticky (it’s part of the charm!) and roll the mixture into little balls, about an inch or so in diameter. Place these beauties on a baking sheet that’s lined with parchment paper – this stops them from sticking. Finally, pop that baking sheet into the fridge for at least 30 minutes. This chilling step is super important because it firms them up so they’re perfectly ready to eat!
Tips for Perfectly Formed Protein Balls
Getting these protein balls just right is all about that perfect consistency. If your mixture feels too dry and crumbly, don’t panic! Just add milk, a teaspoon at a time, until it comes together. On the flip side, if it’s way too sticky and unmanageable, a tablespoon or two more of oats can work wonders. Rolling them is way easier if you slightly dampen your hands with water – it stops the mixture from sticking to you. Trust me, it’s a game-changer! If your balls seem to be falling apart as you roll them, it usually means they need a bit more chilling time or perhaps a tad more binder (like nut butter or honey). Just pop them back in the fridge for another 15 minutes and try again. You’ll get the hang of it super fast!
Why You’ll Love These No-Bake Protein Balls
Honestly, these little guys are just the best! They’re my go-to for so many reasons, and I think you’ll feel the same:
- Super Quick & Easy: Seriously, no oven required! You can whip these up in about 15 minutes, then just let them chill.
- Busy Schedule Approved: Perfect for grabbing on the go when you’re rushing out the door. Toss them in a baggie and you’re golden.
- Healthy Sweet Cravings Killer: They hit that spot for something sweet and satisfying without all the guilt. Plus, the protein keeps you full!
- Meal Prep Dream: Make a batch on Sunday, and you’ve got healthy snacks ready for the whole week. So smart!
- Totally Customizable: Want to add chocolate? Go for it! Coconut? Yes, please! They’re a blank canvas for your favorite add-ins.
- Seriously, No Baking Needed: This is the best part for me. No fuss, no mess from the oven – just pure, simple goodness.
Flavor Variations for Your Protein Balls
Now that you’ve got the basic, amazing protein ball recipe down, let’s talk about how to make them totally your own! The possibilities are seriously endless, and it’s so fun to play around. Want to make them super chocolatey? Just add about a tablespoon of unsweetened cocoa powder to the dry ingredients for some rich Chocolate Peanut Butter Protein Balls. Craving something bright and tropical? Try adding the zest of a lemon and a quarter cup of shredded coconut for zesty Lemon Coconut Protein Balls. Or maybe you’re feeling a bit tart and nutty? Toss in some dried cranberries and chopped almonds for delicious Cranberry Almond Protein Balls. Honestly, just start experimenting – you really can’t go wrong!
Serving Suggestions for Your Protein Balls
These little powerhouses are so versatile! They’re absolutely perfect as a little something to keep you going before or after a workout, giving you that needed energy boost. I also love packing a few into my lunch bag for a much-needed healthy afternoon treat when that 3 PM slump hits. Want to make breakfast a bit more exciting? Serve a couple alongside a fresh fruit salad – it makes for a balanced and delicious start to the day. And honestly? They make a fantastic healthy dessert option too. You really can’t go wrong with these yummy bites, no matter when you choose to enjoy them!
Storing and Reheating Your Protein Balls
Okay, so you’ve made this amazing batch of protein balls, and you’re wondering how to keep them tasting delicious for days (or even weeks!) to come. It’s super simple! The best way to keep them fresh is to pop them into an airtight container. You can store them in the refrigerator for up to about a week. They stay nice and firm this way. But if you want to keep them even longer, guess what? They freeze beautifully! Just pop that airtight container in the freezer, and they’ll keep well for up to 3 months. When you’re ready for one after freezing, just let it sit on the counter for about 10-15 minutes, or pop it in the fridge overnight to thaw gently. Easy peasy!
Frequently Asked Questions about Protein Balls
I get asked these questions all the time when folks try making these! It’s nice to know what to expect or what to do if something feels a little off. Here are some of the most common questions I get:
Can I make these vegan?
Absolutely! Just swap out the honey for maple syrup or agave nectar, and use a plant-based milk like almond, soy, or oat milk. Easy peasy!
What if the mixture is too dry or too wet?
If it’s too dry and crumbly, add milk a teaspoon at a time until it starts to stick together. If it’s too wet and sticky to roll, add a tablespoon or two more oats or protein powder. You’re looking for a dough that holds its shape without being messy.
Can I use a different type of protein powder?
You sure can! Whey, casein, soy, pea, rice – most work just fine. Just remember that different powders absorb liquid differently, so you might need to adjust the milk or oats slightly to get the right consistency. Unflavored is usually the safest bet for consistent flavor.
How long do they last?
They’re best stored in an airtight container in the refrigerator, where they’ll stay yummy for about a week. Pop them in the freezer, and they’ll last for up to 3 months! Just let them thaw for a bit before you enjoy them.
Can I add more mix-ins like seeds or nut butter?
Of course! Feel free to experiment with nuts, seeds (chia, flax, sunflower!), extra chocolate chips, or even a swirl of jam. Just keep an eye on the consistency – adding too many wet ingredients might make them too soft, so you may need a bit more oats to compensate.
