 Skip to content
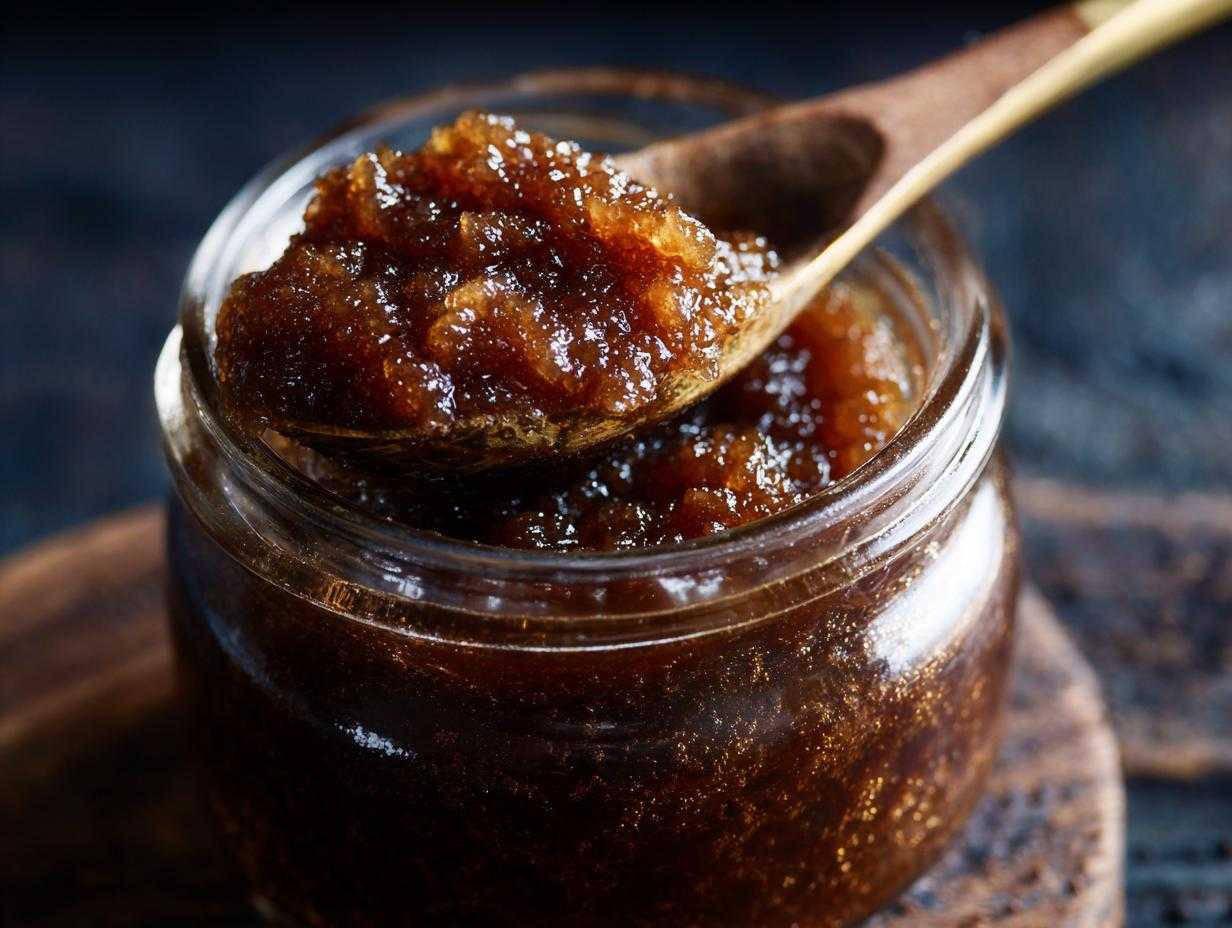

You know, there’s just something so wonderfully comforting about a jar of homemade preserves sitting on your counter. It feels like bottled sunshine, doesn’t it? For me, making fruit butter was one of those things I never thought I’d *do*. My kitchen was honestly kind of a scary place for me for the longest time – all spreadsheets and deadlines, and the idea of actually *creating* something edible from scratch felt overwhelming. But then I tried making a simple bread, and when that first perfect loaf came out, warm and smelling amazing, something just clicked. That little spark of accomplishment turned into a full-blown passion!
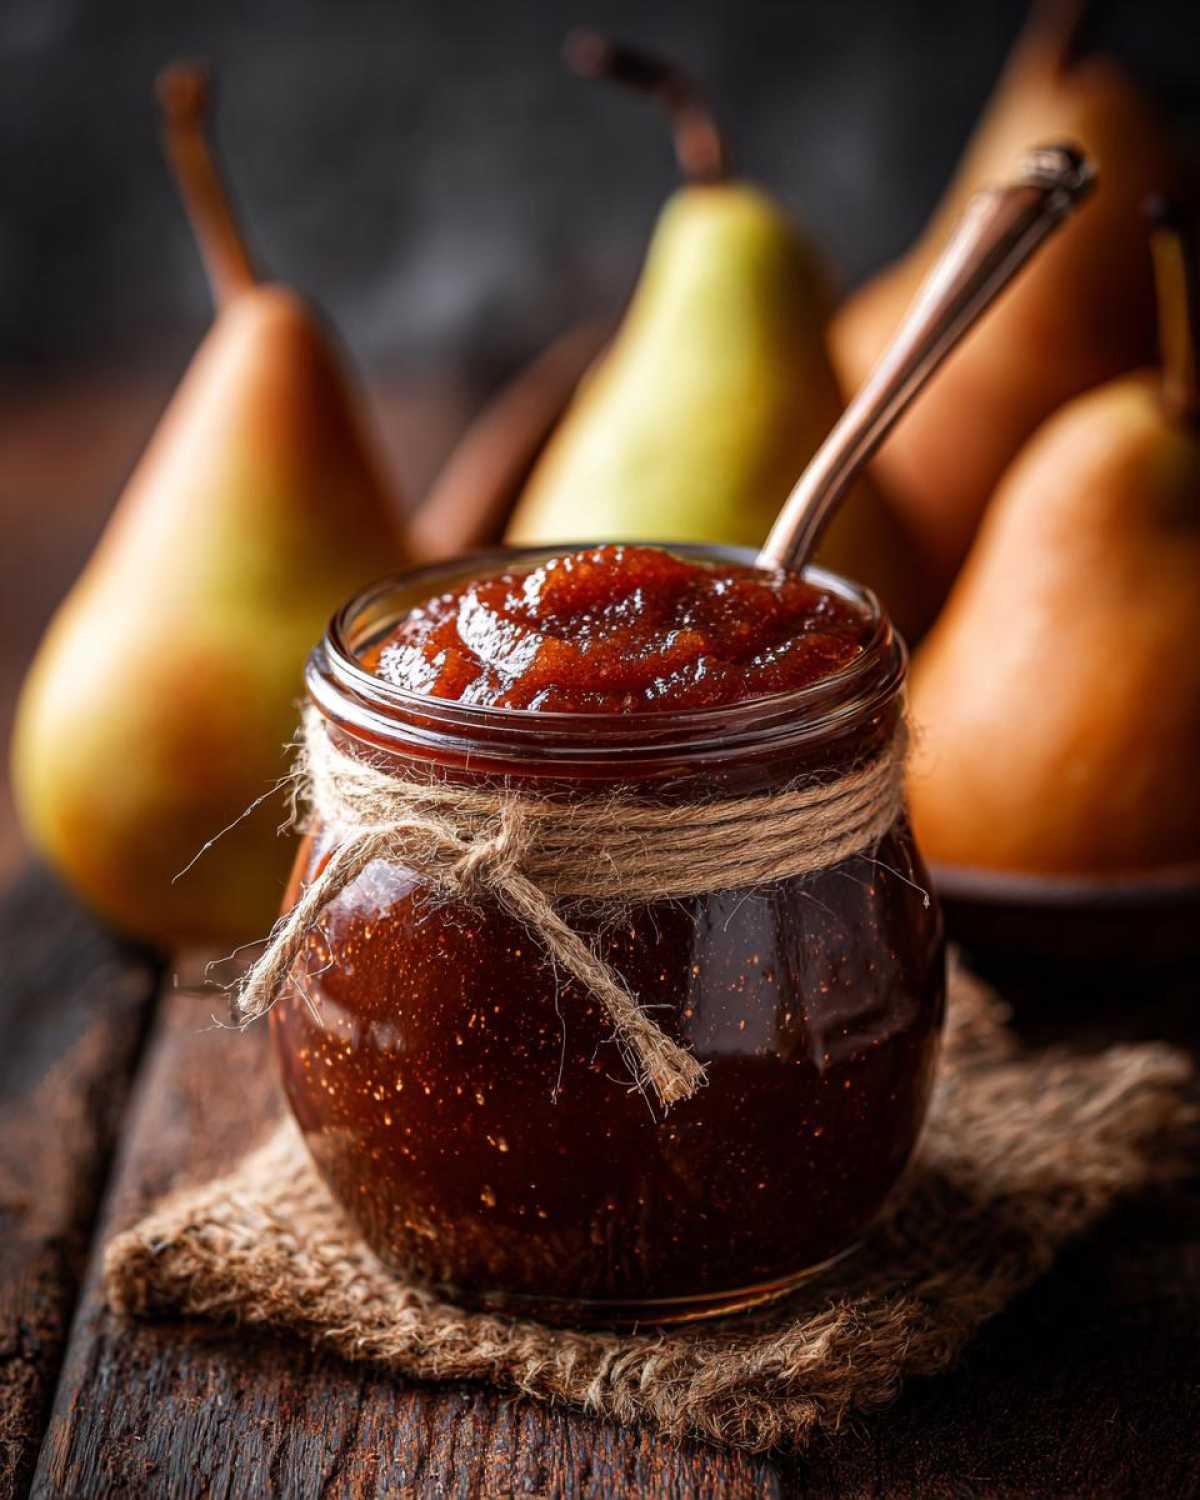
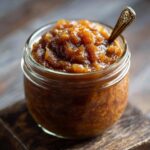
Now, I get to share that joy with you, and this slow cooker pear butter is a perfect example of why I love it so much. It’s ridiculously easy, thanks to the magic of the Crock-Pot, and it doesn’t need any fussy pectin. Just ripe pears, warm spices, and a little bit of patience. The result? A smooth, naturally sweet pear butter that tastes like autumn in a jar. Seriously, it’s become one of my favorite fall canning recipes.
- Gather Your Ingredients for Pear Butter
- Crafting Your Slow Cooker Pear Butter
- Tips for Perfect Pear Butter
- Canning Your Spiced Pear Spread
- Why You'll Love This No Pectin Pear Butter
- Serving and Storing Your Pear Butter
- Frequently Asked Questions About Pear Butter
- Understanding the Nutrition of Your Pear Butter
Gather Your Ingredients for Pear Butter
Alright, let’s get our shopping list together! You’re going to need about 6 cups of perfectly ripe pears – that’s usually around 2.5 pounds before you peel and core them. Make sure they’re nice and soft, almost like they’re begging to be turned into something delicious. Then, we’ll grab a half cup of light brown sugar, packed nice and snug, and just a quarter cup of water to get things started.
For that cozy, spiced flavor we love in pear butter, you’ll need a teaspoon of ground cinnamon, a quarter teaspoon of nutmeg, and just an eighth of a teaspoon of cloves. Oh, and don’t forget that tablespoon of lemon juice – it really makes all those lovely pear flavors pop!
Crafting Your Slow Cooker Pear Butter
Okay, so here’s where the real magic happens, and honestly, it’s so simple you might just giggle. First things first, get those beautiful sliced pears, your packed light brown sugar, that splash of water, and all those warm spices – cinnamon, nutmeg, and cloves – into your slow cooker. Give it all a good stir; you want everything to mingle and get happy together.
Now, put the lid on nice and snug. You’ve got two options here: you can cook it on low for about 8 to 10 hours, which is perfect if you want to start it before bed and wake up to the amazing smell, or you can crank it up to high for 4 to 5 hours if you need it a little faster. Either way, you’re looking for those pears to get super, super soft, practically melting.
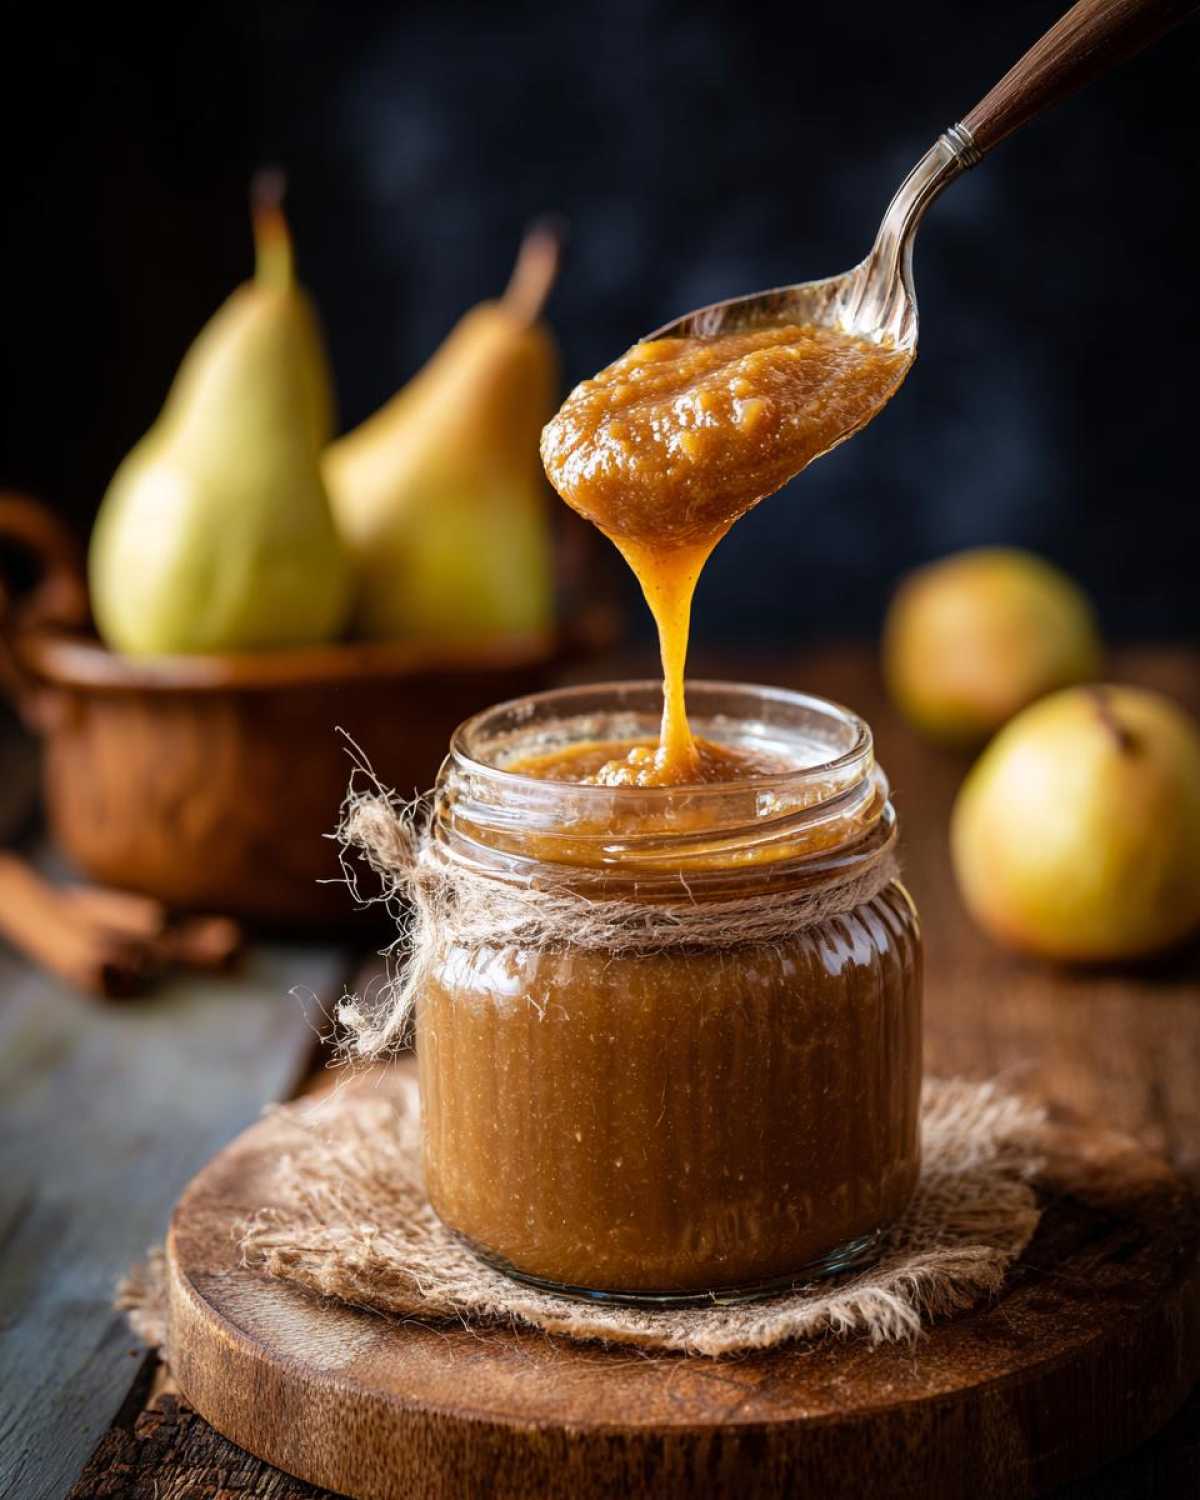
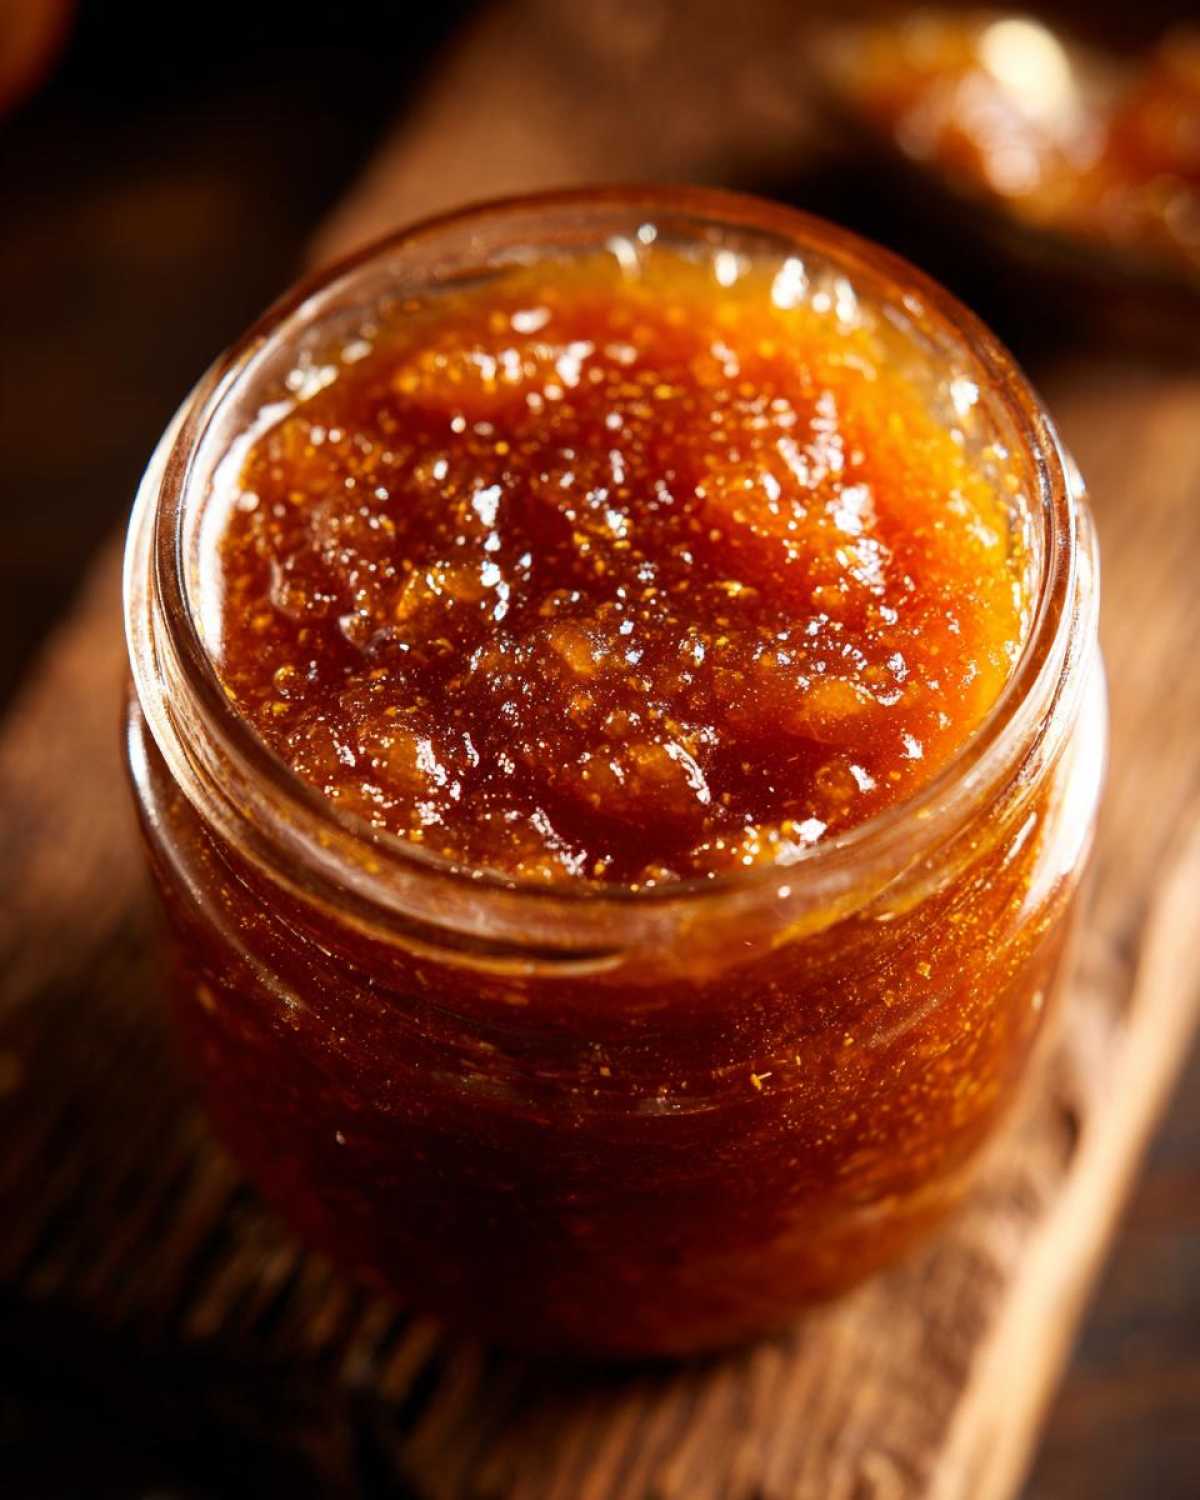
Once they’re soft, carefully scoop that whole glorious mixture into your blender or food processor. Now’s the time to add that tablespoon of lemon juice – it just brightens everything up! Blend it all until it’s wonderfully smooth. I like mine super silky, but if you prefer a little texture, just blend it less. And there you have it – your delicious slow cooker pear butter is ready to go!
Tips for Perfect Pear Butter
Let’s talk about making this pear butter absolutely sing! First off, the pears – they really need to be ripe. I’m talking pears that give a little when you gently squeeze them. If they’re too firm, your pear butter might end up a bit watery. You want them almost overripe, so they break down beautifully and give you that lovely natural sweetness.
Don’t be shy with the spices! Taste as you blend. If you’re a big cinnamon fan, add a little more. Love that warm hug from nutmeg? Go ahead and add another pinch. This recipe is really forgiving, and making your pear butter perfectly spiced to *your* taste is half the fun!
And for that super smooth texture we’re aiming for? Make sure you let the pears cool just enough so they’re safe to handle, but still warm when you blend them. Warm fruit blends much more easily and smoothly than cold fruit. Trust me on this one!
Canning Your Spiced Pear Spread
Alright, if you’re looking to keep this delicious pear butter around for a while, canning is the way to go! It’s not as scary as it sounds, I promise. Make sure your jars and lids are sterilized by boiling them for a bit – you can do this while your pear mixture is cooking. This helps keep everything safe and shelf-stable.
When your pear butter is all blended and smooth, carefully ladle that hot goodness into your clean jars. Leave about a quarter-inch of space at the top – that’s called headspace, and it’s important for a good seal. Wipe the rims of the jars super clean with a damp cloth, because any stickiness there can stop the lid from sealing properly. Then, screw on the lids nice and snug, but not too tight.
Now for the water bath! Get a big pot of water boiling, carefully lower your filled jars into it, making sure they’re covered by about an inch of water. Process them for 10 minutes. If you live up high, you’ll need to add a few extra minutes to that time, so check your altitude adjustment charts. Once they’re done, carefully take them out and let them cool completely on the counter. You’ll hear those satisfying little pings as they seal!
Why You’ll Love This No Pectin Pear Butter
Honestly, this pear butter is a total winner for so many reasons! It’s ridiculously easy because your slow cooker does all the hard work, which means less time fussing in the kitchen. Plus, it’s naturally sweet and thickening up all on its own with no pectin needed, letting that pure pear flavor and the warm spices really shine through. It’s so wonderfully versatile, too – perfect on toast, with a nice cheese board, or even swirled into yogurt. It just tastes like pure comfort!
Serving and Storing Your Pear Butter
So, you’ve got this gorgeous jar of homemade pear butter – now what? Oh, the possibilities! My favorite way is slathered thick on a piece of warm, crusty toast, maybe with a little sharp cheddar cheese on the side. It’s also amazing swirled into plain yogurt or oatmeal for breakfast, or even stirred into quick breads and muffins for an extra burst of flavor and moisture. It really does make everything taste a little more special!
Now, if you didn’t can your pear butter, don’t worry! Just pop it into a clean jar, pop a lid on it, and keep it in the refrigerator. It stays wonderfully fresh and delicious for about 3 weeks that way. Plenty of time to enjoy it on all sorts of goodies!
Frequently Asked Questions About Pear Butter
I get asked these questions all the time about making pear butter from scratch, and I’m happy to share all the little secrets I’ve learned over the years! It’s pretty straightforward, but a few little tips can make all the difference.
What kind of pears are best for pear butter?
You really want pears that are super ripe, almost to that point of being too soft for just eating. Think Bartlett or Anjou pears when they’re fragrant and yield to gentle pressure. This ripeness means they’ll break down beautifully and give you that thick, naturally sweet pear butter quality without needing anything extra.
Can I make this pear butter on the stovetop?
Absolutely! If you don’t have a slow cooker, no worries. Just combine everything in a large, heavy-bottomed pot. Cook it over medium-low heat, stirring *very* frequently to prevent sticking and scorching. It’ll take maybe 1 to 1.5 hours until it’s nice and soft enough to blend. Keep an eye on it!
How long does canned pear butter last?
Properly canned pear butter, processed in a boiling water bath, should last on your pantry shelf for a good year, maybe even longer! Just make sure you get a good seal on those jars. Once you open a jar, pop it in the fridge, and it’ll be delicious for about 3 weeks.
Understanding the Nutrition of Your Pear Butter
Just a quick heads-up about the nutritional info you might see swirling around for this delicious pear butter! It’s always good to remember that these numbers are really just estimates, you know? They can totally change depending on the exact type of pears you use, how ripe they are, and even the specific brand of spices or sugar you reach for. So, think of it as a general guideline rather than a hard-and-fast rule!
PrintSlow Cooker Pear Butter
A smooth, spiced pear butter made in the slow cooker. This recipe is naturally sweetened and doesn’t require pectin, making it perfect for canning.
- Prep Time: 20 minutes
- Cook Time: 4-10 hours
- Total Time: 4 hours 20 minutes – 10 hours 20 minutes
- Yield: Approximately 4 cups 1x
- Category: Preserves
- Method: Slow Cooker, Canning
- Cuisine: American
- Diet: Vegetarian
Ingredients
- 6 cups peeled, cored, and sliced ripe pears (about 2.5 pounds)
- 1/2 cup packed light brown sugar
- 1/4 cup water
- 1 teaspoon ground cinnamon
- 1/4 teaspoon ground nutmeg
- 1/8 teaspoon ground cloves
- 1 tablespoon lemon juice
Instructions
- Combine sliced pears, brown sugar, water, cinnamon, nutmeg, and cloves in your slow cooker.
- Stir to combine.
- Cover and cook on low for 8-10 hours, or on high for 4-5 hours, until pears are very soft.
- Carefully transfer the cooked pear mixture to a blender or food processor. Add lemon juice.
- Blend until smooth.
- For canning, ladle hot pear butter into sterilized jars, leaving 1/4 inch headspace. Remove air bubbles. Wipe rims and screw on lids.
- Process in a boiling water bath for 10 minutes (adjust for altitude).
Notes
- Use ripe pears for the best flavor and texture.
- Adjust spices to your preference.
- This pear butter can be stored in the refrigerator for up to 3 weeks if not canning.
Nutrition
- Serving Size: 2 tablespoons
- Calories: 50
- Sugar: 12g
- Sodium: 5mg
- Fat: 0g
- Saturated Fat: 0g
- Unsaturated Fat: 0g
- Trans Fat: 0g
- Carbohydrates: 13g
- Fiber: 1g
- Protein: 0g
- Cholesterol: 0mg
