 Skip to content
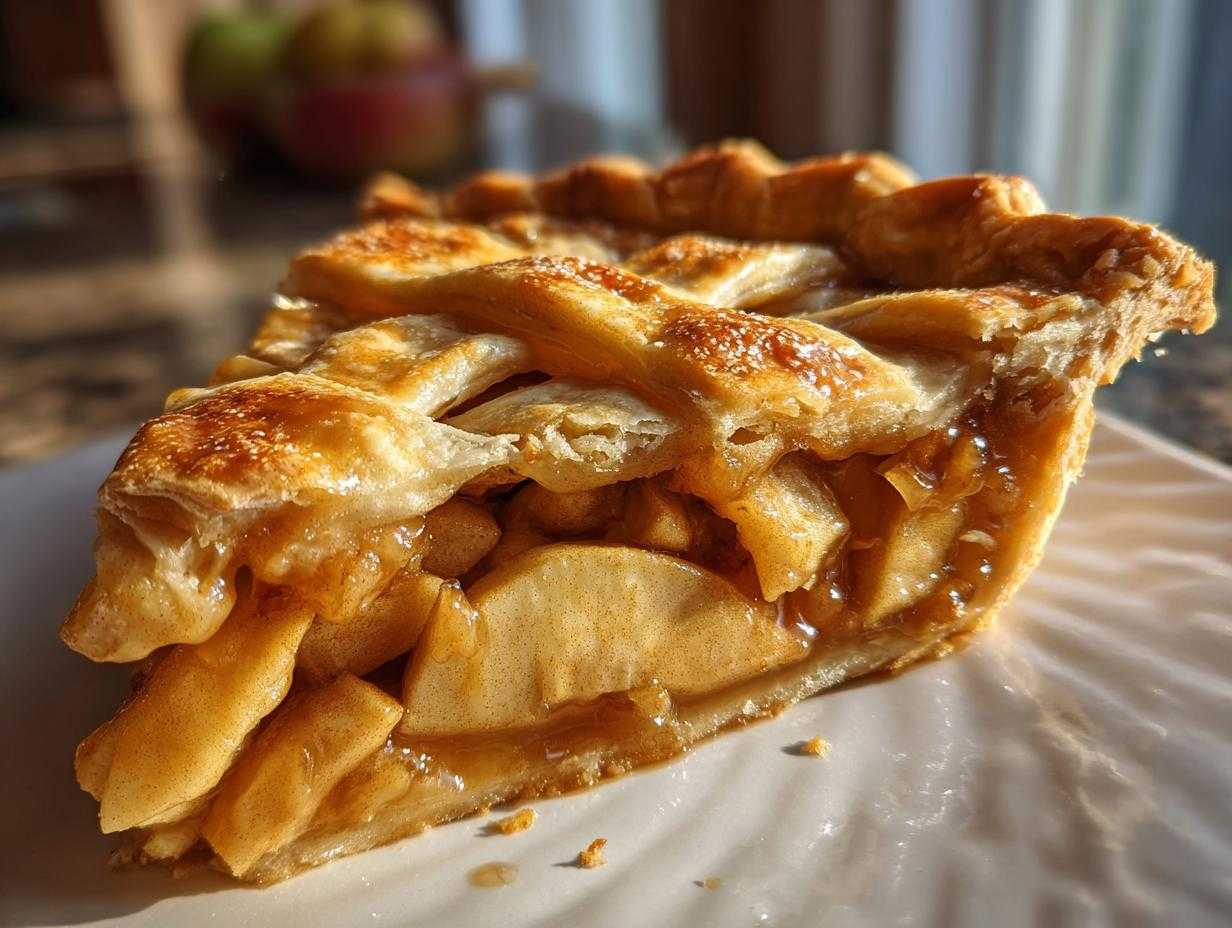

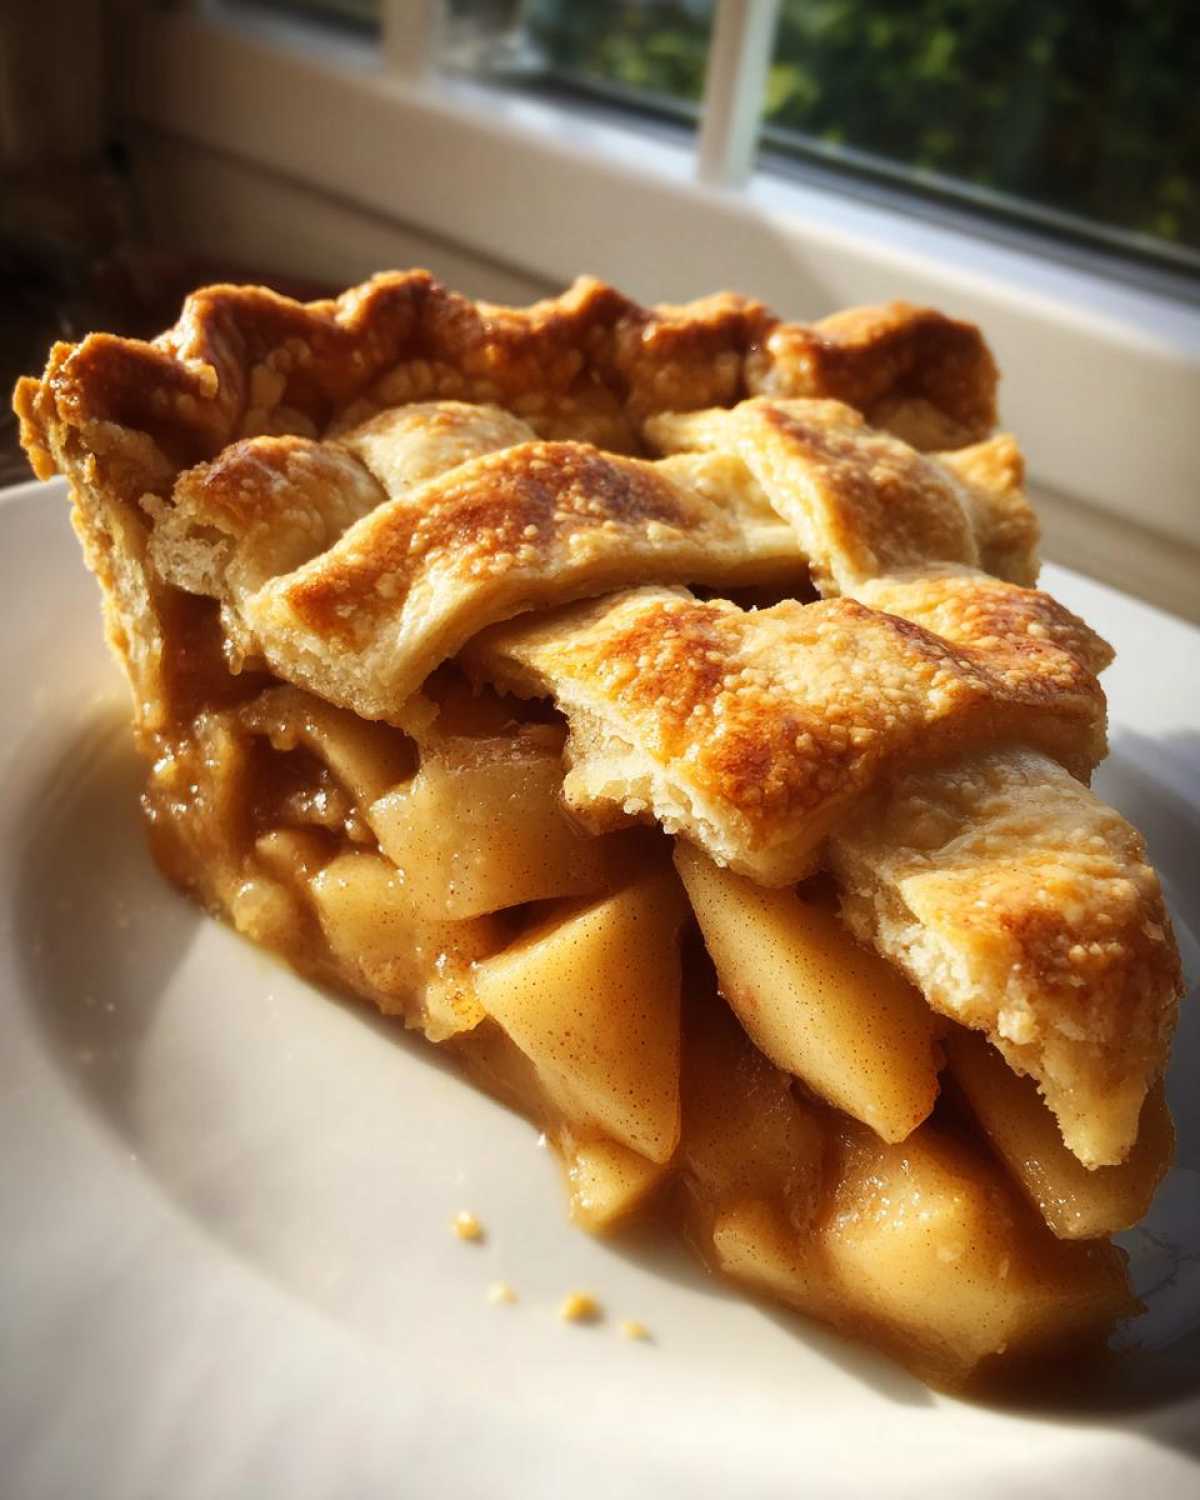
That smell! You know the one – that warm, comforting, absolutely irresistible aroma of a homemade apple pie baking in the oven. It just screams fall comfort and is practically a requirement for any Thanksgiving table, right? This isn’t just any apple pie, though. We’re talking about that perfect golden double crust, a hint of caramelly goodness in the filling, and best of all? A crisp bottom that bakes up beautifully every single time. Honestly, it’s so approachable; even if you think you’re not a “kitchen person” (I used to be there!), you’ll nail this. It reminds me of when I first started cooking after feeling totally burnt out from my old job. Finding that peace and pure joy in creating something delicious with my own hands, like this apple pie, completely changed things for me. It’s all about making those feel-good moments happen, one slice at a time.
- Why You'll Love This Homemade Apple Pie
- Gather Your Ingredients for the Perfect Homemade Apple Pie
- Crafting Your Homemade Apple Pie: Step-by-Step
- Tips for a Perfect Homemade Apple Pie Every Time
- Make Ahead and Freezer Tips for Homemade Apple Pie
- Frequently Asked Questions About Homemade Apple Pie
- Serving Your Delicious Homemade Apple Pie
- Estimated Nutritional Information for Homemade Apple Pie
- Share Your Homemade Apple Pie Creations!
Why You’ll Love This Homemade Apple Pie
Seriously, what’s not to love? This homemade apple pie is a total winner because:
- It’s Super Approachable: Even if you’re just dipping your toes into baking, these steps are clear and easy to follow. No fancy tricks needed!
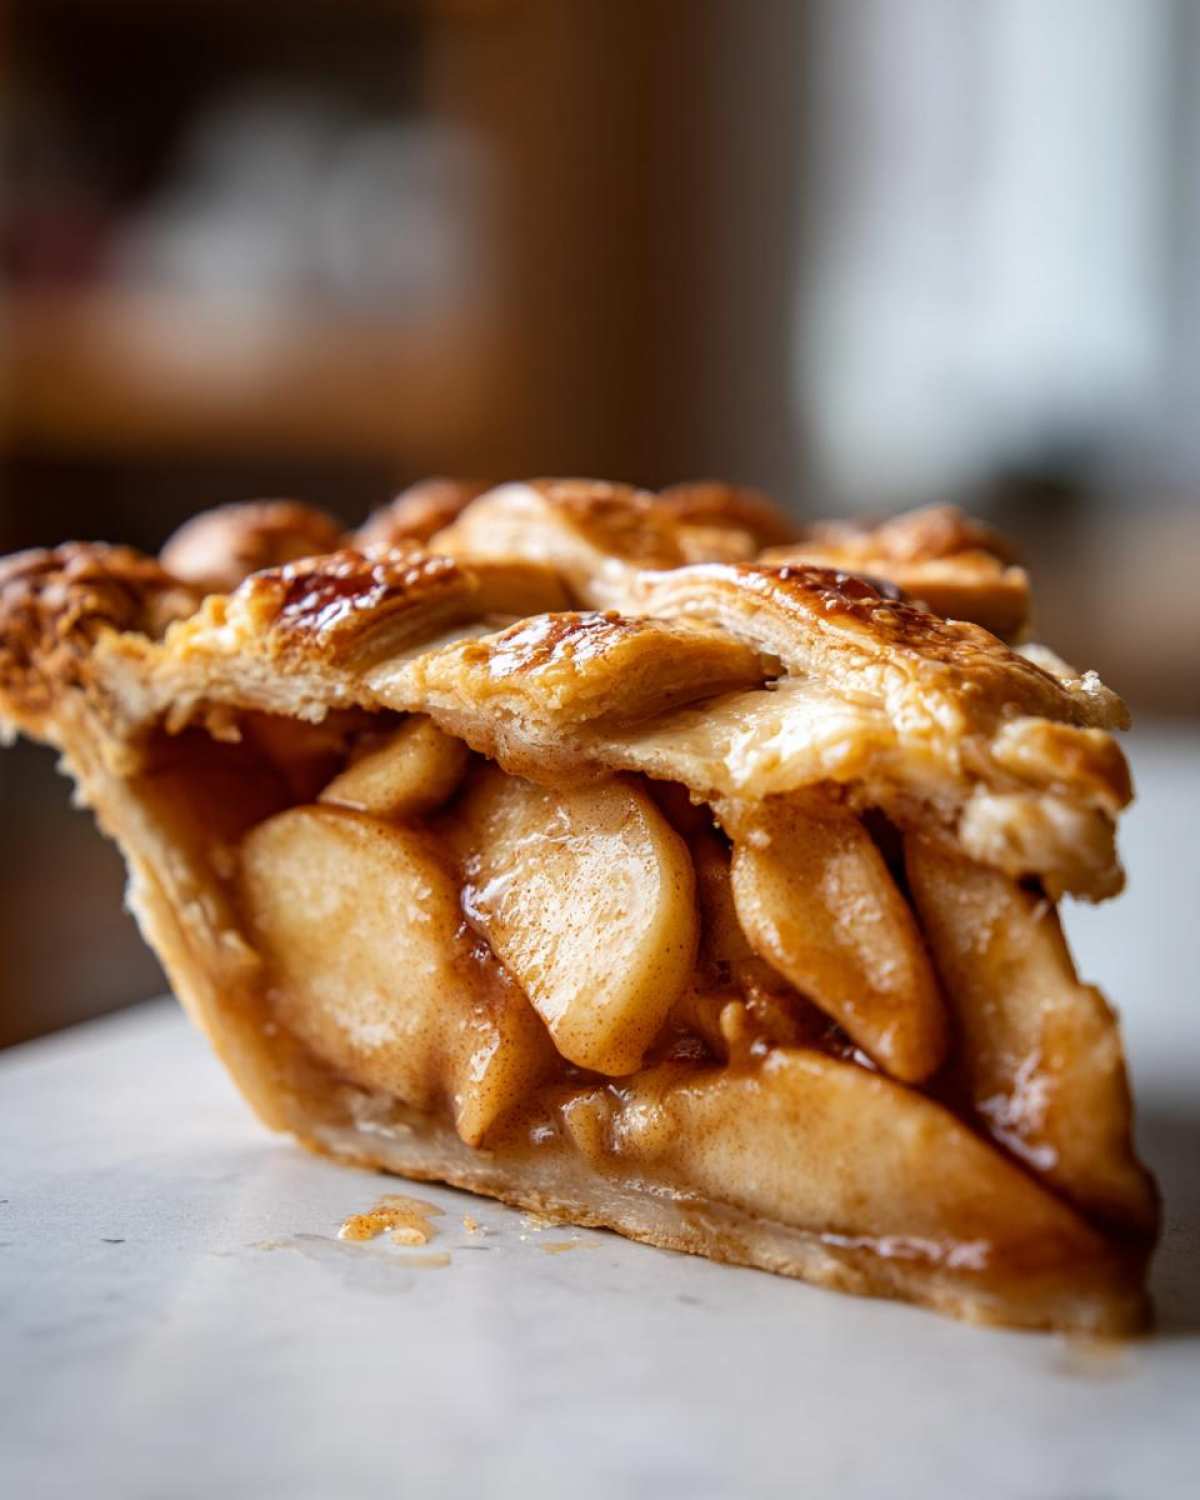
- Flavor Explosion: We get those lovely subtle caramel notes from the brown sugar, all mixed with sweet apples and warm spices. Yum!
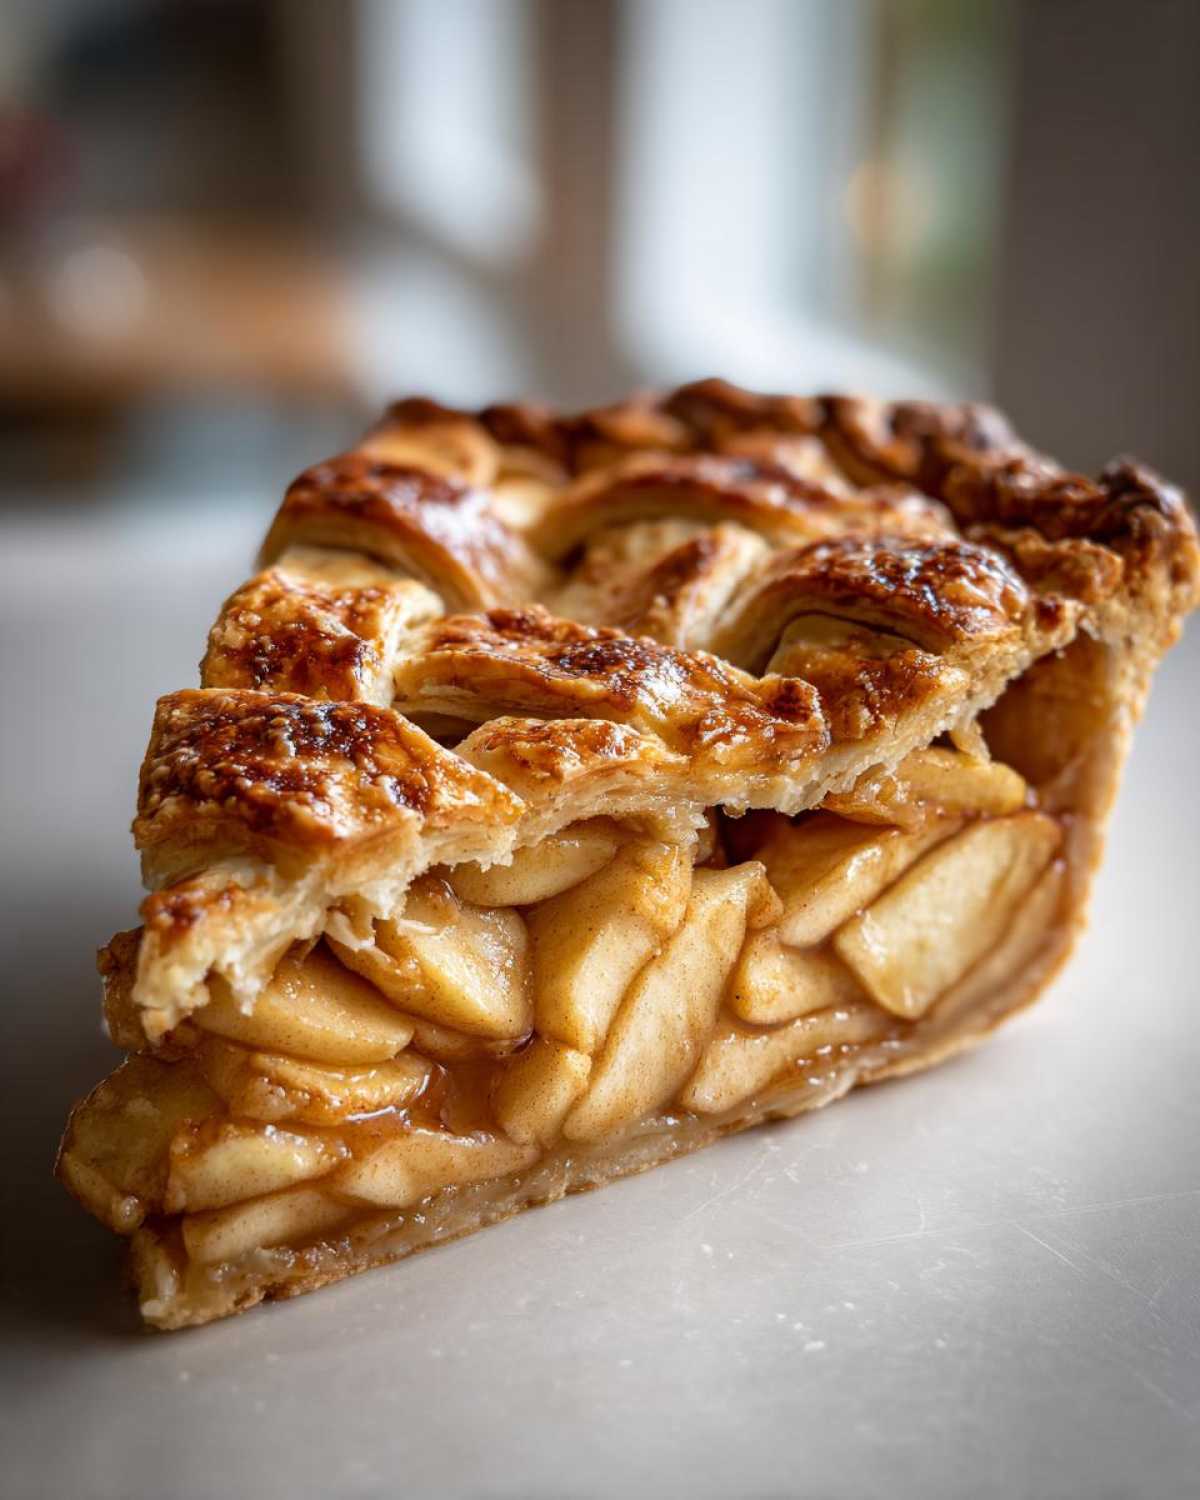
- That Perfect Texture: Say goodbye to soggy bottoms! This pie bakes up with a beautifully crisp crust all around.
- Holiday Ready: It’s like the star of the show for Thanksgiving or any fall gathering, though honestly, it’s good any time of year.
- Make-Ahead Magic: Got busy plans? You can totally make it ahead or even freeze it, and it’s still amazing when you’re ready to enjoy it.
Gather Your Ingredients for the Perfect Homemade Apple Pie
Alright, let’s get our mise en place ready for this glorious homemade apple pie! For the absolute best flavor and texture, you’ll want to grab these goodies. And remember, picking the best apples for pie makes a HUGE difference – I love using a mix of Honeycrisp, Gala, or Fuji because they hold their shape and have that perfect sweet-tart balance.
Here’s your shopping list:
For that Dreamy Double Crust:
- One batch of your favorite double pie crust dough (make sure it’s chilled!)
For the Luscious Caramel Apple Filling:
- 6 to 7 cups of thinly sliced apples (that’s about 2.5 pounds, so grab a good bag!)
- 1/2 cup granulated sugar
- 1/4 cup packed light brown sugar (this is where that lovely caramel hint comes in!)
- 1/4 cup all-purpose flour (our secret weapon for a thicker filling)
- 1 teaspoon ground cinnamon (can’t have apple pie without it!)
- 1/4 teaspoon ground nutmeg
- A tiny pinch, like 1/8 teaspoon, of ground cloves (just a whisper!)
- 1 tablespoon fresh lemon juice (brightens it all up!)
- 2 tablespoons unsalted butter, cut into little cubes
And for that Golden Finish:
- 1 large egg, give it a good beat for our egg wash
- 1 tablespoon turbinado sugar (optional, but it gives such a lovely crunch!)
Gathering everything first really makes the process so much smoother, trust me!
Crafting Your Homemade Apple Pie: Step-by-Step
Now for the fun part – actually making our gorgeous homemade apple pie! It really comes together so nicely, and with these easy steps, you’ll have a masterpiece in no time.
Preparing the Pie Dough
First things first, make sure your pie dough is nice and chilled. This is super important for getting that flaky crust we all love! If you haven’t made it ahead, give it at least 30 minutes in the fridge. This helps the butter bits stay solid, which creates those lovely layers when it bakes.
Making the Caramel Apple Filling
Okay, let’s get those apples ready! In your biggest bowl, toss those thinly sliced apples with the granulated sugar, that lovely light brown sugar (hello, caramel!), flour, cinnamon, nutmeg, that tiny bit of clove, and the lemon juice. Give it all a good stir until everything is coated. Let it hang out for about 15-20 minutes – you’ll see it start to get juicy, which is exactly what we want for that rich, slightly caramel apple flavor.
Assembling Your Deep Dish Apple Pie
Preheat your oven to a nice hot 425°F (220°C). Now, gently lay one disc of your chilled dough into your 9-inch pie plate. Trim the edges, leaving about a half-inch hanging over. Pour in that delicious apple filling, making sure it’s evenly distributed. Dot the top with those little butter pieces; they’ll melt down and make everything wonderfully rich. For the top crust, you can go classic with vents, get fancy with a lattice crust pie design, or even do a full double crust! Just trim the excess dough, leaving about an inch overhang. Crimp those edges together like you mean it – sealing in all that goodness is key!
Baking Your Perfect Homemade Apple Pie
Here’s the real magic! Pop the pie onto a baking sheet – this is a lifesaver for catching any bubbly drips. Bake it at 425°F (220°C) for about 15 minutes. Then, lower the oven temp to 375°F (190°C) and let it bake for another 35 to 45 minutes. You’re looking for a beautiful golden-brown crust and filling that’s bubbling happily. If the crust starts looking too brown too fast, just loosely cover it with foil. Crucially, once it’s out, let it cool on a wire rack for at least 2-3 hours. I know, the waiting is the hardest part! But this step is vital so the filling sets up perfectly and you don’t end up with a runny mess. It’s worth every second!
Tips for a Perfect Homemade Apple Pie Every Time
Want to make sure your homemade apple pie is just absolutely perfect every single time? I’ve picked up a few tricks over the years that really make a difference! First off, when you’re picking out your apples, don’t be afraid to mix and match – a combination of sweet and tart apples gives you the best flavor. That’s why knowing the best apples for pie, like crisp Honeycrisp or tart Granny Smith, is so helpful.
To avoid that dreaded soggy bottom, make sure your apples are sliced thinly and evenly, and don’t skip letting them sit after you toss them with the sugars and flour – that helps thicken up the filling nicely. Also, baking the pie on a preheated baking sheet helps crisp up the bottom crust from below! This recipe is also fantastic for meal planning because you can prep the filling ahead or even assemble the whole pie and bake it later.
Make Ahead and Freezer Tips for Homemade Apple Pie
Life gets busy, right? But that doesn’t mean you can’t have amazing homemade apple pie whenever the craving strikes! You can totally get a head start on this beauty. To make it ahead, assemble the whole pie (crust, filling, everything!) and then just cover it tightly with plastic wrap and then foil, and pop it in the fridge for up to two days. It’s a lifesaver for holiday prep.
Want to go the extra mile? You can also freeze the whole pie! Again, cover it really well with plastic wrap and then foil. It’ll keep great in the freezer for about 3 months. When you’re ready to bake it from frozen, just go straight from the freezer to a 400°F (200°C) oven for about 60-75 minutes, until it’s golden and bubbly. If you’re reheating a previously baked pie, a 350°F (175°C) oven for about 20-30 minutes usually does the trick!
Frequently Asked Questions About Homemade Apple Pie
What are the best apples for homemade apple pie?
For the most delicious homemade apple pie, try using a mix! Honeycrisp, Gala, or Fuji apples are fantastic because they’re sweet, slightly tart, and hold their shape beautifully when baked, preventing a mushy filling.
How do I prevent a soggy bottom on my homemade apple pie?
Ah, the dreaded soggy bottom! To avoid it, slice your apples thinly and evenly. Also, letting the filling sit with the sugar and flour helps thicken it up. Baking on a preheated baking sheet really helps crisp up the bottom crust too!
Can I make the homemade apple pie ahead of time?
Absolutely! You can find all the details in my “Make Ahead and Freezer Tips” section. You prep it all, chill it, and bake when you’re ready. So convenient!
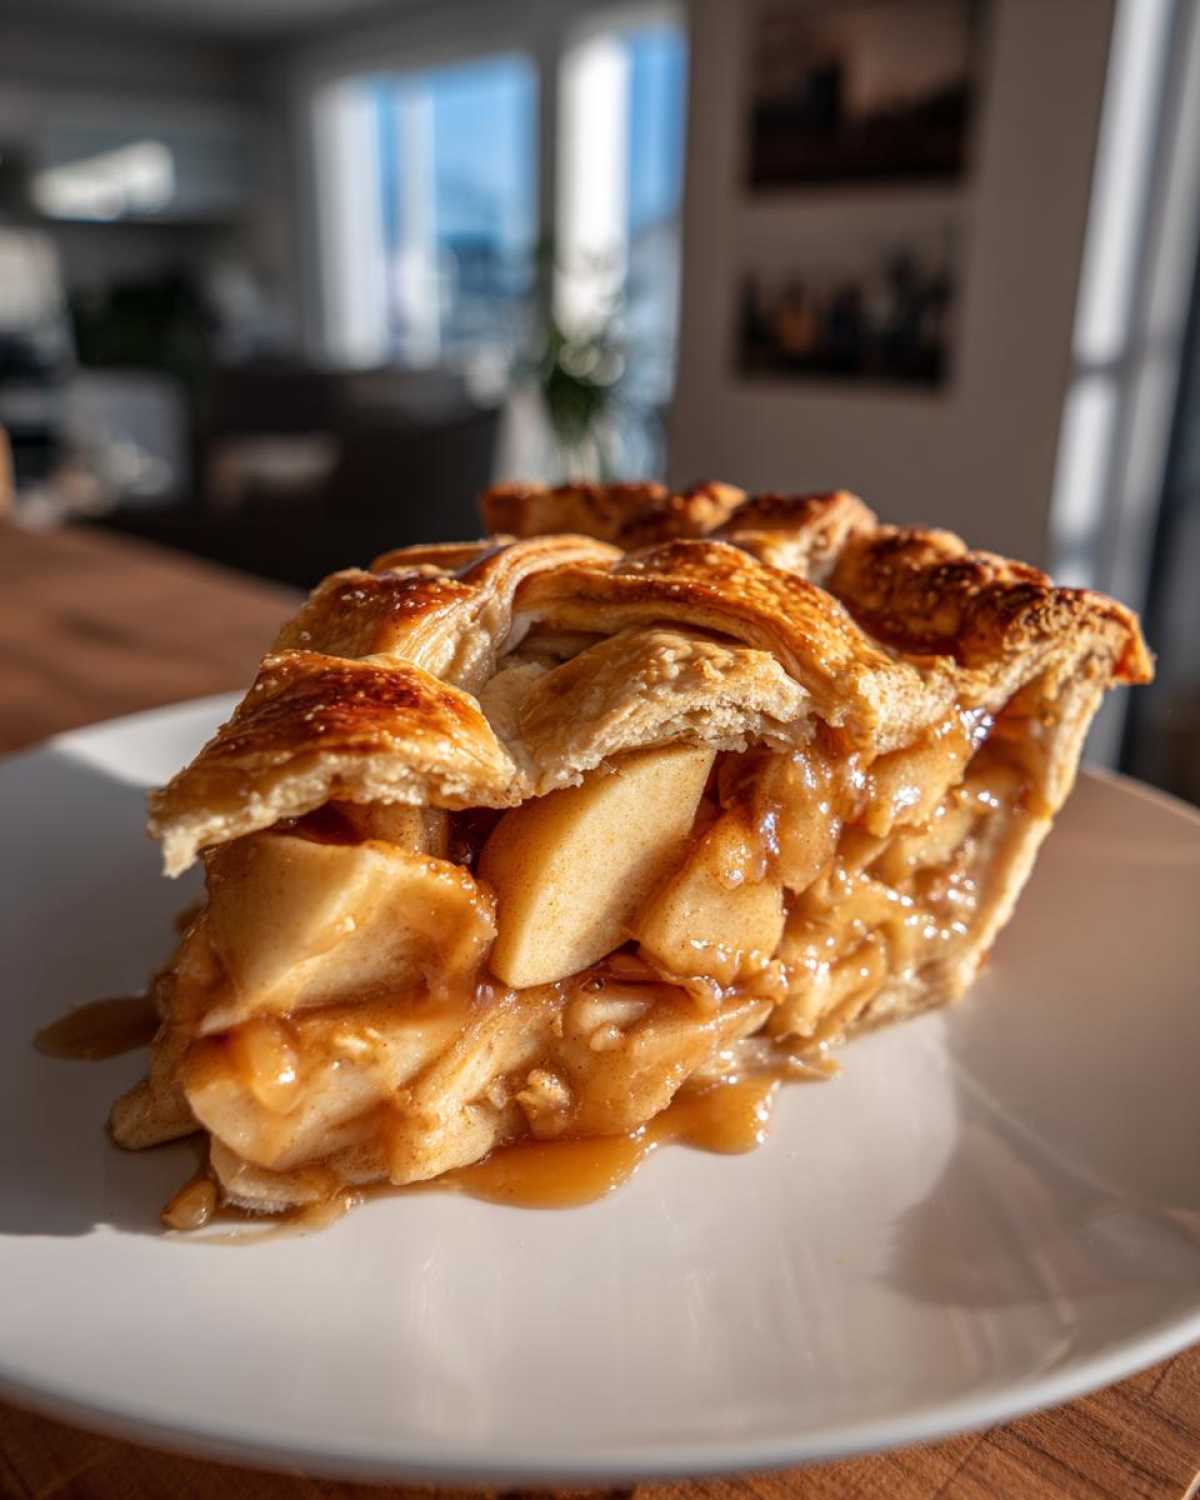
Serving Your Delicious Homemade Apple Pie
Okay, the hardest part is over – your beautiful homemade apple pie is baked and cooled! Now for the best part: serving it up. While it’s absolutely divine all on its own, I just love a generous scoop of creamy vanilla ice cream melting into a warm slice. A dollop of freshly whipped cream is also divine, or heck, why not add a little extra drizzle of caramel sauce to really lean into that caramel apple vibe? It’s truly one of those perfect Thanksgiving desserts that everyone always raves about.
Estimated Nutritional Information for Homemade Apple Pie
Just a little note about the numbers below – these are estimates, of course, and can change a bit depending on exactly what ingredients you use. But it gives you a good idea of what you’re diving into with this glorious homemade apple pie!
- Serving Size: 1 slice
- Calories: 350
- Sugar: 30g
- Sodium: 200mg
- Fat: 18g
- Saturated Fat: 10g
- Unsaturated Fat: 8g
- Trans Fat: 0g
- Carbohydrates: 50g
- Fiber: 3g
- Protein: 4g
- Cholesterol: 40mg
Share Your Homemade Apple Pie Creations!
I just LOVE seeing your baking adventures! If you whipped up this amazing homemade apple pie, please drop a comment below with how it turned out. Did you try a lattice top? What apples did you go with? And if you snapped a pic, tag me on social media – I can’t wait to see your beautiful pies!
PrintHomemade Apple Pie

A classic double-crust apple pie with a hint of caramel and a crisp bottom, perfect for fall and Thanksgiving.
- Prep Time: 30 min
- Cook Time: 50-60 min
- Total Time: 80-90 min
- Yield: 8 servings 1x
- Category: Dessert
- Method: Baking
- Cuisine: American
- Diet: Vegetarian
Ingredients
- 1 recipe for double pie crust
- 6–7 cups thinly sliced apples (about 2.5 lbs), such as Honeycrisp, Gala, or Fuji
- 1/2 cup granulated sugar
- 1/4 cup packed light brown sugar
- 1/4 cup all-purpose flour
- 1 teaspoon ground cinnamon
- 1/4 teaspoon ground nutmeg
- 1/8 teaspoon ground cloves
- 1 tablespoon lemon juice
- 2 tablespoons unsalted butter, cut into small pieces
- 1 large egg, beaten (for egg wash)
- 1 tablespoon turbinado sugar (optional, for sprinkling)
Instructions
- Prepare your double pie crust according to your favorite recipe. Chill while you prepare the filling.
- In a large bowl, toss the sliced apples with granulated sugar, brown sugar, flour, cinnamon, nutmeg, cloves, and lemon juice. Let sit for 15-20 minutes to allow the juices to release.
- Preheat your oven to 425°F (220°C).
- Line a 9-inch pie plate with one disk of chilled pie dough. Trim the edges, leaving about a 1/2-inch overhang.
- Pour the apple filling into the pie crust. Dot the top of the filling with the small pieces of butter.
- Place the second disk of pie dough over the filling. You can create a solid top crust, cut vents, or make a lattice top. Trim the edges, leaving a 1-inch overhang.
- Crimp the edges of the top and bottom crusts together to seal.
- Brush the top crust with the beaten egg wash and sprinkle with turbinado sugar, if desired.
- Place the pie on a baking sheet (to catch any drips). Bake for 15 minutes at 425°F (220°C).
- Reduce the oven temperature to 375°F (190°C) and continue baking for another 35-45 minutes, or until the crust is golden brown and the filling is bubbling. If the crust starts to brown too quickly, loosely tent the pie with foil.
- Let the pie cool on a wire rack for at least 2-3 hours before slicing and serving. This allows the filling to set.
Notes
- For a no-soggy bottom, ensure your apples are sliced thinly and evenly. You can also pre-bake the bottom crust for about 10-15 minutes before adding the filling.
- This pie can be made ahead and refrigerated for up to 2 days or frozen for up to 3 months. To reheat, bake at 350°F (175°C) until warmed through.
- Use a mix of apple varieties for the best flavor and texture.
Nutrition
- Serving Size: 1 slice
- Calories: 350
- Sugar: 30g
- Sodium: 200mg
- Fat: 18g
- Saturated Fat: 10g
- Unsaturated Fat: 8g
- Trans Fat: 0g
- Carbohydrates: 50g
- Fiber: 3g
- Protein: 4g
- Cholesterol: 40mg
