 Skip to content
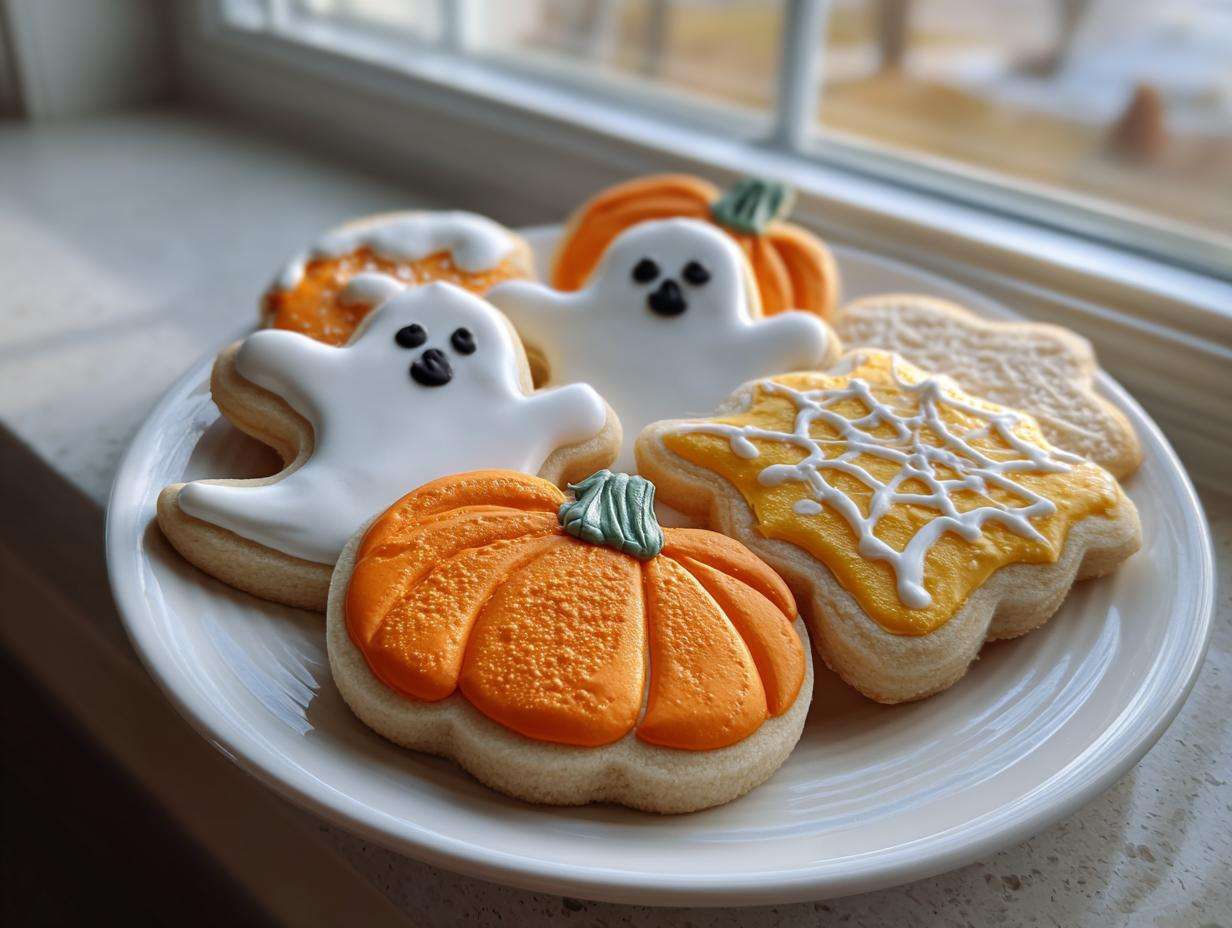

Pumpkins, ghosts, and spooky cobwebs that makes Halloween baking so much fun, right? It always brings back memories of my own childhood, excitedly picking out cookie cutters and dreaming up wild decorating ideas. For me, the kitchen really comes alive during the fall holidays, turning into this cozy, creative space that just feels like pure cooking joy. And let me tell you, if you’re looking to capture that magic without all the stress, these halloween sugar cookies are your new best friend! They’re designed to be super simple, they won’t spread all over the place in the oven (hallelujah!), and they’re just begging for a swirl of royal icing. Whether you’re a seasoned baker or just starting out, these cut-out cookies are your ticket to impressive, spooky treats for class parties or just because.
- Why You'll Love These Halloween Sugar Cookies
- Essential Ingredients for Perfect Halloween Sugar Cookies
- Mastering the Art of No-Spread Halloween Sugar Cookies
- Decorating Your Spooky Halloween Sugar Cookies
- Creative Halloween Cookie Decorating Ideas
- Tips for Successful Halloween Sugar Cookies
- Frequently Asked Questions About Halloween Sugar Cookies
- Estimated Nutritional Information
- Share Your Spooky Creations!
Why You’ll Love These Halloween Sugar Cookies
Seriously, these cookies are a game-changer for Halloween baking. Here’s why:
- Super Easy to Make: Even if you think you’re not a “kitchen person,” you can totally nail these.
- No Spreading Drama: They hold their shape perfectly, meaning your cute pumpkin and ghost shapes stay *sharp*. No more sad, blobby cookies!
- Decorating Dream: These cut out sugar cookies are the ideal canvas for all your royal icing masterpieces.
- Party Ready: They’re perfect for school parties, bake sales, or just brightening up your own kitchen. These no spread cookies make decorating a breeze for everyone!
Essential Ingredients for Perfect Halloween Sugar Cookies
Okay, let’s talk about what you’ll need to get these spooky-good halloween sugar cookies made. It’s a pretty straightforward list, and honestly, having good ingredients is half the battle won. Trust me on this!
- 2 1/2 cups all-purpose flour: This is your base, your structure. Make sure it’s regular all-purpose flour.
- 1 cup (2 sticks) unsalted butter, softened: This is super important! You want it soft, like, just-leaving-an-indent-when-you-poke-it soft. Don’t melt it, though! It needs to be cool to the touch.
- 1 cup granulated sugar: Just your regular white sugar here. It gives them that lovely sweetness.
- 1 large egg: Make sure it’s a large egg, and at room temperature if you can remember – it mixes in better!
- 1 teaspoon vanilla extract: A good quality vanilla makes a huge difference in flavor.
- 1/2 teaspoon baking powder: Just a little lift, but not too much, because we don’t want these guys spreading too much.
- 1/4 teaspoon salt: This little bit of salt really makes all the flavors pop.
Mastering the Art of No-Spread Halloween Sugar Cookies
Alright, let’s get our hands a little floured and whip up these fantastic halloween sugar cookies! The dough comes together surprisingly easily, and I’ve learned over the years that a little patience with the chilling step makes all the difference in getting perfect, sharp shapes without all that dreaded spreading. It really transforms your baking experience!
Creaming Butter and Sugar: The Foundation of Your Halloween Sugar Cookies
This first step is where the magic starts for amazing halloween sugar cookies. You want to take that softened butter and granulated sugar and cream them together until they’re really light and fluffy. Think pale yellow, almost like whipped honey consistency. I usually use my trusty stand mixer with the paddle attachment, but you can totally do this by hand with a wooden spoon and some good arm work! It takes a few minutes, but this creaming process is what whips air into the dough, giving your cookies that lovely texture and helping them bake up just right.
Combining Wet and Dry Ingredients for Cut Out Sugar Cookies
Now that our butter and sugar are all creamy and dreamy, it’s time to add the egg and vanilla. Just beat those in until they’re all incorporated. Then, in a separate bowl, you’ll whisk together your flour, baking powder, and salt. The key here for these cut out sugar cookies is to add the dry stuff to the wet stuff gradually. Don’t just dump it all in at once! Mix it on low speed until it’s *just* combined. Seriously, stop mixing as soon as you don’t see big streaks of flour. Overmixing is the enemy of tender cookies!
Chilling Your Halloween Sugar Cookie Dough: A Crucial Step
Here’s the part that gets overlooked, but it’s SO important for beautiful halloween sugar cookies. Once your dough is mixed, divide it into two flattened discs. Wrap them up snug in plastic wrap – no air pockets! Then, into the fridge they go for at least a full hour. I usually pop them in there even longer, like two hours. This chilling step totally firms up the butter, which is what prevents your cookies from spreading out like a puddle in the oven. Think of it as giving your dough a nice little nap so it’s ready to hold its shape when it hits the heat.
Decorating Your Spooky Halloween Sugar Cookies
Now for the really fun part – turning these delicious rounds into spooky, festive masterpieces! Once your dough is nice and chilled, it’s time to get rolling and cutting. I love this stage because it’s where you really get to let your creativity fly. These cookies are built to be decorated, so don’t be shy with the icing and sprinkles!
Rolling and Cutting Your Halloween Sugar Cookies
First things first, grab your chilled dough and a lightly floured surface. I like to use a little extra flour on my rolling pin too, just to make sure nothing sticks. Roll your dough out to about a 1/4-inch thickness. This is the sweet spot for cookies that are sturdy enough to handle decorating but still wonderfully tender. Now, grab your favorite Halloween cookie cutters – think classic ghost cookies, cute pumpkin sugar cookies, maybe even some pointy bats! Press them firmly into the dough, giving them a little wiggle to make sure you get a nice, clean cut. It’s amazing how much difference a clean edge makes!
Baking for Perfect No Spread Cookies
After you’ve cut out all your shapes, carefully place them on your parchment-lined baking sheets, leaving about an inch between them so they have some breathing room. For extra insurance against spreading, you can pop the cut-out cookies back into the fridge for about 10-15 minutes before they go into the oven. This really helps solidify the butter again. Preheat your oven to 350°F (that’s 175°C), and bake for about 8-10 minutes. You’re looking for the edges to just start turning a little golden. Don’t overbake them, or they might get too crisp to decorate easily! Let them cool on the baking sheet for a few minutes – they’re still delicate – and then move them gently to a wire rack to cool completely. It’s super important they’re totally cool before you start with the royal icing!
Creative Halloween Cookie Decorating Ideas
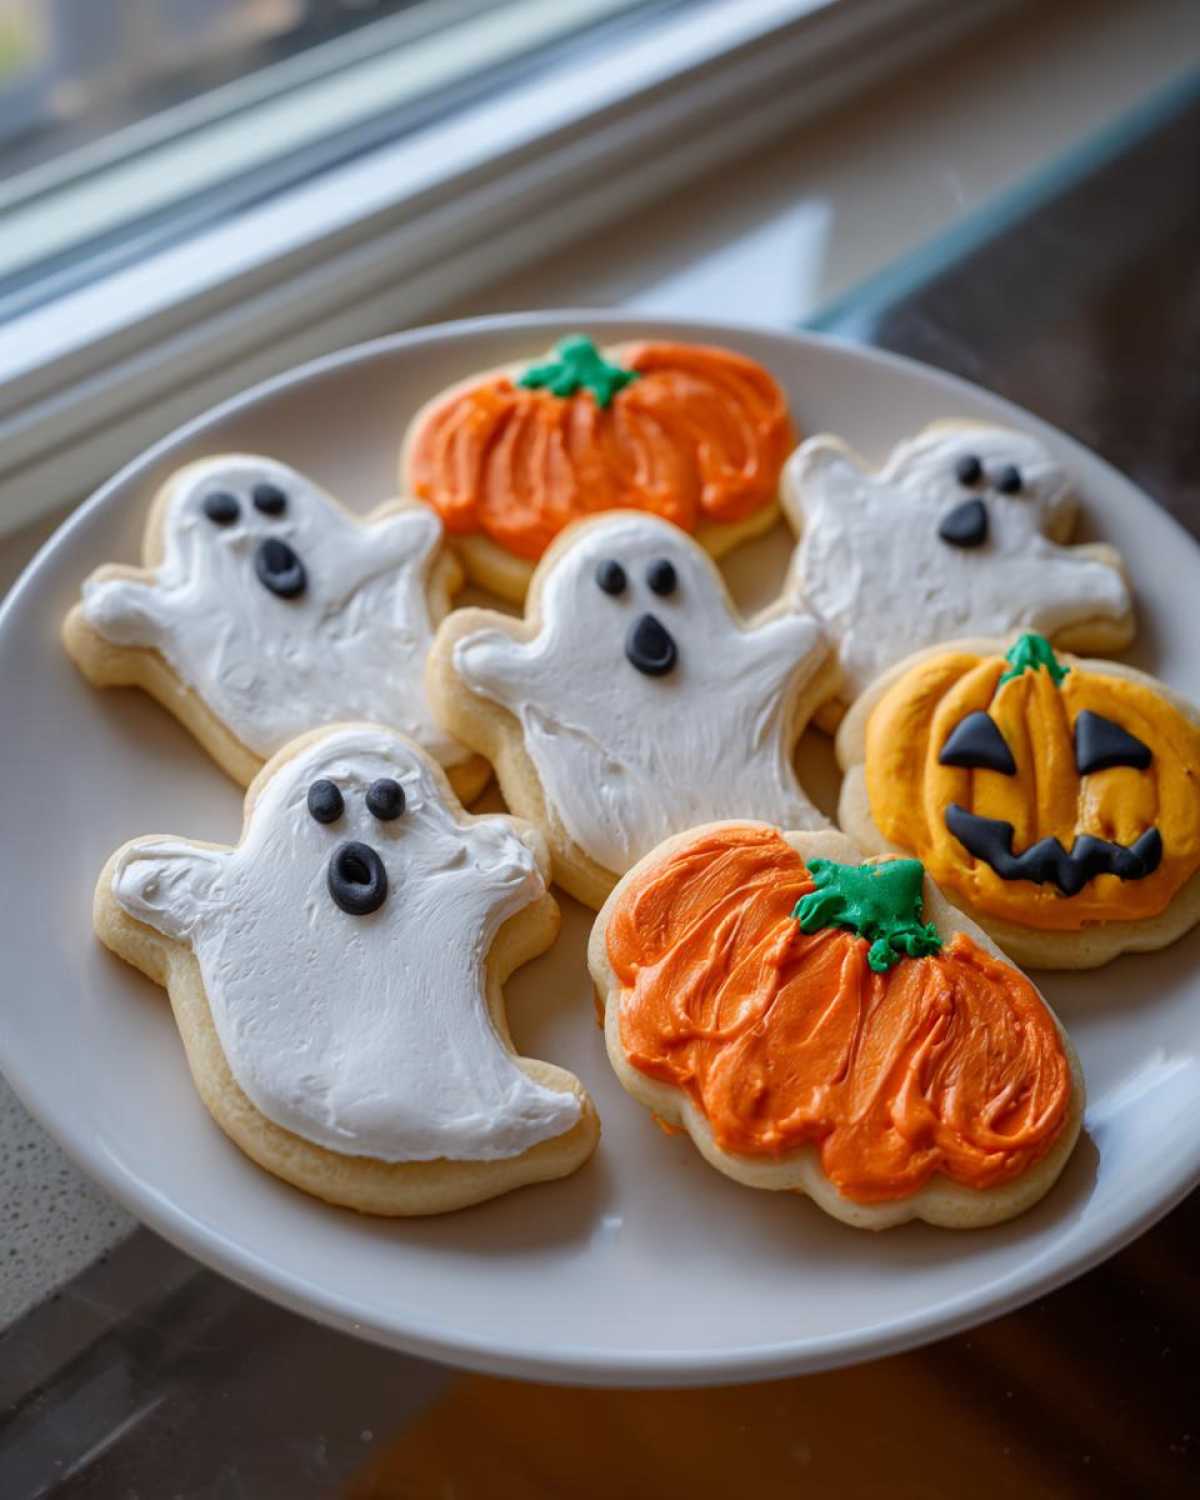
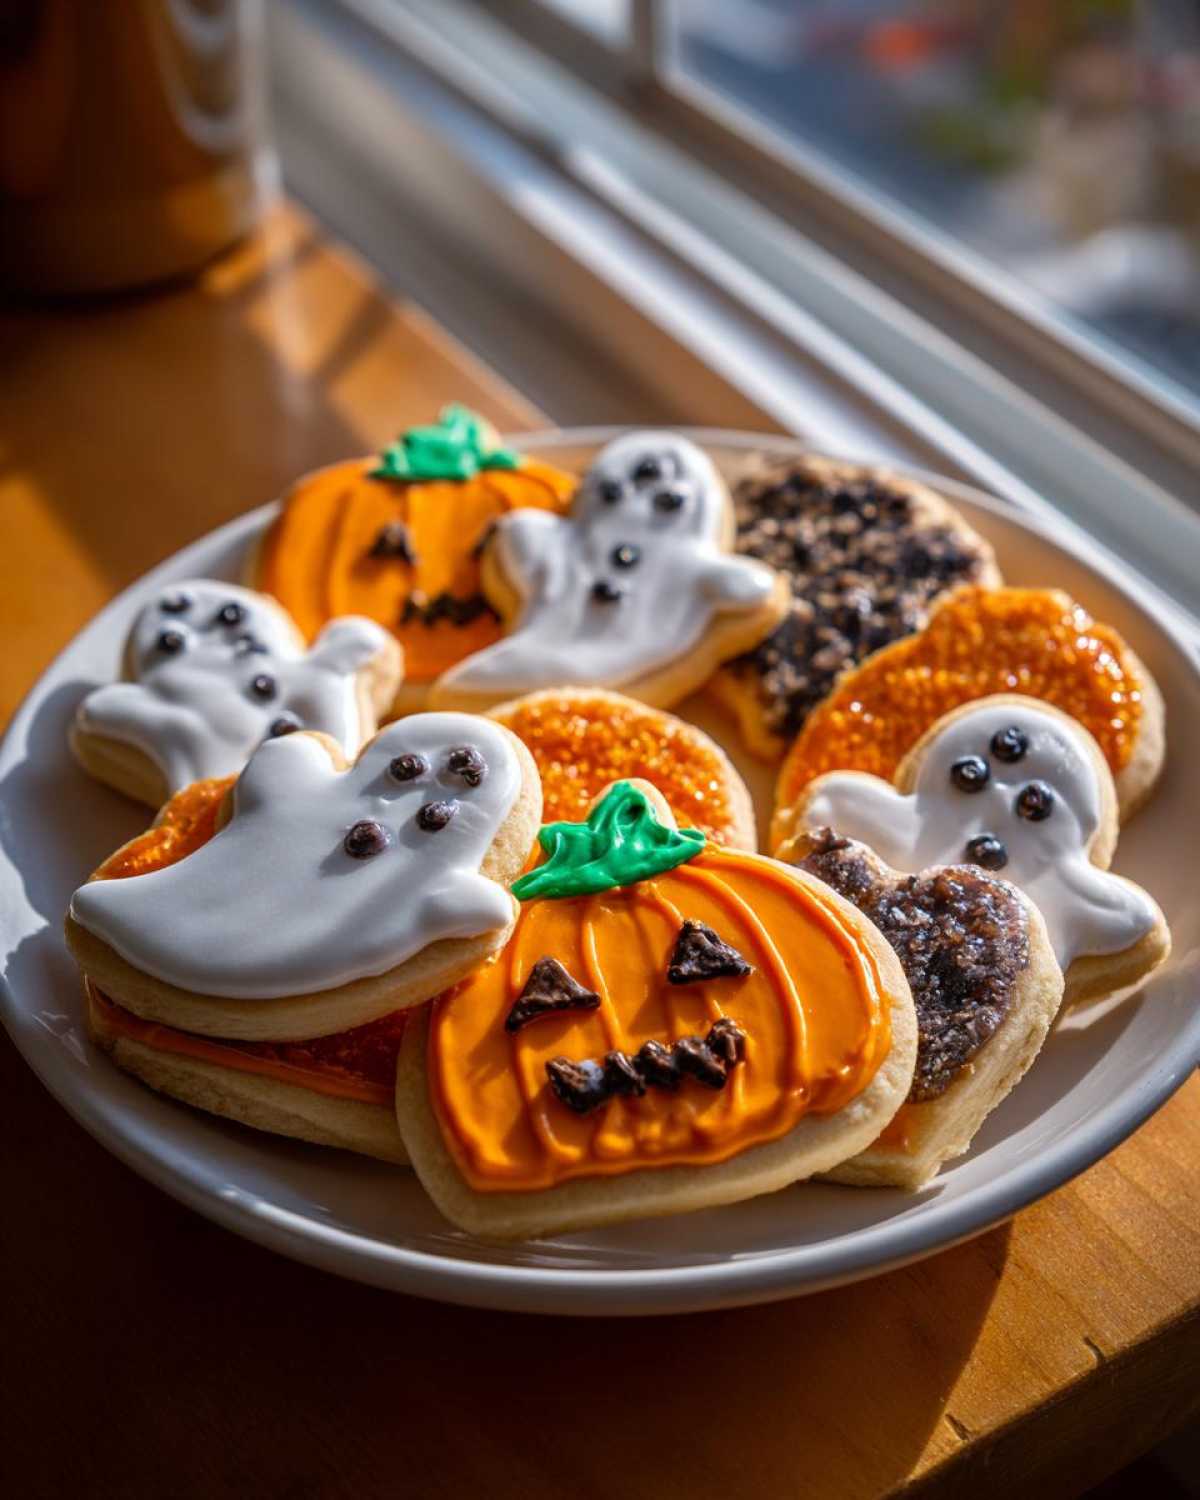
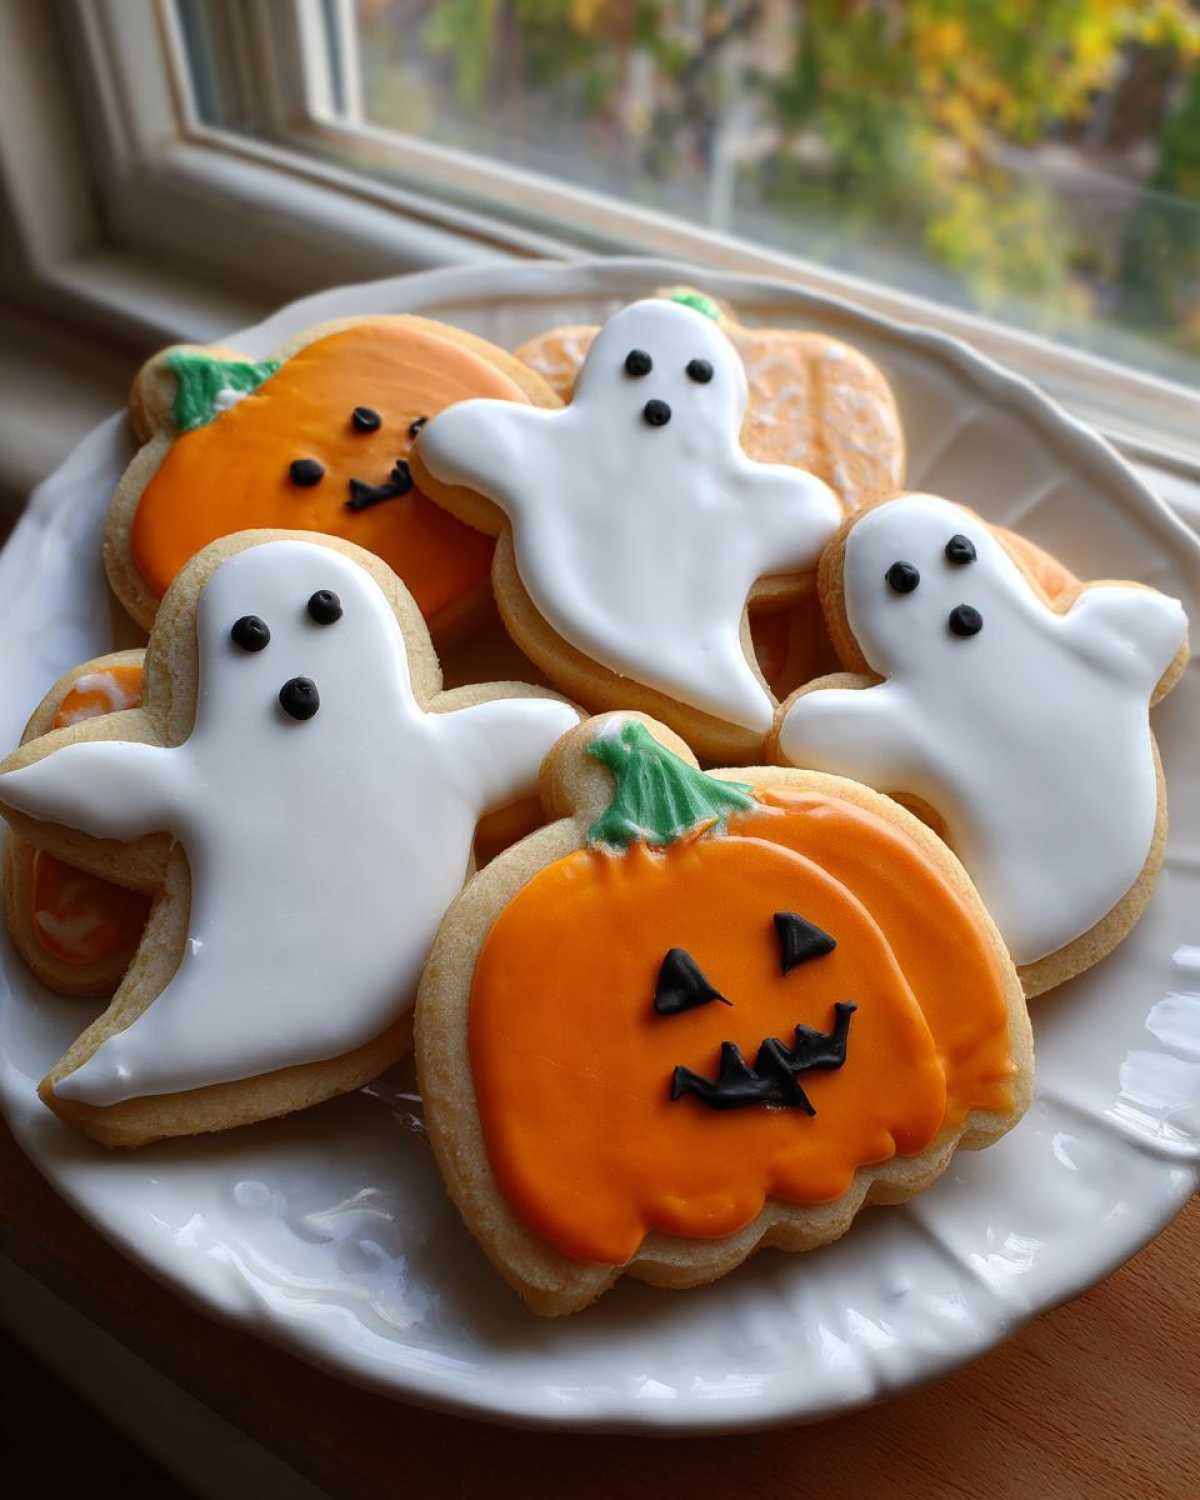
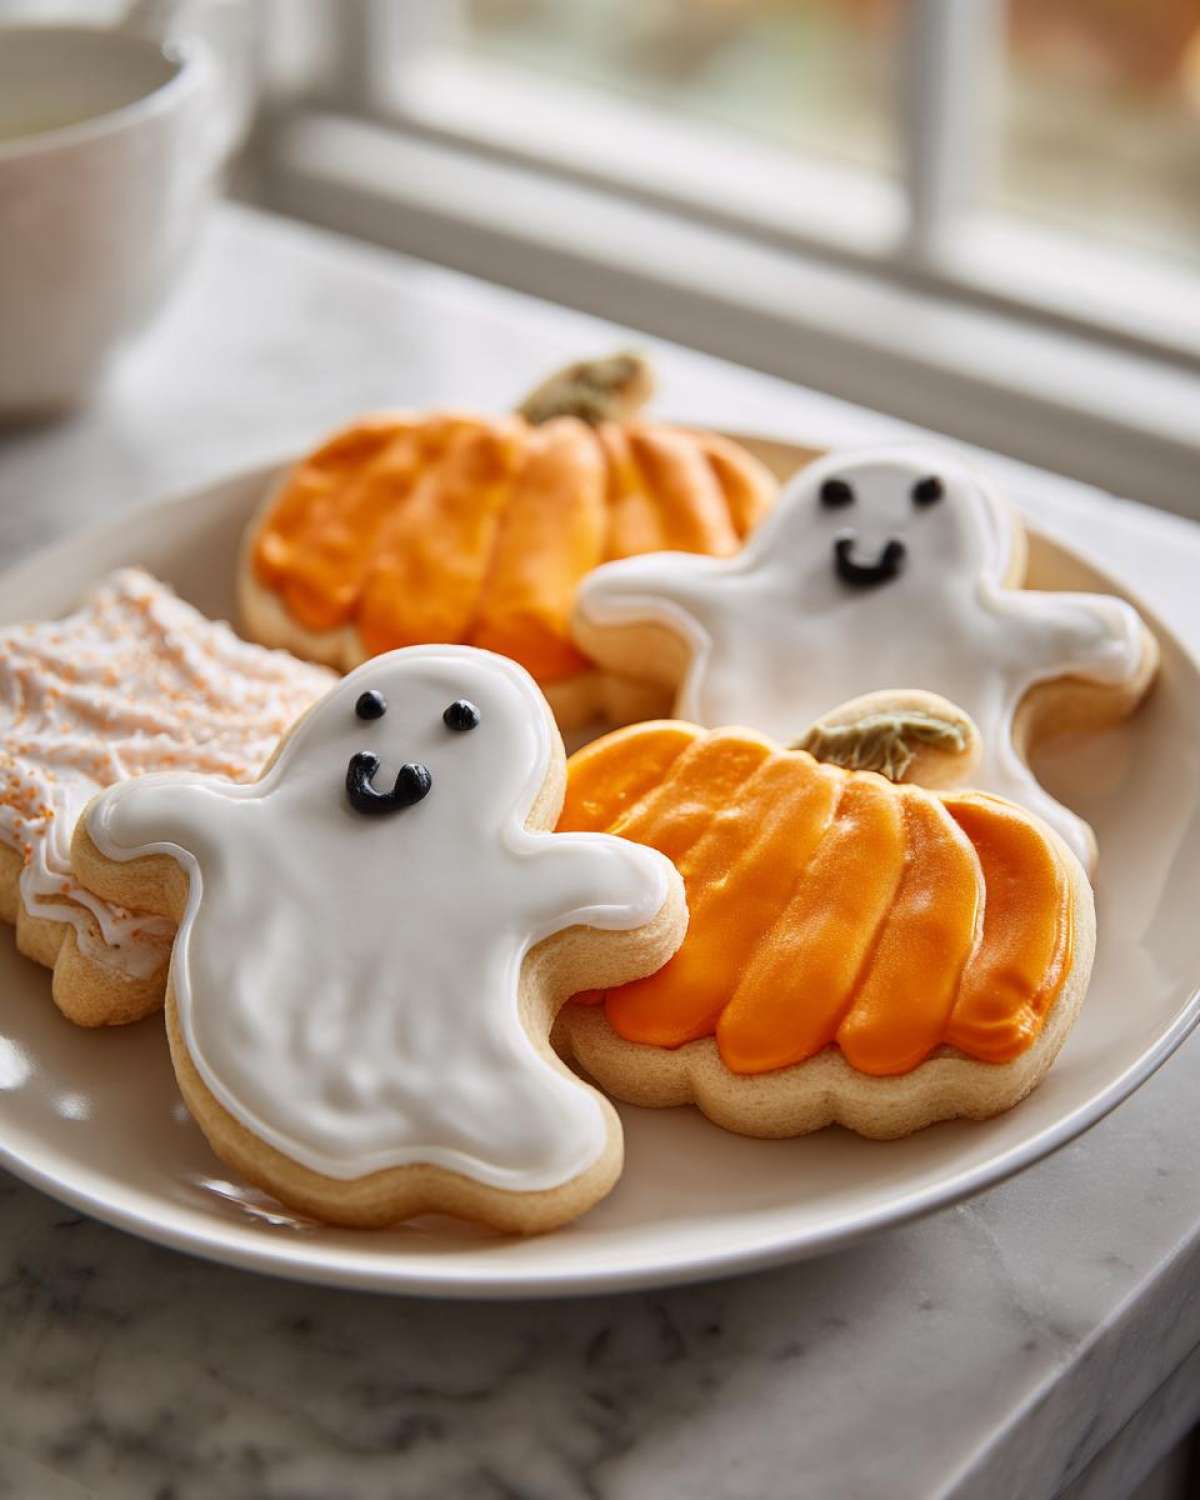
Once your halloween sugar cookies are completely cool, it’s time to dive into the fun part: decorating! Royal icing is your best friend here because it dries nice and firm, perfect for layering and detail work. For a classic look, flood your ghost cookies with white royal icing and then use a small black edible marker or some black icing to give them simple eyes and a mouth. So cute! Or, try creating spooky spiderweb cookies: flood a round cookie with black icing, then while it’s still wet, pipe concentric circles of white icing. Drag a toothpick from the center outwards through the white circles to create that perfect web effect. You can even make some wonderfully eerie black cocoa cookies by dividing your dough and mixing a tablespoon or two of black cocoa powder into half of it before chilling – they look amazing with bright green or orange icing! These simple techniques make even the most basic shapes look totally festive and fun for any class party treat.
Tips for Successful Halloween Sugar Cookies
Want to make sure your halloween sugar cookies turn out perfectly every single time? It’s all about a few key details! First off, ingredient temperature is huge. Make sure your butter is softened, not melted, and your egg is closer to room temp if you can manage it. For baking, it’s a good idea to know your oven a bit – if yours runs hot, maybe knock a few degrees off the temperature, or keep a closer eye on those edges so they don’t get too brown. And remember, letting them cool completely before you even *think* about decorating is a must. These are truly fantastic for all the class party treats you might need, and a little bit of prep goes a LONG way!
Frequently Asked Questions About Halloween Sugar Cookies
Got questions about making these spooky good halloween sugar cookies? I get it! Baking, especially for decorating perfectly, can bring up a few things. Let’s clear them up so you can have the most joyful baking experience possible!
My cookie dough feels too crumbly! What did I do wrong?
Oh no! Sometimes flour can be a bit tricky if it’s old or packed too tightly. If your dough feels too crumbly, you can try adding just a tiny bit more softened butter, like a teaspoon at a time, or a splash of milk. Just mix it in super gently until it *just* comes together. Remember, we want happy, pliable dough, not dry and sad!
Why do my cutout sugar cookies always spread out in the oven?
This is the biggest worry for most people wanting perfect cut out sugar cookies! The main culprits are usually not chilling the dough long enough or using butter that’s too soft. Chilling firms up that butter, which is what keeps the cookies from melting too fast and spreading. Also, make sure you’re not overmixing the dough after adding the flour – that can create too much gluten, which also leads to spreading.
Can I decorate these cookies with something other than royal icing?
Absolutely! While these cookies are truly designed to be a fantastic base for royal icing cookies because it dries hard and smooth, you can totally use buttercream frosting if that’s what you prefer or have on hand. Buttercream is softer, so just be gentle with your decorations. Sprinkles, edible glitter, or even just a simple dusting of powdered sugar work beautifully too!
How should I store my decorated Halloween cookie creations?
Once your decorated cookies are completely dry – and I mean *completely* dry, especially if you used a lot of royal icing – store them in an airtight container at room temperature. You can place parchment paper between layers if you’re worried about the icing sticking. They usually stay yummy for about a week to 10 days, but honestly, they rarely last that long in my house!
Estimated Nutritional Information
Just so you know, the nutritional info for these halloween sugar cookies is an estimate, of course! Things like specific brands of butter or how thick you roll your dough can change things up just a little bit. But generally, you’re looking at about 150 calories per cookie, with around 12g of sugar and 7g of fat. It’s always good to have a rough idea, right?
Share Your Spooky Creations!
Now that you’ve baked and decorated your amazing halloween sugar cookies, I absolutely *have* to see them! Did you go for cute ghosts, spooky spiders, or maybe something totally unique? Share your creations in the comments below, and don’t forget to rate the recipe if you loved it. Your feedback and photos truly make my day and inspire everyone at Pure Cooking Joy!
PrintEasy Halloween Sugar Cookies for Decorating

Bake simple, no-spread sugar cookies perfect for decorating with royal icing. These beginner-friendly cut-outs are ideal for Halloween parties and bake sales.
- Prep Time: 25 min
- Cook Time: 10 min
- Total Time: 1 hour 35 min
- Yield: 24 cookies 1x
- Category: Dessert
- Method: Baking
- Cuisine: American
- Diet: Vegetarian
Ingredients
- 2 1/2 cups all-purpose flour
- 1 cup (2 sticks) unsalted butter, softened
- 1 cup granulated sugar
- 1 large egg
- 1 teaspoon vanilla extract
- 1/2 teaspoon baking powder
- 1/4 teaspoon salt
Instructions
- Cream together the softened butter and granulated sugar in a large bowl until light and fluffy.
- Beat in the egg and vanilla extract until well combined.
- In a separate bowl, whisk together the flour, baking powder, and salt.
- Gradually add the dry ingredients to the wet ingredients, mixing until just combined. Do not overmix.
- Divide the dough in half, flatten each half into a disc, wrap in plastic wrap, and refrigerate for at least 1 hour.
- Preheat your oven to 350°F (175°C). Line baking sheets with parchment paper.
- On a lightly floured surface, roll out one disc of dough to about 1/4-inch thickness.
- Cut out desired Halloween shapes using cookie cutters.
- Place the cut-out cookies onto the prepared baking sheets, about 1 inch apart.
- Bake for 8-10 minutes, or until the edges are lightly golden.
- Let the cookies cool on the baking sheets for a few minutes before transferring them to a wire rack to cool completely.
- Decorate with royal icing once fully cooled.
Notes
- For crispier cookies, bake for an additional 1-2 minutes.
- Chill the cut-out cookies for 10-15 minutes before baking to further prevent spreading.
- Use black cocoa powder in part of the dough for black cookies.
Nutrition
- Serving Size: 1 cookie
- Calories: 150
- Sugar: 12g
- Sodium: 50mg
- Fat: 7g
- Saturated Fat: 4g
- Unsaturated Fat: 3g
- Trans Fat: 0g
- Carbohydrates: 20g
- Fiber: 1g
- Protein: 2g
- Cholesterol: 25mg
