 Skip to content

Halloween is such a fun time of year, right? There’s just something magical about the crisp air, the changing leaves, and of course, all the spooky treats! I’m Alex, and like many of you, I love finding ways to bring a little extra joy and creativity into my kitchen, especially for holidays. That’s why I’m so excited to share these super easy ghost cookies with you. We’ve got two fantastic ways to make them: a no-bake version using Nutter Butter cookies that you can whip up in minutes, and adorable classic sugar cookies decked out in royal icing. Both are incredibly simple, big on flavor, and totally perfect for sharing at your Halloween bash or just as a fun afternoon project with the kids. It’s all about finding that pure joy in making delicious, memorable food without all the fuss, and these Halloween sugar cookies totally fit the bill!
- Why You'll Love These Easy Ghost Cookies
- Gather Your Ingredients for Ghost Cookies
- Crafting No-Bake Nutter Butter Ghosts
- Decorating Classic Royal Icing Ghost Cookies
- Tips for Perfect Ghost Cookies Every Time
- Making Ahead and Storing Your Ghost Cookies
- Frequently Asked Questions About Ghost Cookies
- Nutritional Estimate for Your Ghost Cookies
- Share Your Spooky Creations!
Why You’ll Love These Easy Ghost Cookies
Seriously, these ghost cookies are a total win for so many reasons! They’re:
- Super Simple & Quick: Especially the Nutter Butter ones – they’re almost no-bake!
- Kid-Friendly Fun: Kids will absolutely love helping to decorate them.
- Deliciously Spooky: They look cute and taste amazing.
- Perfect for Parties: Minimal fuss means more time enjoying your guests.
- Totally Customizable: You can get creative with faces and decorations!
Gather Your Ingredients for Ghost Cookies
Alright, let’s get our spooky ingredients ready! Because we’re making two kinds of adorable ghost cookies, we’ve got a couple of things to grab. Don’t worry, these are all super common finds at the grocery store. For our quick Nutter Butter ghosts, you’ll need a package of those classic peanut butter cookies, some white candy melts (they melt like a dream!), and of course, black decorating icing for those cute little ghost faces. If you’re diving into the classic sugar cookie version, grab a package of refrigerated sugar cookie dough – so easy! You’ll also want to pick up a box of royal icing mix, some water to get it just right, and a bit more black decorating icing for those ghostly grins. Using good quality ingredients really makes a difference, trust me!
Crafting No-Bake Nutter Butter Ghosts
Okay, let’s get started with the super-duper easy part – our Nutter Butter ghost cookies! Honestly, this is where the pure joy really kicks in because there’s no baking involved. First thing’s first, you’ll want to melt your white candy melts. You can do this in the microwave, just follow the package directions – usually, it’s short bursts of heat and stirring in between so they don’t seize up. Once they’re smooth and creamy, grab your Nutter Butter cookies. Give each one a nice dip, about halfway up, into that melted white candy. Let any extra drip back into the bowl; a little scrape on the side of the bowl can help too. Then carefully lay them on some wax paper. Now, this is my little trick: let those set for just a minute or two before you grab your black decorating icing. If the candy is still super melty, your faces might slide around! Just a little bit of firmness makes drawing those cute little ghost eyes and mouths so much easier and cleaner. It’s seriously that simple!
Decorating Classic Royal Icing Ghost Cookies
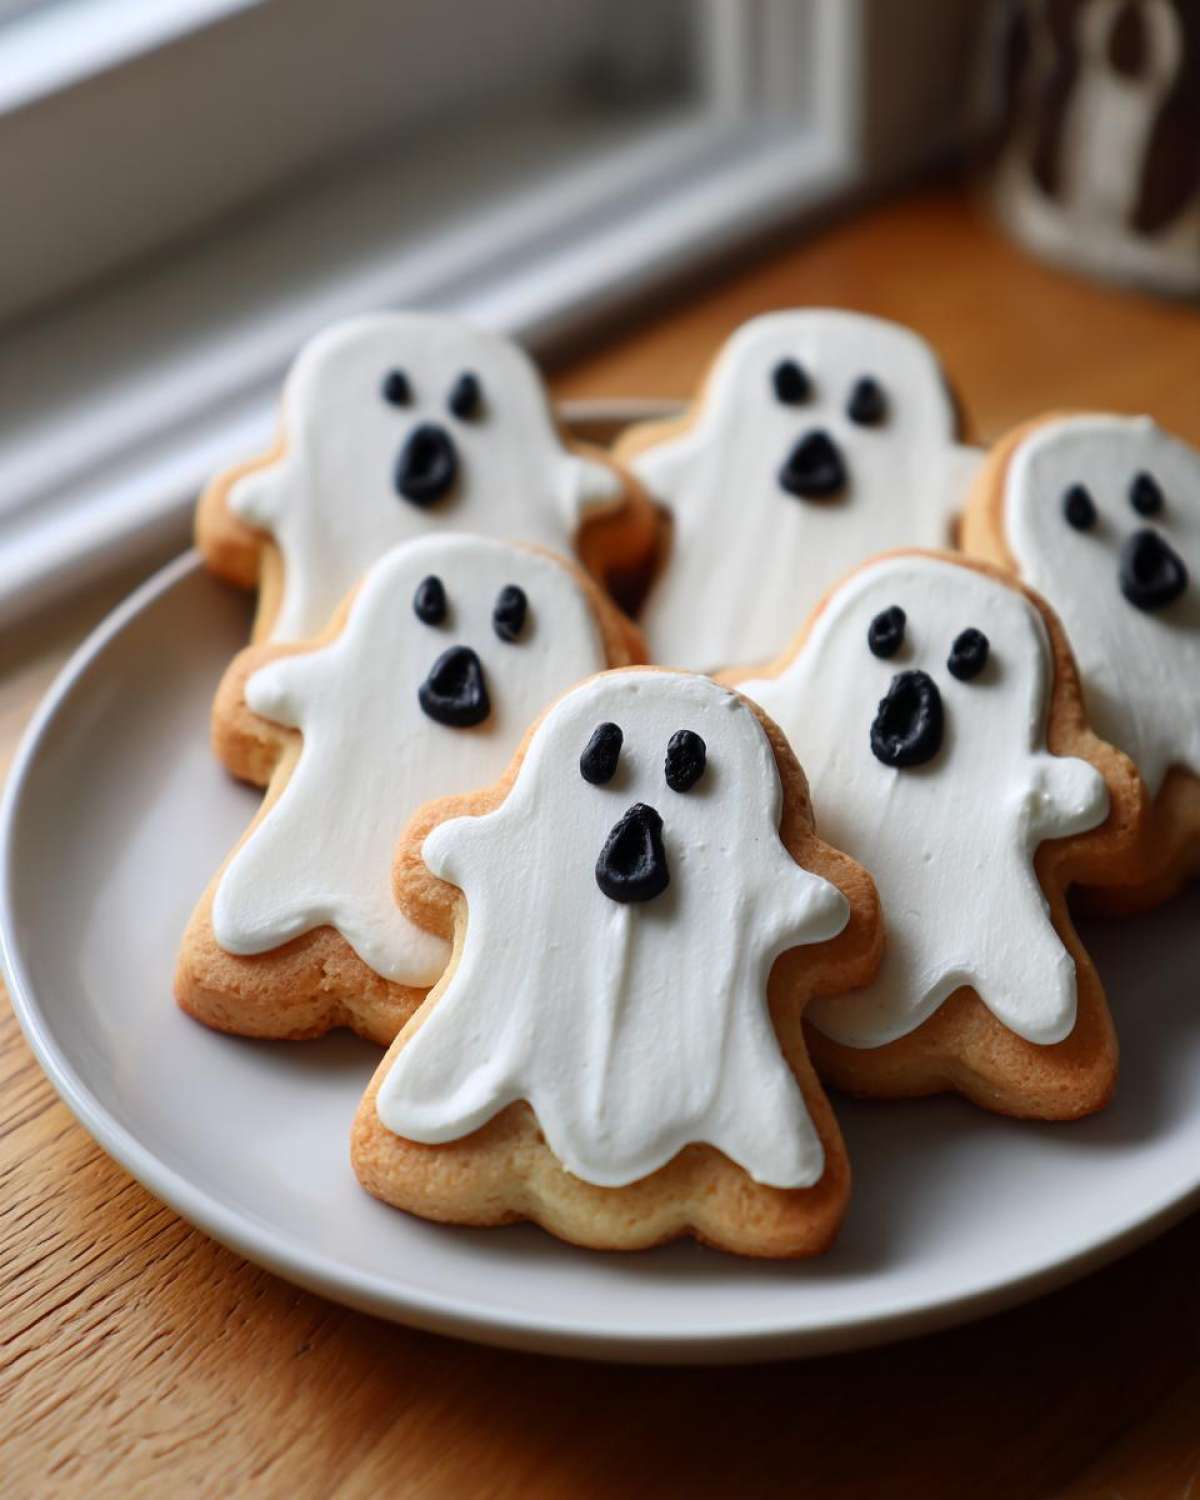
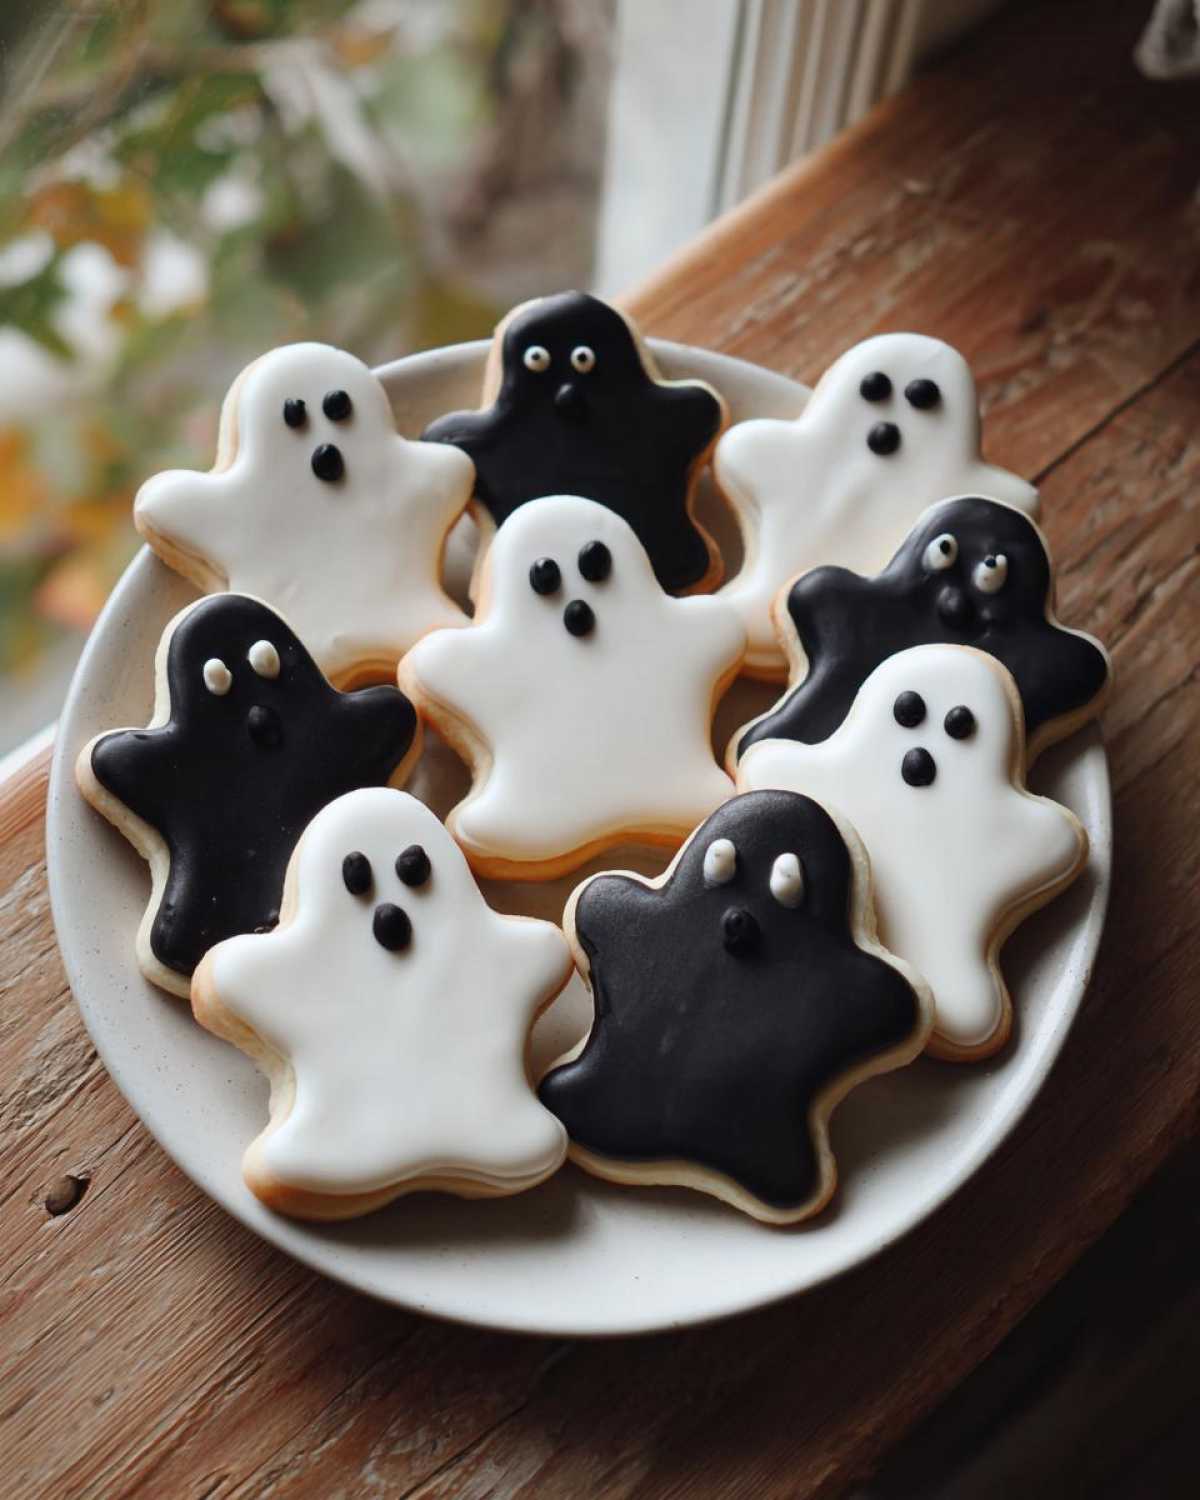
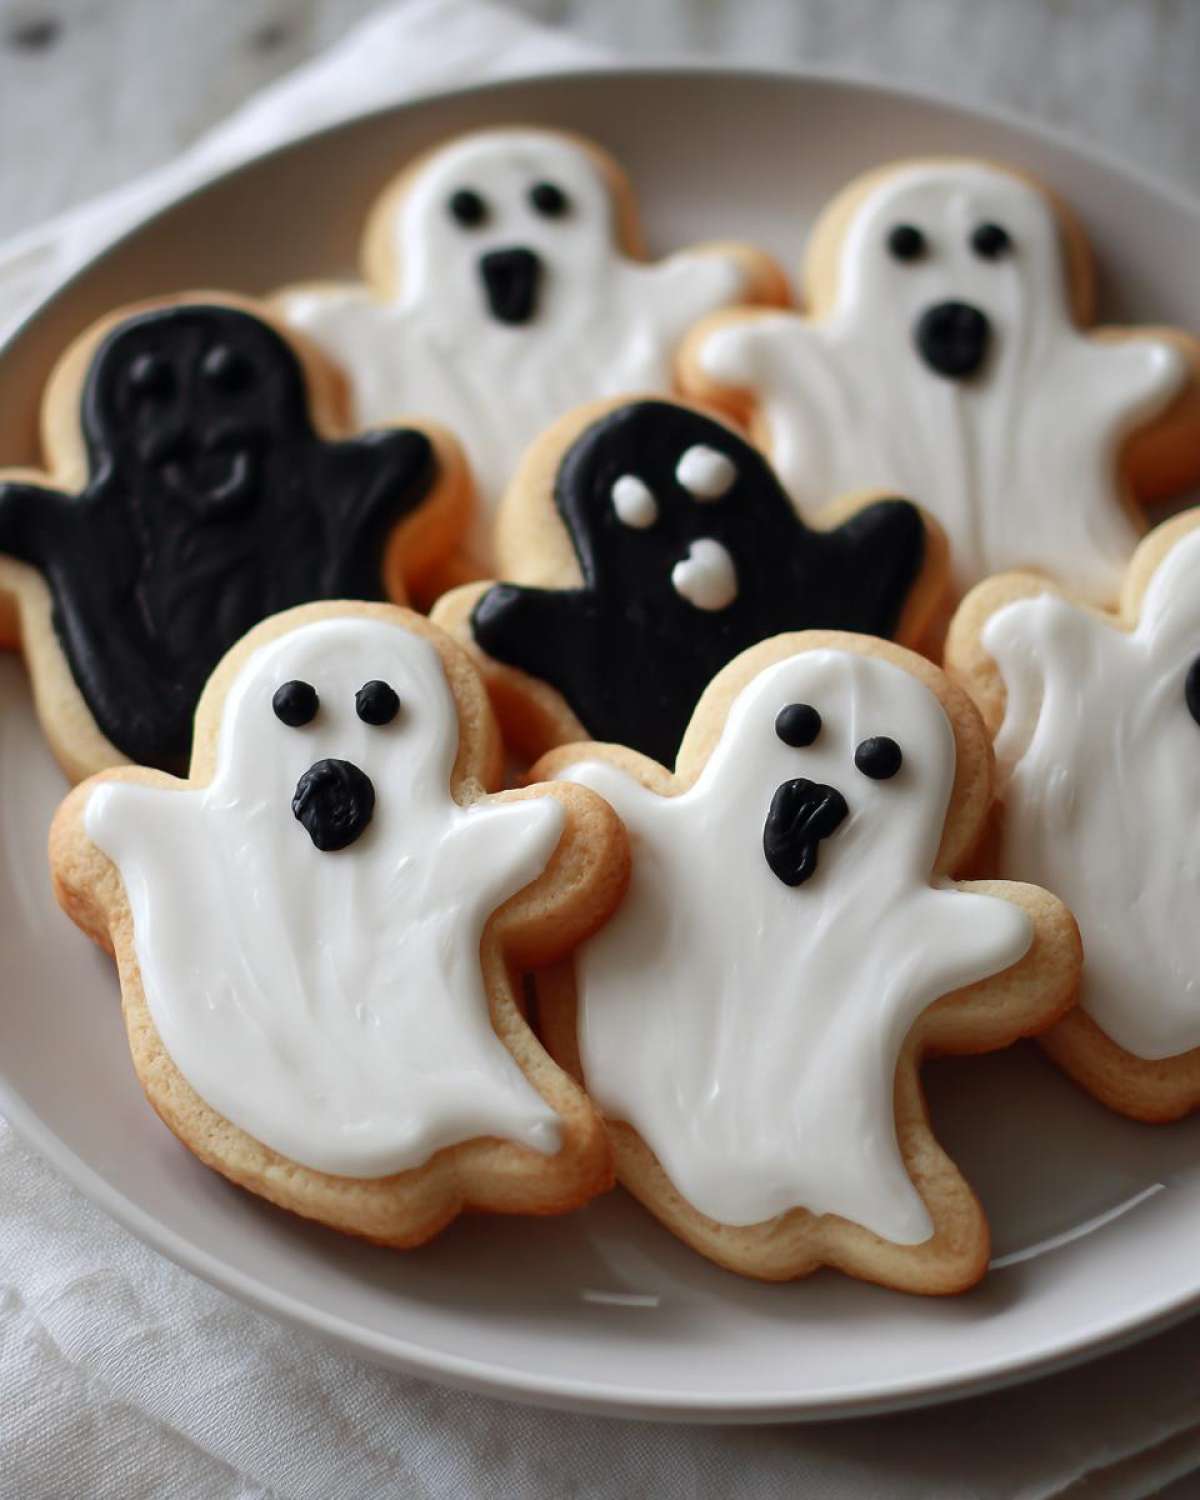
Now, for those of you who love a good old-fashioned cookie decorated just right, let’s talk about our classic sugar cookie ghost cookies! This is where a little bit of patience really pays off. First, get your refrigerated sugar cookie dough ready. If you’ve got a ghost-shaped cookie cutter – perfect! If not, any fun shape will do for Halloween, or you can even just cut squares or circles. Bake these according to the package directions until they’re just golden. The *most* important thing here is letting them cool COMPLETELY. Seriously, warm cookies and melty icing are a messy disaster waiting to happen. While they’re cooling, let’s whip up that royal icing. Just mix the packet with the water, stirring until it’s smooth and has a nice, drizzly consistency – not too thick, not too thin, almost like honey. You want it pourable, but not so runny that it floods right off the cookie. Once your cookies are totally chilly, it’s decorating time! Dip each cooled sugar cookie right into that glorious royal icing, letting any extra drip back into the bowl. Place them onto your wax paper, and while the icing is still wet, grab that black decorating icing. This is where you can really have fun – simple dots for eyes, a little zig-zag mouth, or even a spooky little grin! For super clean lines and control when you’re drawing those faces, I really love using a piping bag with a small tip. It gives you so much more precision than the squeeze bottles sometimes!
Tips for Perfect Ghost Cookies Every Time
You know, making these ghost cookies is supposed to be fun, not stressful! So, here are a few little tricks I’ve picked up to make sure they turn out just right, every single time. For our Nutter Butter ghosts, make sure those candy melts aren’t too hot when you dip; a slightly cooler (but still melt-y!) coating makes drawing faces way easier. And if you’re going the royal icing route, really let those sugar cookies cool down completely. Warm cookies mean runny icing, and we don’t want that! For the icing consistency, if it seems too thick, just add a *tiny* splash more water, and if it’s too thin, a bit more icing mix. Test it on a spare cookie first! And don’t forget the fun stuff – edible googly eyes are HILARIOUS on these guys, or you can use different colors of icing for extra personality. It’s all about making it your own and finding that pure cooking joy!
Making Ahead and Storing Your Ghost Cookies
So, you’ve made a batch of these adorable ghost cookies and you want them to stay perfect for your Halloween party, right? No worries! Both the Nutter Butter ghosts and the royal icing sugar cookies are pretty great at waiting. You can totally make them a day or two ahead of time. Just make sure all the icing and candy melts are completely set – that’s key! Then, carefully pop them into an airtight container. I like to put a piece of wax paper between layers if I’m stacking them, just to keep those cute ghost faces from sticking to each other. Keep them at room temperature, definitely not in the fridge because that can mess with the cookie texture and icing. They’ll stay looking and tasting fantastic!

Frequently Asked Questions About Ghost Cookies
Got questions about our spooky little ghost cookies? I totally get it! It’s always good to have a few pointers. Here are some things people often ask:
Can I use different cookies for the no-bake version?
Absolutely! While Nutter Butters are fantastic because of their shape, you can totally use other cookies. Vanilla wafers or even plain shortbread cookies work well. Just make sure they’re sturdy enough to hold up to the candy melt dip!
How do I prevent royal icing from cracking?
Cracking usually happens when the icing dries too quickly, especially if you have a draft or are using a super thin consistency. Make sure your royal icing mix has the right amount of water – not too thin! Also, try not to put them in a drafty spot to dry. If you’re using a very thick icing for piping details, it’s less likely to crack.
Can I make the royal icing ahead of time?
Yes, you can! You can mix up your royal icing a day or two in advance. Just cover it tightly with plastic wrap, pressing the wrap directly onto the surface of the icing to prevent a skin from forming. When you’re ready to use it, you might need to add a tiny splash of water and stir it well to get it back to the perfect consistency. It’s a great way to save a little time!
What if I don’t have black decorating icing?
No problem at all! You can easily make your own black icing. Just take some of your prepared royal icing and add black food coloring (gel coloring works best for a deep color without thinning the icing too much). Mix it really well until you get that spooky black shade. Alternatively, you can use melted dark chocolate or even some black edible marker pens if you have those on hand!
Nutritional Estimate for Your Ghost Cookies
When you’re whipping up these fun ghost cookies, it’s always nice to have a general idea of what’s in them! For a single cookie, whether it’s one of our no-bake Nutter Butter ghosts or a classic decorated sugar cookie, you’re looking at roughly 150 calories. You’ll also find around 15g of sugar, 8g of fat (with about 4g being saturated), and about 18g of carbohydrates. Of course, these are just estimates, and the exact numbers can wiggle a bit depending on the specific brands you use and precisely how much icing or candy melt ends up on each cookie! It’s all part of the delicious adventure.
Share Your Spooky Creations!
Alright, my fellow kitchen adventurers, I’ve shared my secrets for making these super fun and easy ghost cookies, but now I want to hear from YOU! Did you try the no-bake Nutter Butter ghosts? Did your royal icing sugar cookies turn out perfectly spooky? I’d absolutely love to see your creations! Leave a comment below and tell me all about your baking adventures – what did you think? Did you add any extra spooky touches? And hey, if you snapped a pic of your amazing ghost cookies, be sure to tag us on social media! It really makes my day to see you all finding that pure cooking joy in your kitchens.
PrintEasy Ghost Cookies

Create fun and spooky ghost cookies for your Halloween party with these simple no-bake and royal icing decorating ideas.
- Prep Time: 30 min
- Cook Time: 10 min
- Total Time: 40 min
- Yield: 24 cookies 1x
- Category: Dessert
- Method: No-Bake / Baking
- Cuisine: American
- Diet: Vegetarian
Ingredients
- 1 (15 ounce) package Nutter Butter cookies
- 1 cup white candy melts
- 1/4 cup black decorating icing
- 1 (16 ounce) package refrigerated sugar cookie dough
- 1 cup royal icing mix
- 3 tablespoons water
- 1/2 cup black decorating icing
Instructions
- For Nutter Butter ghosts: Melt white candy melts according to package directions. Dip each Nutter Butter cookie halfway into the melted candy, letting excess drip off. Place on wax paper. Use black decorating icing to draw ghost faces on the cookies. Let set.
- For royal icing ghosts: Prepare sugar cookie dough and cut into ghost shapes. Bake according to package directions. Let cookies cool completely.
- Prepare royal icing mix according to package directions, adding water until it reaches a drizzling consistency.
- Dip each cooled sugar cookie into the royal icing, letting excess drip off. Place on wax paper.
- Use black decorating icing to draw ghost faces on the wet royal icing. Let set completely.
Notes
- These cookies are perfect for a kids’ Halloween party.
- You can use store-bought ghost-shaped cookie cutters for easy shaping.
- Experiment with different sizes of candy melts and royal icing for varied ghost appearances.
- Consider using edible googly eyes for an extra spooky touch.
- For a meal planning approach to your holiday baking, consider a meal delivery service to save time on other meals.
Nutrition
- Serving Size: 1 cookie
- Calories: 150
- Sugar: 15g
- Sodium: 50mg
- Fat: 8g
- Saturated Fat: 4g
- Unsaturated Fat: 4g
- Trans Fat: 0g
- Carbohydrates: 18g
- Fiber: 1g
- Protein: 2g
- Cholesterol: 5mg
