 Skip to content
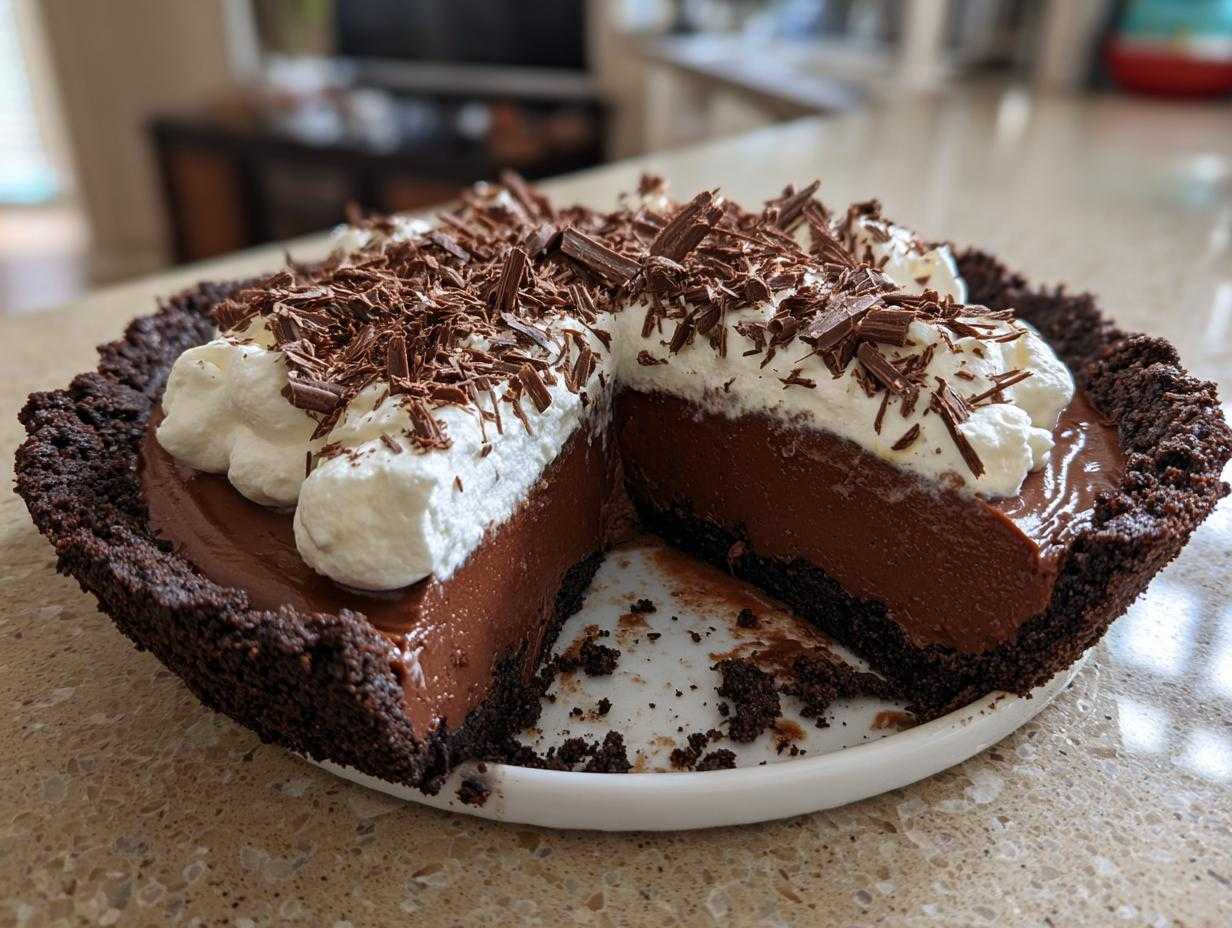

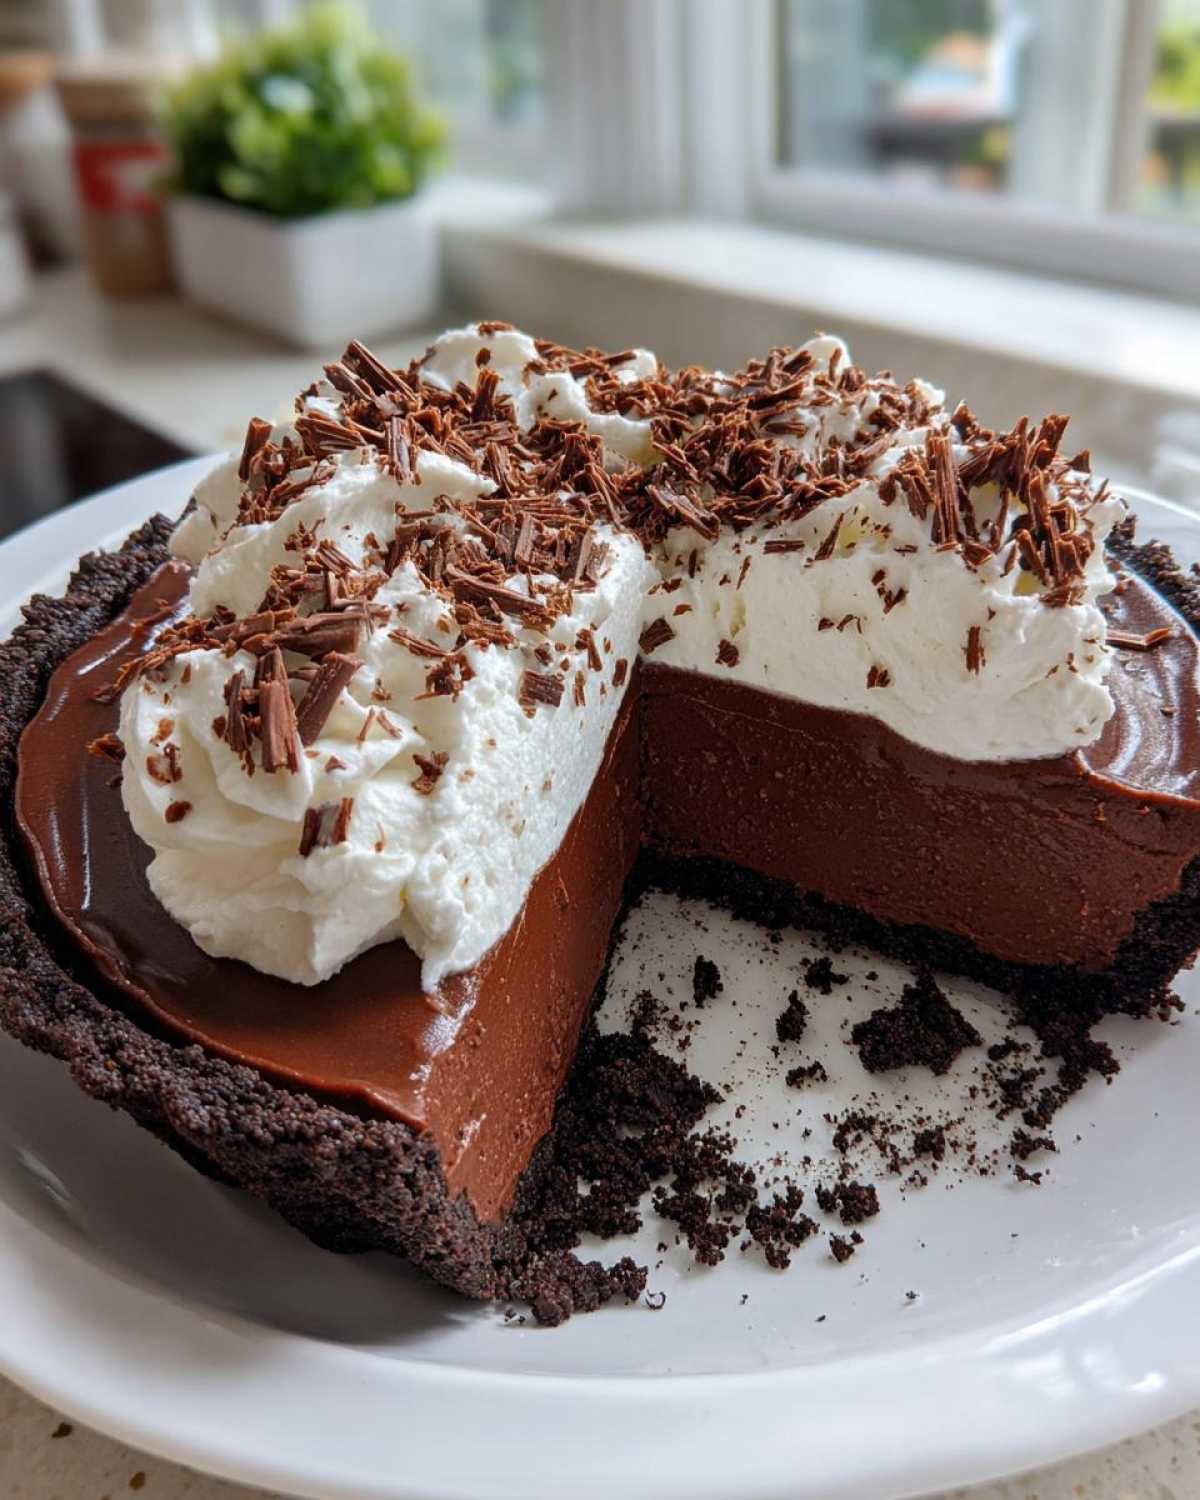
Oh, there’s just something about a super simple, incredibly delicious dessert, right? Like it magically appears and makes everyone happy without you having to break a sweat. That’s exactly what this Easy Chocolate Cream Pie is all about! It’s got this wonderfully silky smooth, rich chocolate custard nestled in a perfectly crisp cookie crust, and the best part? It’s a no-bake wonder! If you’re new to the kitchen or just looking for a stress-free treat that tastes like pure luxury, then you’ve found your perfect match. Here at Pure Cooking Joy, we’re all about finding that simple happiness in cooking, just like how I discovered my own passion after leaving a crazy corporate burnout behind. This chocolate cream pie is the kind of recipe that feels special enough for Pi Day or a sunny summer afternoon, and it truly embodies our belief that amazing food shouldn’t be complicated.
- Why You'll Love This Easy Chocolate Cream Pie
- Gather Your Ingredients for Chocolate Cream Pie
- Crafting the Perfect Chocolate Cream Pie: Step-by-Step
- Tips for a Perfect Chocolate Cream Pie Every Time
- Make-Ahead and Storage for Your Pie for Pi Day
- Frequently Asked Questions about Chocolate Cream Pie
- Nutritional Estimate for This Easy Chocolate Pie
- Share Your Chocolate Cream Pie Creations!
Why You’ll Love This Easy Chocolate Cream Pie
Honestly, picking a favorite part of this pie is tough, but here’s why it’s become a total lifesaver for me:
- Seriously Easy & No-Bake: You can whip up the filling right on the stovetop, no oven needed! It’s perfect for those hot summer days or when you just don’t want to fuss with baking.
- Pure Chocolate Bliss: That silky smooth, rich chocolate custard? Oh my goodness. It’s like a hug in a slice, and it pairs perfectly with that crisp cookie crust.
- Make-Ahead Magic: This pie is your best friend when you need a dessert planned in advance. Just make it the day before, add the whipped cream when you’re ready, and you’re golden!
- So Versatile: Whether it’s a last-minute craving, a holiday spread, or a special occasion like Pi Day, this chocolate cream pie always delivers. It’s a crowd-pleaser, guaranteed.
Gather Your Ingredients for Chocolate Cream Pie
Okay, so gathering up everything you need for this amazing chocolate cream pie is a breeze! Think of it as collecting little treasures for your delicious creation. First things first, you’ll need about a cup and a half of chocolate cookie crumbs – Oreos are my absolute go-to because that chocolatey crunch is just perfect. If you happen to not have those, don’t sweat it! Grab some graham cracker crumbs instead, maybe about a cup and a half too, and I’d suggest mixing in about a quarter cup of granulated sugar to give them a little extra oomph. We’ll then mix these lovely crumbs with six tablespoons of butter that’s been melted until it’s all smooth and golden. Now, for the star of the show, the custard! We’re going to grab two cups of regular milk, a half cup of sugar, a quarter cup of trusty cornstarch to make it nice and thick, and a quarter cup of unsweetened cocoa powder for that deep chocolate flavor. And don’t forget four large egg yolks – these are super important for that silky texture! Finally, we’ll stir in two more tablespoons of butter and a teaspoon of vanilla extract right at the end to make everything rich and fragrant. Oh, and of course, a cup and a half of heavy cream that’s been whipped up into nice, stiff peaks for the topping! Easy peasy, right?
Crafting the Perfect Chocolate Cream Pie: Step-by-Step
Okay, let’s dive into actually making this dream pie! It’s honestly more about gentle coaxing than complicated techniques, which is why I love it so much. You’ll feel like a kitchen wizard in no time!
Preparing the Cookie Crust for Your Chocolate Cream Pie
First things first, let’s get that crust ready. Grab your bowl with the cookie crumbs and melted butter – give it one last good stir. Now, press that mixture nice and evenly into the bottom and up the sides of your pie plate. Really pack it in there so it holds its shape when you slice it. Pop that into the fridge while we work on the magic filling. This chill time is super important, it helps the crust set up nicely so it doesn’t fall apart later.
Making the Silky Stovetop Chocolate Custard
Now, for the heart of our chocolate cream pie! In a medium saucepan, whisk together the milk, sugar, cornstarch, and that lovely cocoa powder. Whisk it until it’s all smooth and you don’t see any lumps – think of it like starting a beautiful painting, you want a smooth canvas! While that’s sitting there, gently whisk those egg yolks in a separate bowl. The trick here is tempering: slowly, and I mean *slowly*, ladle about half a cup of your milk mixture into the egg yolks, whisking constantly. This gently warms up the eggs so they don’t scramble when you add them back. Once they’re tempered, pour that whole egg yolk mixture back into the saucepan. Keep whisking! Cook it over medium heat, stirring all the time, until it gets nice and thick and starts to bubble. Let it bubble for just another minute while you keep whisking – this cooks out any starchy taste. Then, take it off the heat and stir in that last bit of butter and the vanilla. That butter is what makes it so incredibly rich and glossy!
Assembling and Chilling Your No Bake Pie
Alright, your crust is chilled and your custard is ready to go! Gently pour that luscious chocolate custard right into your prepared cookie crust. It’ll fill up that crust perfectly. Now, this next step is a total game-changer for keeping that custard wonderfully smooth: grab a piece of plastic wrap and press it gently right onto the surface of the pie. This is key to preventing that dreaded skin from forming. Then, carefully place the whole pie into the refrigerator to chill until it’s nice and firm. We’re talking at least 4 hours, but honestly, making it the day before is even better for this make-ahead pie!
Finishing Touches: Whipped Cream and Garnish
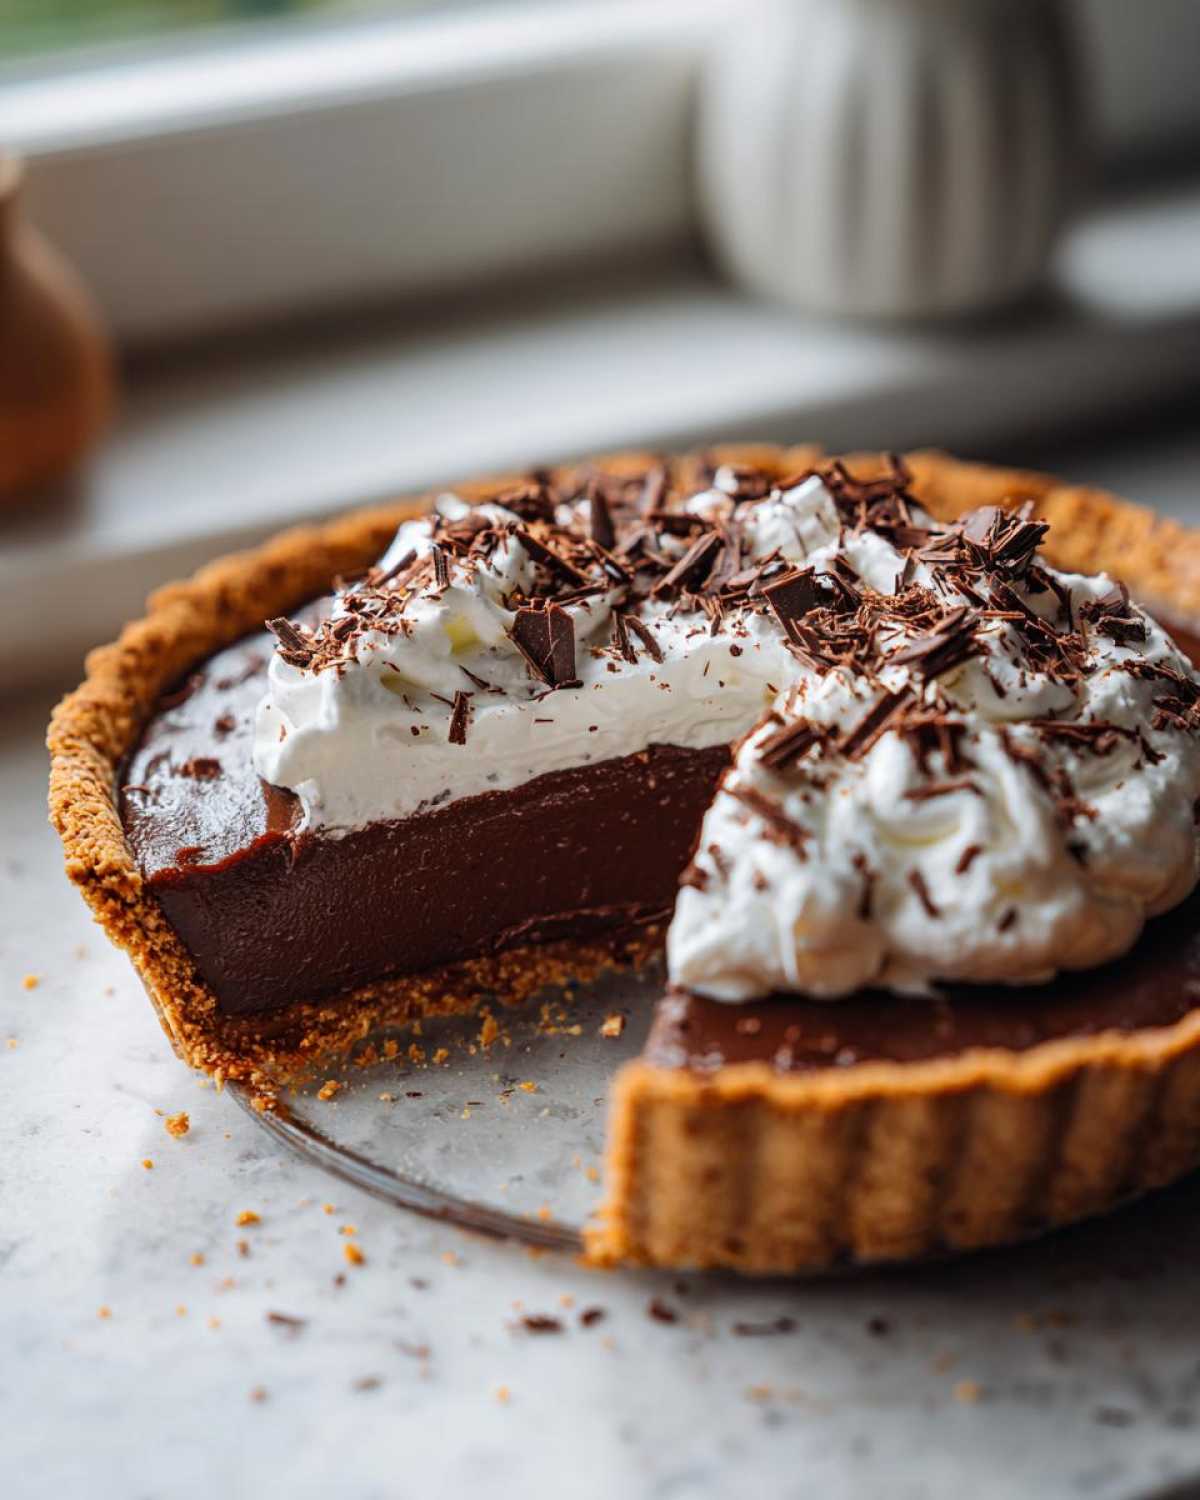
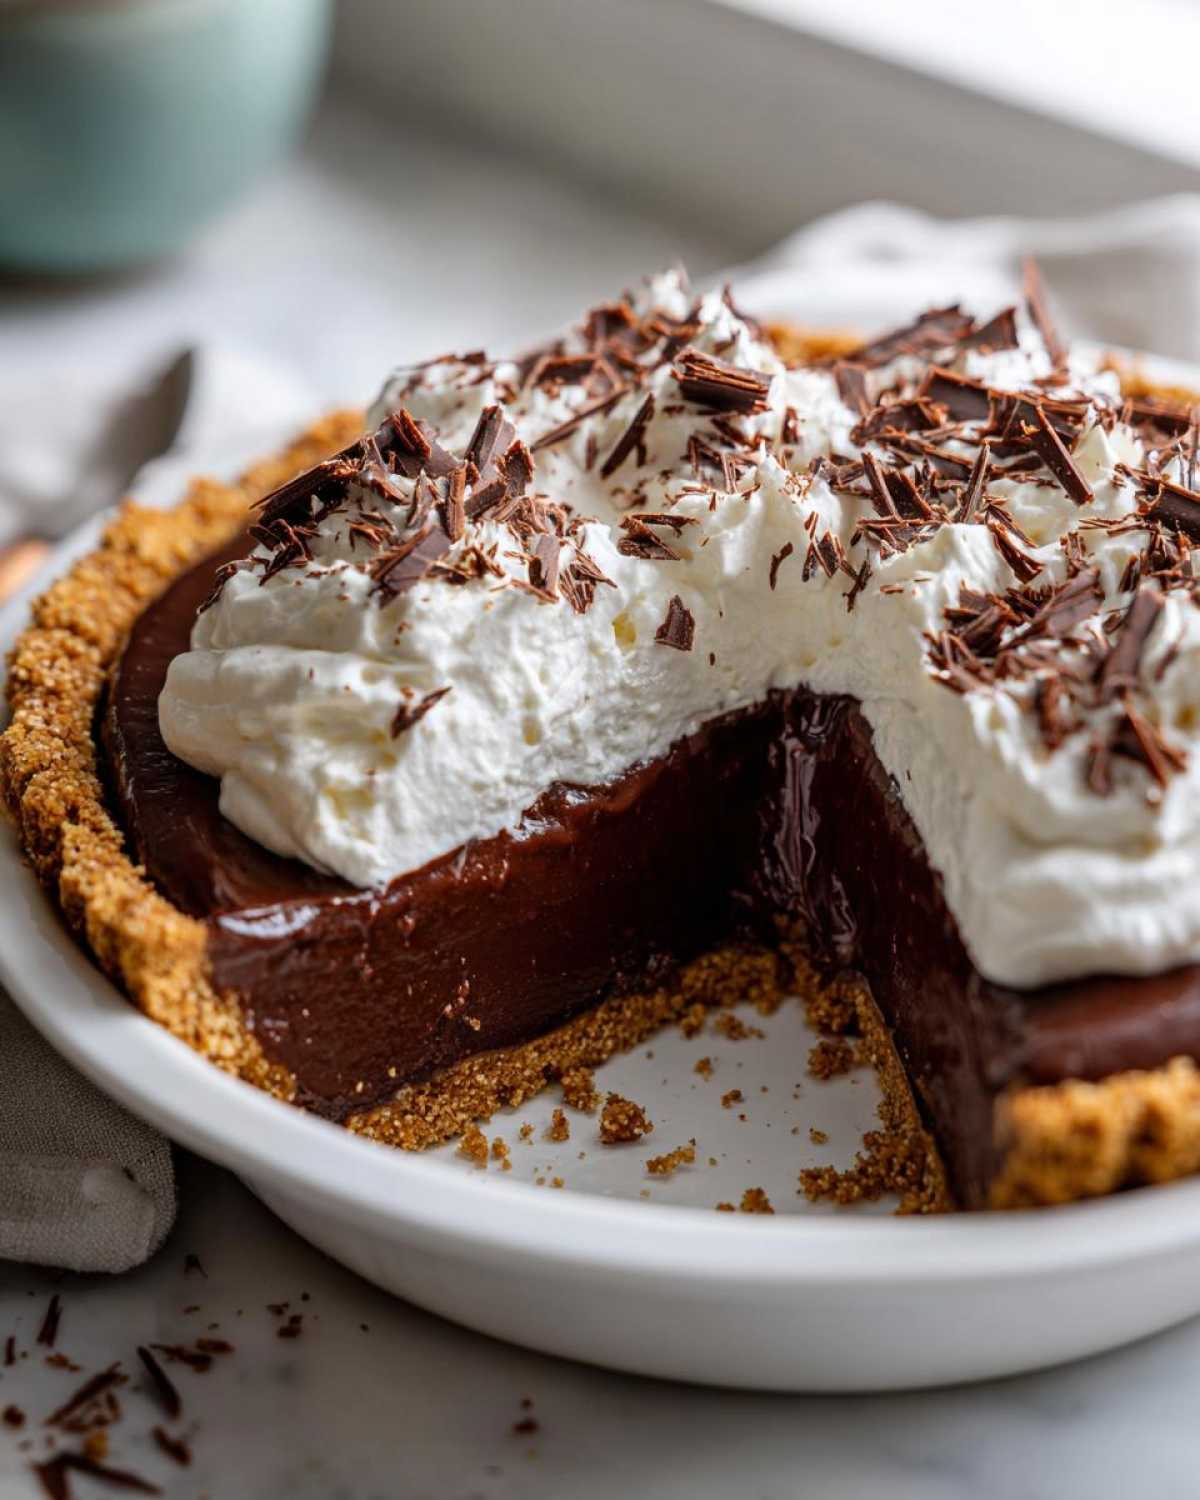
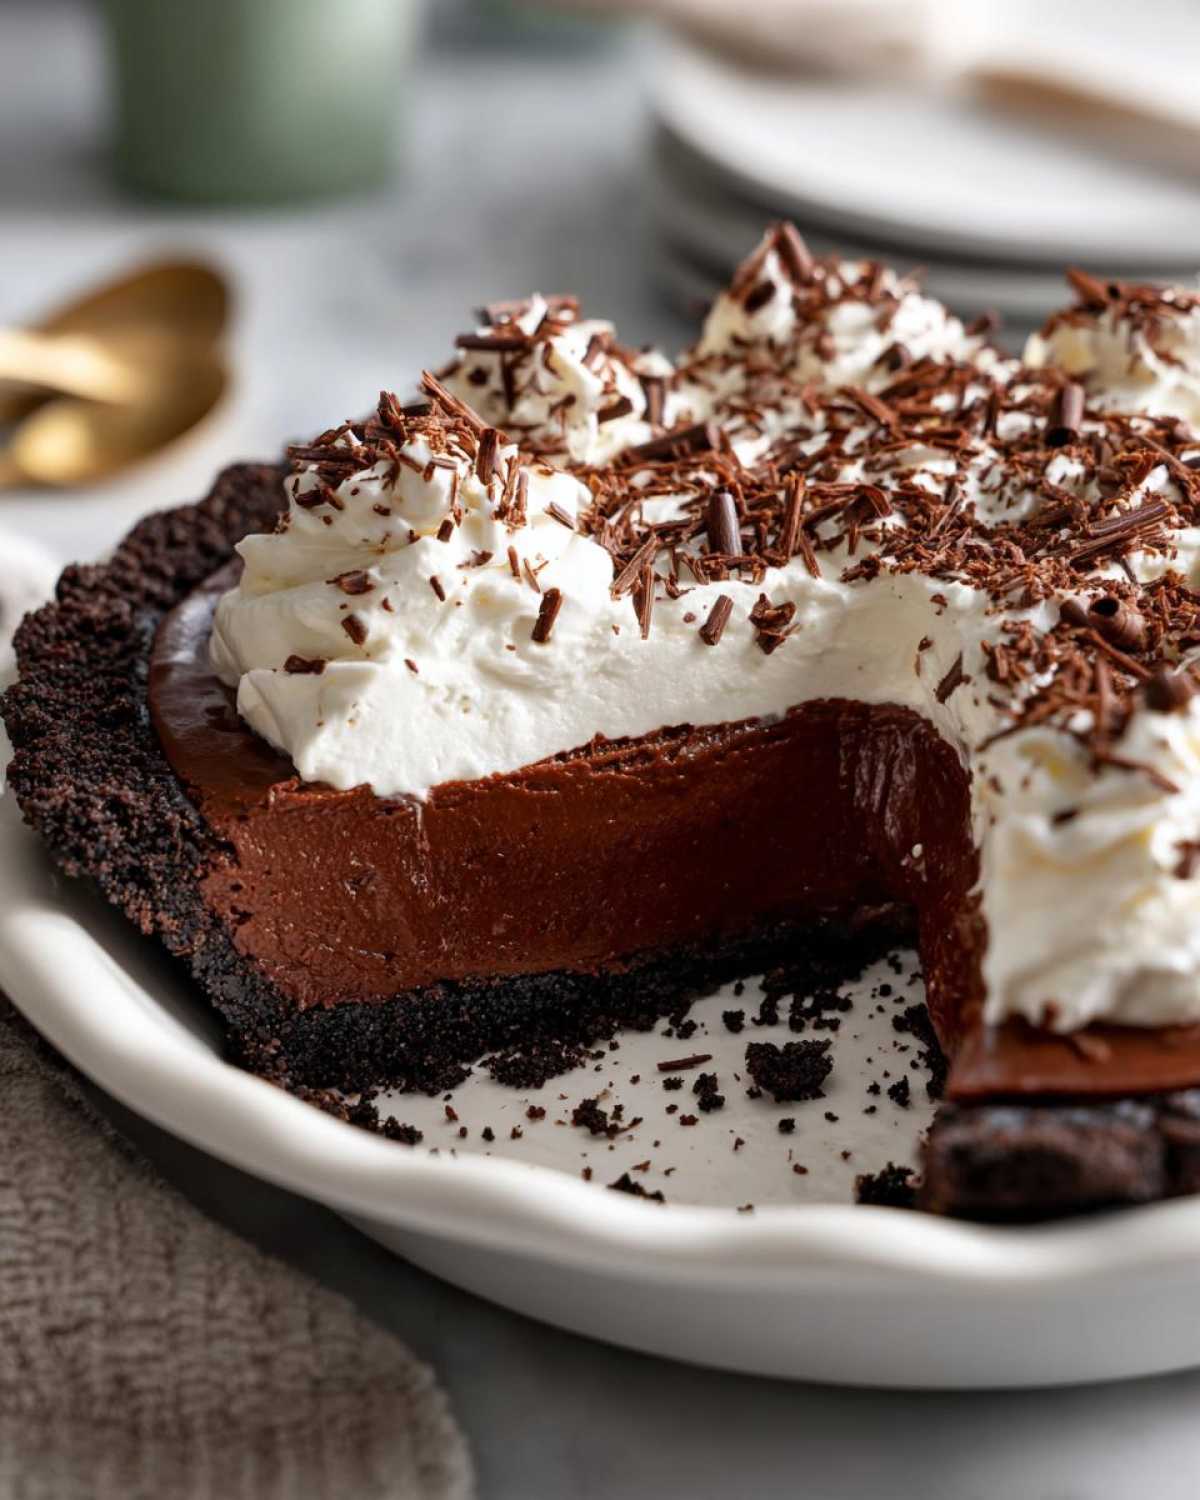
Once your chocolate cream pie is perfectly chilled and set, it’s time for the grand finale! Take that plastic wrap off – you’ll see how smooth and perfect it looks. Now, spread your beautifully whipped cream evenly over the top. You want it soft and billowy, like fluffy clouds! For that extra bit of flair, sprinkle some chocolate shavings on top. It just makes it look so fancy, and it totally fits our ‘Made for Sharing’ vibe. Doesn’t it look gorgeous?
Tips for a Perfect Chocolate Cream Pie Every Time
You know, even with a super simple recipe like this chocolate cream pie, a few little tricks can really elevate it from great to absolutely show-stopping! It’s all about building confidence in the kitchen, and these little nudges make sure you get that perfect silky custard and that crisp cookie crust every single time, making it a truly superior whipped cream pie experience.
First off, quality really does matter! Use good cocoa powder – it makes a HUGE difference in that deep chocolate flavor. And for the whipped cream, make sure your heavy cream is super cold; it whips up so much better and stays fluffy.
A big one: when you’re making the custard, the key is constant whisking over medium heat. Seriously, don’t step away! If you let it sit, it can scorch on the bottom, and nobody wants that burnt taste. If you see it starting to get too thick too fast, just pull it off the heat for a second and keep whisking. Tempering those egg yolks is another crucial step – it’s like gently introducing them so they don’t panic and scramble. It sounds fancy, but it’s just slowly adding some of the warm liquid; you’ve got this!
And remember that plastic wrap pressed directly onto the custard? Don’t skip that! It’s pure magic for keeping your pie’s filling smooth and lovely, avoiding any crusty stuff on top. Trust me, these little bits of advice will make your pie truly sing!
Make-Ahead and Storage for Your Pie for Pi Day
This chocolate cream pie is seriously a baker’s dream because it’s so forgiving and does so well when made ahead! If you’re planning for a party or just want dessert ready to go, you can totally make the whole pie, custard and all, up to a day in advance. Just make sure that custard is *completely* chilled and firm before you cover it tightly with plastic wrap and pop it in the fridge. The only thing you’ll want to do right before serving, maybe even just like 30 minutes before, is add that lovely whipped cream and sprinkle on your chocolate shavings. That way, your whipped cream stays nice and fluffy and doesn’t get sad and melty. It’s the perfect strategy for a stress-free celebration, especially for something fun like Pi Day!
Frequently Asked Questions about Chocolate Cream Pie
You’ve got questions? I’ve got answers! It’s totally normal to have a few things pop into your head when you’re making something new, and I want this chocolate cream pie to be ridiculously easy for you. Let’s clear a few things up!
Can I use a different cookie for the crust?
Absolutely! While Oreos are my favorite for that deep chocolate flavor, you can totally switch it up. Graham crackers are a fantastic alternative – just mix about a cup and a half of crumbs with a quarter cup of sugar and six tablespoons of melted butter. Vanilla wafers or even speculoos cookies would be delicious too! Just aim for about that same amount of crumbs and stick with the melted butter binder.
How do I know if the custard is thick enough?
This is a great question, and it’s all about a few visual cues! When you’re cooking the custard and whisking constantly, you want it to become noticeably thick. The best test? When you run your whisk or a spoon through it, you should be able to see the bottom of the saucepan clearly for a second or two, and the custard should hold its shape briefly. It should also bubble gently when it’s reached the right thickness. Don’t worry if it seems a *little* thin right off the heat, because it will thicken up even more as it cools!
Can this pie be frozen?
I honestly don’t recommend freezing this chocolate cream pie once it’s fully assembled with the whipped cream. The custard can get a bit icy, and the whipped cream might separate when it thaws. It’s best enjoyed chilled and fresh! Since it’s a great make-ahead pie, chilling it in the fridge overnight is the perfect way to go.
What if I don’t have egg yolks? Can I still make the custard?
Egg yolks are really key to getting that perfectly silky, rich texture in our stovetop chocolate custard. They add fat and body that cornstarch alone can’t quite achieve. While you *could* try making it without them, it might end up a little less creamy and more like a firm pudding. For the best, most luxurious result that makes this a true chocolate cream pie, I’d stick with the egg yolks!
Nutritional Estimate for This Easy Chocolate Pie
Just a little heads-up, the nutritional info for this scrumptious chocolate cream pie is kind of like a ballpark figure. It can totally change depending on the brands of ingredients you end up using and even how generous you are with those chocolate shavings on top! So, think of these numbers as a friendly guide, not a super strict rulebook.
Share Your Chocolate Cream Pie Creations!
Oh, I just love hearing from you all! Did you whip up this easy chocolate cream pie? I’m dying to know how it turned out! Drop a comment below, tell me your favorite part, or even give it a star rating if you feel inspired. And pretty please, if you made it for a special occasion or just because, tag me on social media! Seeing your beautiful pies really makes my day and totally fits our Pure Cooking Joy mission of sharing deliciousness. It makes me so happy knowing you’re finding joy in the kitchen!
PrintEasy Chocolate Cream Pie

A simple, no-bake chocolate cream pie with a rich, silky custard filling and a crisp cookie crust. Perfect for any occasion, especially Pi Day or a summer gathering.
- Prep Time: 20 min
- Cook Time: 10 min
- Total Time: 4 hr 30 min
- Yield: 8 servings 1x
- Category: Dessert
- Method: No-Bake
- Cuisine: American
- Diet: Vegetarian
Ingredients
- 1 ½ cups chocolate cookie crumbs (like Oreos)
- 6 tablespoons unsalted butter, melted
- 2 cups milk
- ½ cup granulated sugar
- ¼ cup cornstarch
- ¼ cup unsweetened cocoa powder
- 4 large egg yolks
- 2 tablespoons unsalted butter
- 1 teaspoon vanilla extract
- 1 ½ cups heavy cream, whipped to stiff peaks
- Chocolate shavings, for garnish
Instructions
- Combine cookie crumbs and melted butter. Press into the bottom and up the sides of a 9-inch pie plate. Chill while preparing the filling.
- In a medium saucepan, whisk together milk, sugar, cornstarch, and cocoa powder.
- In a separate bowl, whisk egg yolks. Gradually temper the egg yolks by whisking about ½ cup of the warm milk mixture into the yolks. Pour the tempered yolk mixture back into the saucepan with the remaining milk mixture.
- Cook over medium heat, whisking constantly, until the custard thickens and bubbles. Cook for 1 minute more.
- Remove from heat and stir in 2 tablespoons of butter and vanilla extract until smooth.
- Pour the custard into the prepared pie crust. Press plastic wrap directly onto the surface of the custard to prevent a skin from forming. Chill for at least 4 hours, or until firm.
- Once the custard is set, spread the whipped cream evenly over the top. Garnish with chocolate shavings.
- Slice and serve.
Notes
- For a graham cracker crust, use 1 ½ cups graham cracker crumbs and ¼ cup granulated sugar mixed with the melted butter.
- This pie can be made a day in advance. Keep chilled and add whipped cream just before serving for the best texture.
- If you are looking for meal planning ideas, this pie is a great make-ahead dessert.
Nutrition
- Serving Size: 1 slice
- Calories: 450
- Sugar: 35g
- Sodium: 200mg
- Fat: 25g
- Saturated Fat: 15g
- Unsaturated Fat: 10g
- Trans Fat: 0g
- Carbohydrates: 50g
- Fiber: 2g
- Protein: 5g
- Cholesterol: 100mg
