 Skip to content
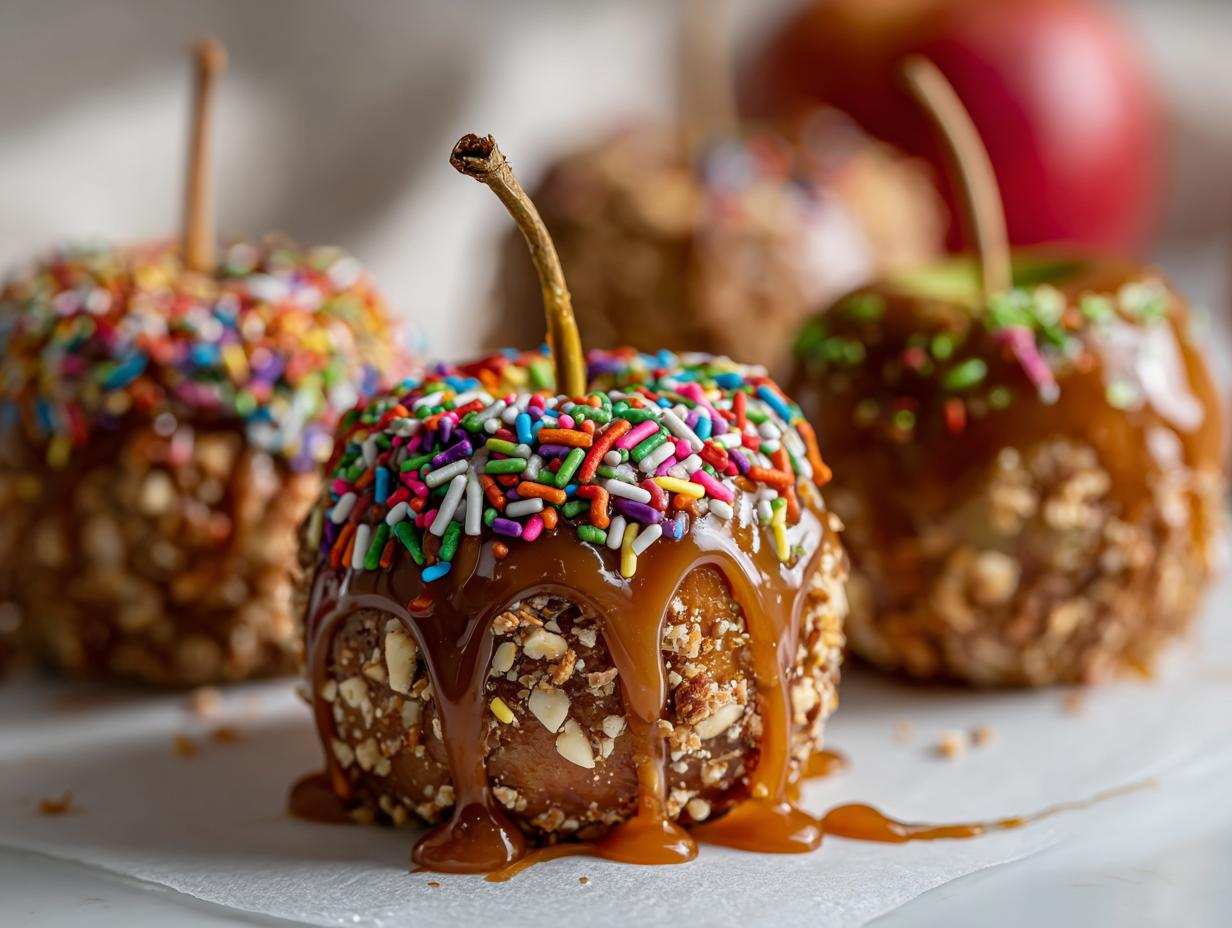

You know, for me, food is all about bringing people together and making those sweet, happy memories. My kitchen used to feel like a battlefield back when I was juggling that corporate job – seriously, the last place I wanted to be! But then I discovered the magic that happens when you simplify things and focus on flavor. That’s exactly what this DIY caramel apple bar is all about. It’s such a fun, interactive way to celebrate, and honestly, it’s pretty darn easy! Setting this up feels less like work and more like creating a little bit of joy, which is totally what Pure Cooking Joy is all about. It’s the perfect way to share something special, fuss-free.
- Gather Everything for Your Caramel Apple Bar
- Step-by-Step Guide to Your Caramel Apple Bar
- Tips for a Show-Stopping Caramel Apple Bar
- Frequently Asked Questions About Your DIY Caramel Apple
- Enjoying Your Delicious Caramel Apple Bar Creation
- Nutritional Estimate for Your Caramel Apple Bar Treat
- Share Your Caramel Apple Bar Success!
Gather Everything for Your Caramel Apple Bar
Okay, so before we can dive into the fun part of assembling this amazing treat, we gotta get our ducks in a row, right? Having everything prepped and ready makes the actual building of the bar so much smoother. Think of it like the calm before the delicious storm! We want to make sure you have all the goodies laid out, easy to grab, and looking super inviting for your guests. Let’s get our supplies ready so we can make this the best caramel apple experience ever.
Essential Ingredients for a Perfect Caramel Apple Bar
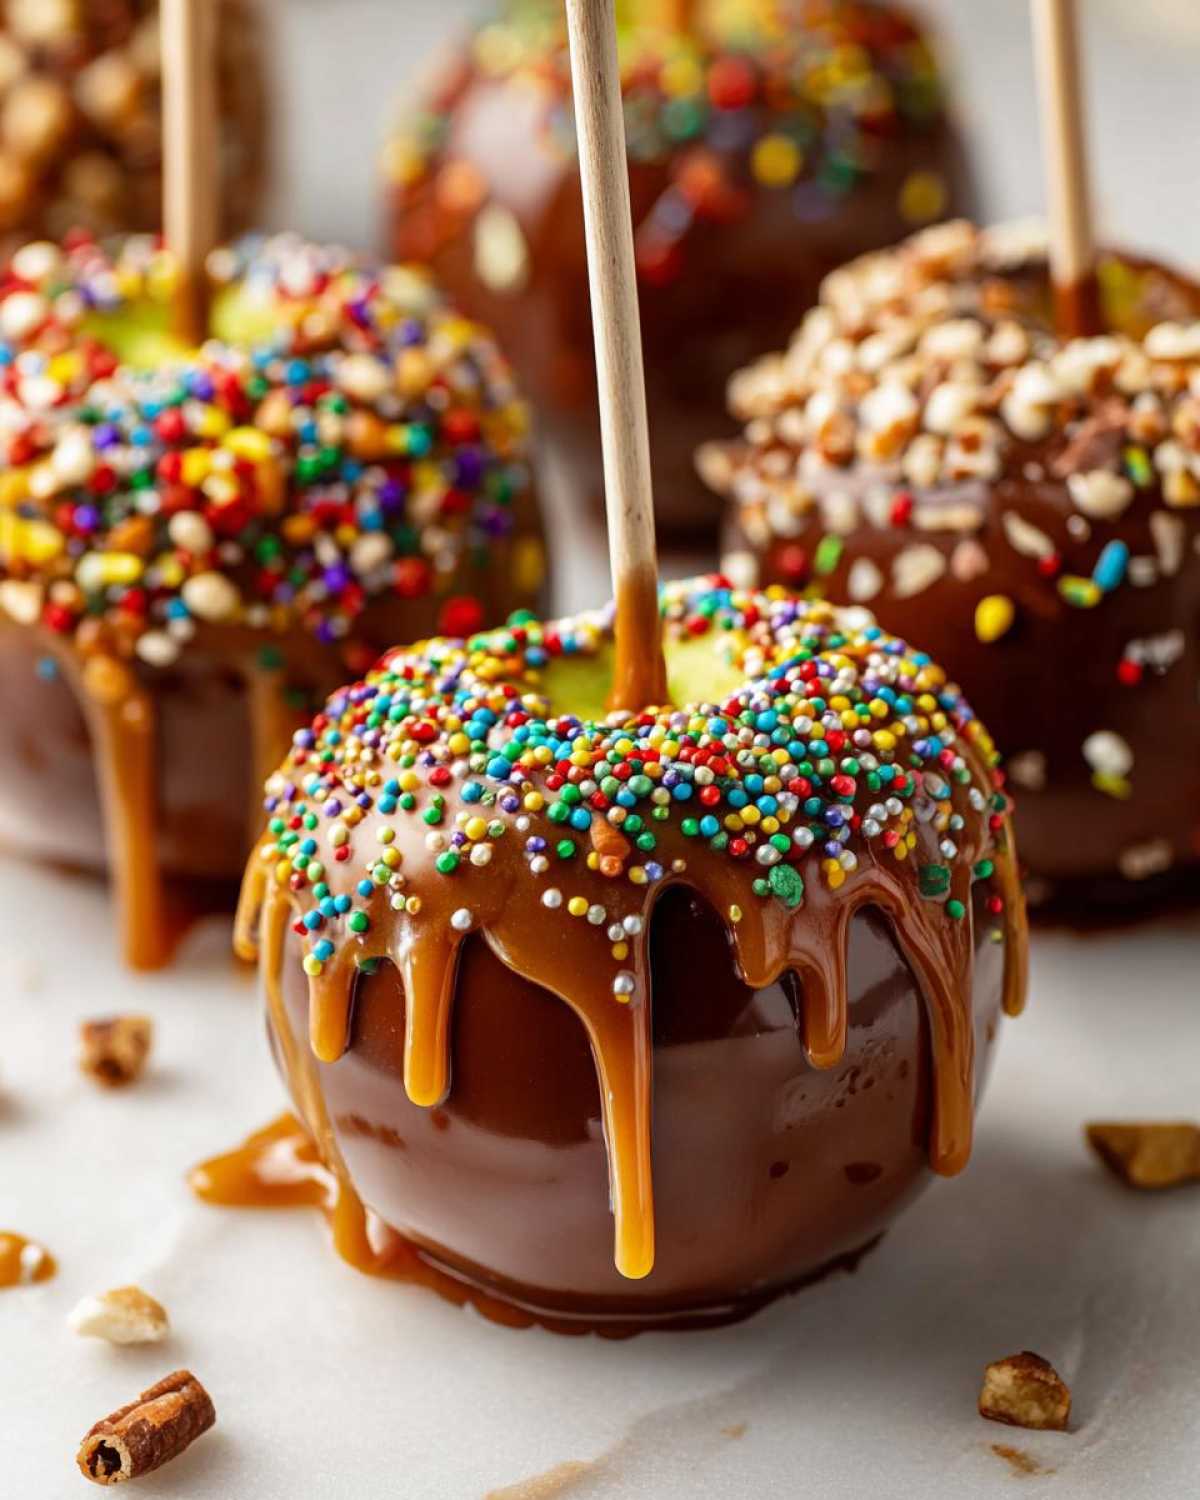
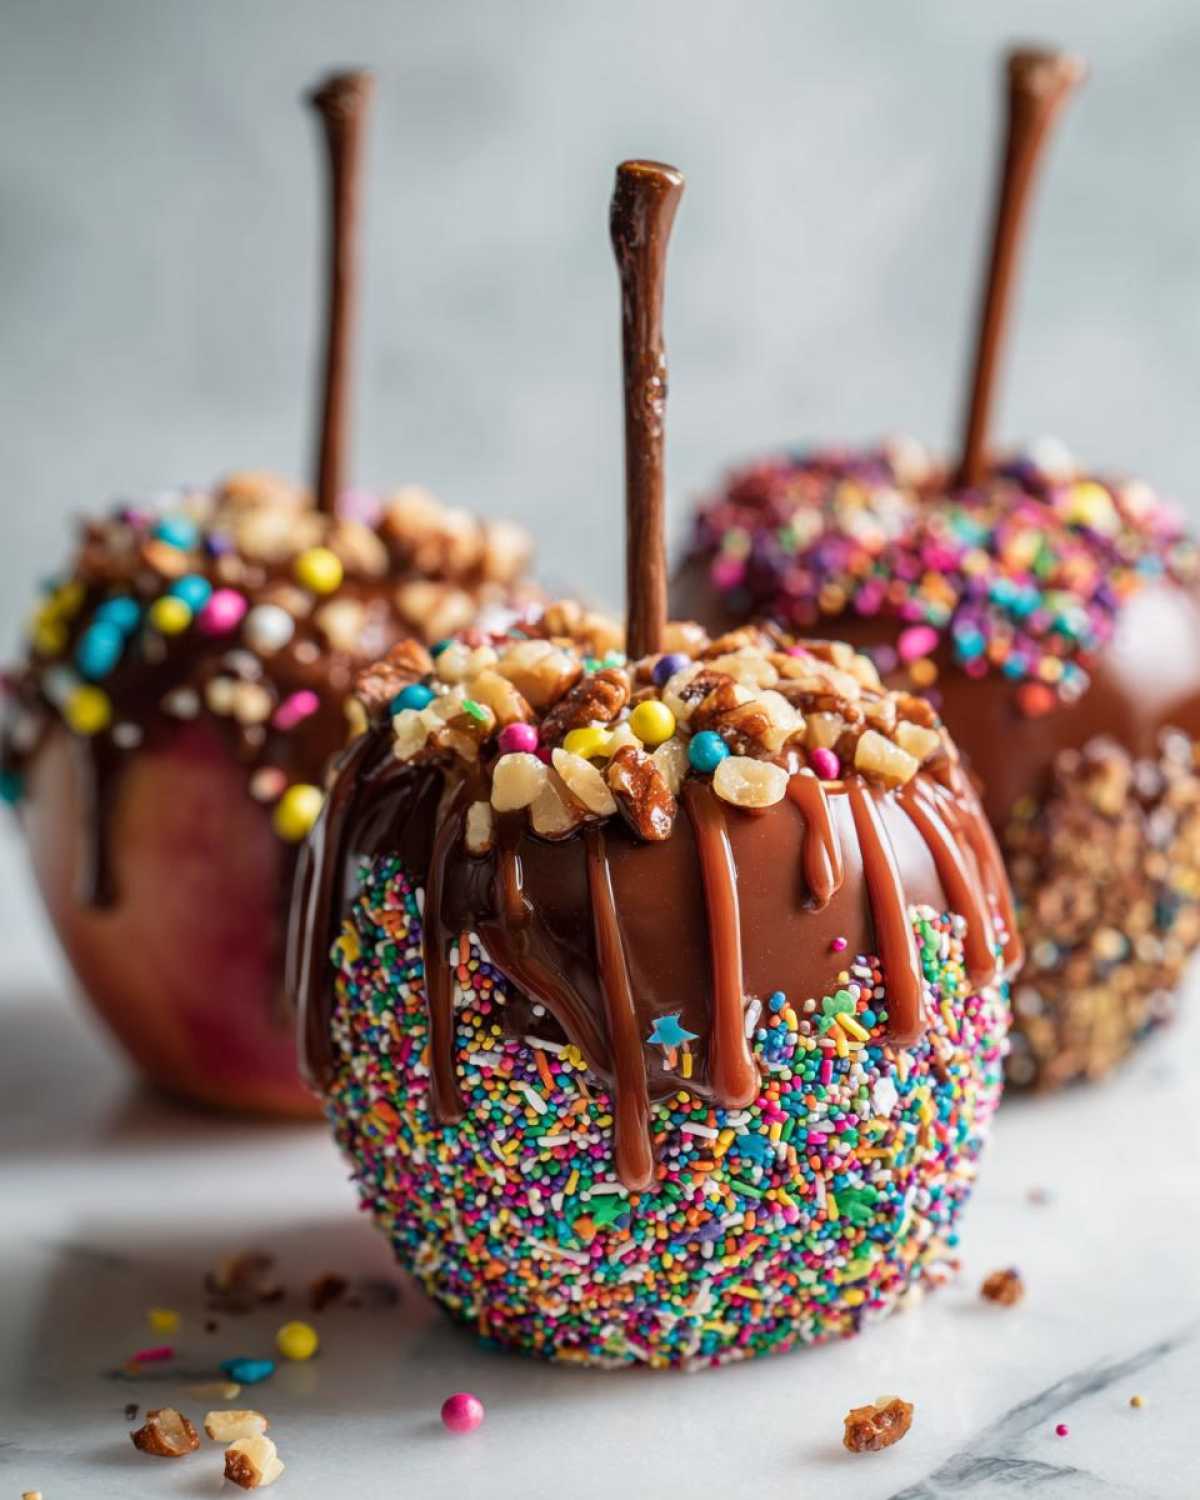
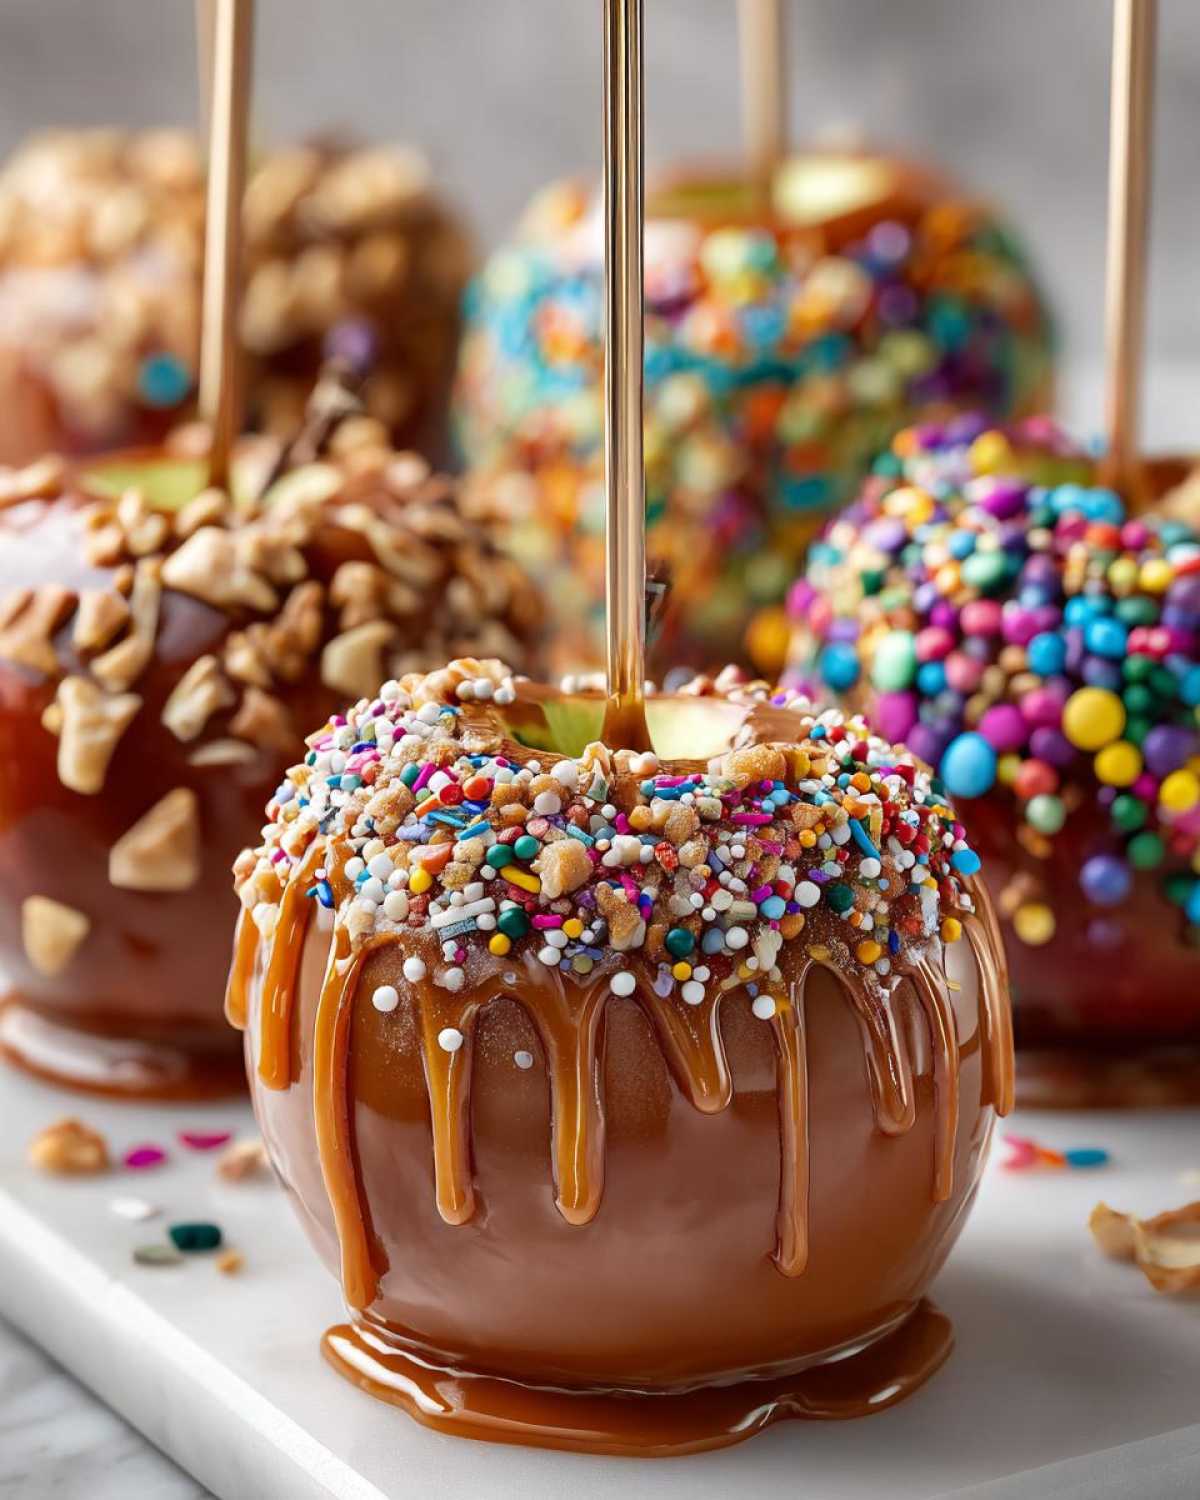
Alright, let’s talk ingredients! For the stars of the show, you’ll want about 12 medium apples – I really love Honeycrisp, Fuji, or Gala because they’re nice and crisp and hold up well. Make sure they’re washed and super dry, like, towel-dried dry. For the caramel itself, grab a pound of good quality block caramel, the kind you melt yourself. It just tastes so much better than the pre-made dipping stuff, trust me! And then comes the best part: the toppings! Get creative here. Think chopped pecans or walnuts, maybe some colorful sprinkles and mini chocolate chips. Crushed graham crackers or Oreos are amazing, and don’t forget things like shredded coconut (sweetened is usually best here) and some dried cranberries or raisins for a little chew.
Equipment Needed for Your Apple Dipping Station
Now for the tools to make this happen! You’ll need skewers or sturdy popsicle sticks – one for each apple you plan to dip. Then, you’ll want a bunch of small bowls for all those yummy toppings we just talked about. Seriously, having enough bowls (maybe around 15-20) makes everything look so organized and inviting. Grab some serving platters or trays to arrange everything nicely. Oh, and definitely get some parchment paper – it’s a lifesaver for lining baking sheets and catching any stray caramel drips, making cleanup a breeze!
Step-by-Step Guide to Your Caramel Apple Bar
Okay, now that we’ve got all our amazing ingredients and cool equipment ready to go, let’s talk about bringing this whole caramel apple bar dream to life! It’s honestly pretty straightforward, and seeing it all come together is half the fun. We’ll just follow a few simple steps to get this party started, and pretty soon, everyone will be digging into their own custom caramel apple creations.
Preparing the Apples for Dipping
First things first, make sure those apples are sparkling clean and totally dry. I mean, *really* dry – like, pat them down with a clean towel until there’s no moisture left. This is super important because caramel just won’t stick to wet apples, and nobody wants a sad, drippy situation! Once they’re dry, gently push a skewer or popsicle stick into the stem end of each apple. Push it in far enough so it feels secure, but not all the way through. You want a good handle for dipping!
Melting and Warming Your Caramel
Now for the gooey goodness! You can melt the block caramel in a saucepan over low heat, stirring constantly, or even pop it in the microwave for short bursts, stirring in between. My absolute favorite trick, though, is to melt it and then keep it warm in a small slow cooker set to the “warm” setting. It stays perfectly dippable for hours, which is a lifesaver when you’re hosting. Once it’s all smooth and melty, pour it into a shallow, wide bowl. This makes it way easier for guests to dip their apples without making a huge mess.
Arranging Your Topping Ideas
Presentation is key here! Take all those yummy toppings you gathered and spoon them into their individual little bowls. Try to arrange them in a way that looks pretty and is super accessible for everyone. You can group the crunchy things together, the sprinkles in a colorful line, or just fill in all the spaces. It makes the whole caramel apple bar look so inviting and professional, even though it’s totally DIY!
Assembling the Ultimate Caramel Apple Bar
Almost there! Now, let’s put it all together. Arrange the prepared apples on a platter or baking sheet right next to that glorious bowl of warm caramel. Then, fan out your topping bowls so everyone can easily reach them. A little tip: put a parchment-lined baking sheet or tray off to the side. It’s perfect for anyone who wants to give their dripping caramel apple a little extra roll or needs to catch a few drips before heading off to topping town. Voila! Your incredible caramel apple bar is officially ready to impress!
Tips for a Show-Stopping Caramel Apple Bar
Want to take your caramel apple creation from great to absolutely unforgettable? It’s all about those little extras! A fantastic caramel apple bar is more than just apples and caramel; it’s an experience. Think about adding some really fun topping combinations that guests might not even think of themselves. And of course, making sure everyone feels included is a huge part of hosting, so we’ll touch on that too. Let’s make this party centerpiece truly shine!
Creative Apple Topping Ideas
Beyond the usual suspects, let’s get wild with these apple topping ideas! You can totally create themed stations. How about a ‘S’mores’ corner with mini marshmallows, graham cracker crumbs, and chocolate chips? Or a ‘Birthday Cake’ vibe with rainbow sprinkles, white chocolate curls, and maybe even some edible glitter? Crushed pretzels add a salty crunch that’s amazing with caramel, and don’t forget things like chopped dried mango or even a sprinkle of sea salt on top of the caramel before adding other toppings!
Allergen-Friendly Options for Your Fall Dessert Bar
It’s so important to think about everyone when you’re hosting, especially with a fall dessert bar like this. If you have guests with nut allergies, just make sure your nut toppings are completely separate and clearly labeled, or skip them altogether. Seed butters like sunflower seed butter (warmed up, it’s like a delicious, safe caramel!) are fantastic alternatives. For gluten-free folks, make sure your crushed cookies are certified GF, or use gluten-free pretzels and rice crisp cereals. A little label for each topping goes a long way in making everyone feel comfortable and included!
Making Your Caramel Apple Bar Festive
Let’s make this dessert bar pop! For a Thanksgiving dessert bar, think about incorporating some fall colors – maybe use orange and brown bowls, add some mini pumpkins around the display, or even use some burlap runner on the table. You could tie little ribbons around the apple skewers! It doesn’t take much, just a few thoughtful touches to really make it feel special and festive for any occasion.</p
Frequently Asked Questions About Your DIY Caramel Apple
You know, I get asked a lot of questions about setting up a DIY caramel apple bar, which honestly just makes me happy because it means you’re as excited about this as I am! It’s all about making it super easy for you. Here are a few things people often wonder about when they’re creating their own apple dipping station.
How do I keep the caramel from hardening?
This is a big one! My secret weapon is a small slow cooker set on the ‘warm’ setting. It keeps the caramel perfectly dippable for hours! If you don’t have one, just melt it on the stove and keep an eye on it. If it starts to get too thick, just give it a quick stir or pop it in the microwave for a few seconds to loosen it up again.
What are the best apples for a caramel apple bar?
For the absolute best caramel apple experience, you really want apples that are nice and firm and a little tart to balance out that sweet caramel. I find that Honeycrisp, Fuji, and Gala apples are usually winners. They’re crisp, hold their shape well, and just taste amazing when dipped.
Can I prepare toppings in advance for my party dessert table?
Oh, absolutely! That’s one of the best parts about setting up a party dessert table like this – you can do a lot of the prep work ahead of time. Chop all your nuts, crush your cookies, measure out your sprinkles – get them all into their little bowls and store them covered in the fridge or pantry. Just set them out when you’re ready to serve, and voilà! Easy peasy.
Enjoying Your Delicious Caramel Apple Bar Creation
So, you’ve built the most amazing caramel apple bar, and everyone had a blast digging in! Now, what about those few leftover caramel apples, or maybe you want to savor that deliciousness a little longer? Don’t you worry, I’ve got you covered. Making sure you can enjoy every last bit of this fun treat is part of the whole joy of hosting. It’s all about making these special food moments last!
Storing Leftover Caramel Apples
If you happen to have any caramel apples left over (which is rare in my house, but hey, it happens!), storing them is pretty simple. Just gently pop them onto a parchment-lined plate or tray and cover them loosely with plastic wrap or foil. Because the toppings will absorb moisture from the air, they might not be as perfectly crisp the next day, but they’re still totally delicious! Try not to pack them too tightly, or the toppings might smudge.
Reheating Caramel Apples
Thinking about enjoying a leftover caramel apple? You can totally give it a little refresh! The best way is to gently reheat the caramel dip if it’s hardened up. You can do this in the microwave for a few seconds at a time, stirring in between, or even pop the whole bowl into a warm oven for just a moment. This makes it nice and gooey again, ready for a quick dip of your stored apple. It’s like getting a fresh caramel apple all over again – a little bit of magic from your delicious caramel apple bar!
Nutritional Estimate for Your Caramel Apple Bar Treat
Just a friendly heads-up about the numbers I put down for calories and such! Remember, this is all super approximate, like guessing how many sprinkles will stick. It really depends on what kind of apples you use, how much caramel clings to them, and, of course, how generous you (or your guests!) are with those amazing toppings. So, think of that nutritional info more as a ballpark figure than a strict rule – the real joy is in the deliciousness and the memories you’re making!
Share Your Caramel Apple Bar Success!
Did you create your own amazing caramel apple bar? I’d LOVE to see it! Share your photos or tell me about any fun topping twists you came up with in the comments below. Your feedback and creativity seriously make my day and inspire these recipes. Don’t forget to rate this recipe if you loved it – it helps other home cooks find joy in their kitchens too!
PrintDIY Caramel Apple Bar

Create a fun and interactive caramel apple dessert bar for your next party. This guide provides ideas for setup, toppings, and allergen-friendly options.
- Prep Time: 30 minutes
- Cook Time: 10 minutes
- Total Time: 40 minutes
- Yield: 12 servings 1x
- Category: Dessert
- Method: Assembly
- Cuisine: American
- Diet: Vegetarian
Ingredients
- 1 pound caramel, melted
- 12 medium apples (such as Honeycrisp, Fuji, or Gala)
- Assorted toppings: chopped nuts, sprinkles, mini chocolate chips, crushed cookies, shredded coconut, dried fruit
- Skewers or popsicle sticks
- Bowls for toppings
- Serving platters
Instructions
- Wash and dry apples thoroughly. Insert skewers or popsicle sticks into the stem end of each apple.
- Melt caramel according to package directions. Pour into a shallow bowl.
- Arrange apples on a parchment-lined baking sheet.
- Set up your topping station with bowls filled with your chosen toppings.
- Place the bowl of melted caramel next to the apples.
- Let guests dip apples into caramel, then roll in their favorite toppings.
Notes
- For a warmer caramel, keep it in a slow cooker on the “warm” setting.
- Offer gluten-free and nut-free topping options to accommodate allergies.
- Consider adding a chocolate drizzle for extra flavor.
- Prepare toppings in advance to make setup quicker.
Nutrition
- Serving Size: 1 apple with toppings
- Calories: 400
- Sugar: 50g
- Sodium: 15mg
- Fat: 20g
- Saturated Fat: 10g
- Unsaturated Fat: 10g
- Trans Fat: 0g
- Carbohydrates: 55g
- Fiber: 5g
- Protein: 3g
- Cholesterol: 30mg
