 Skip to content
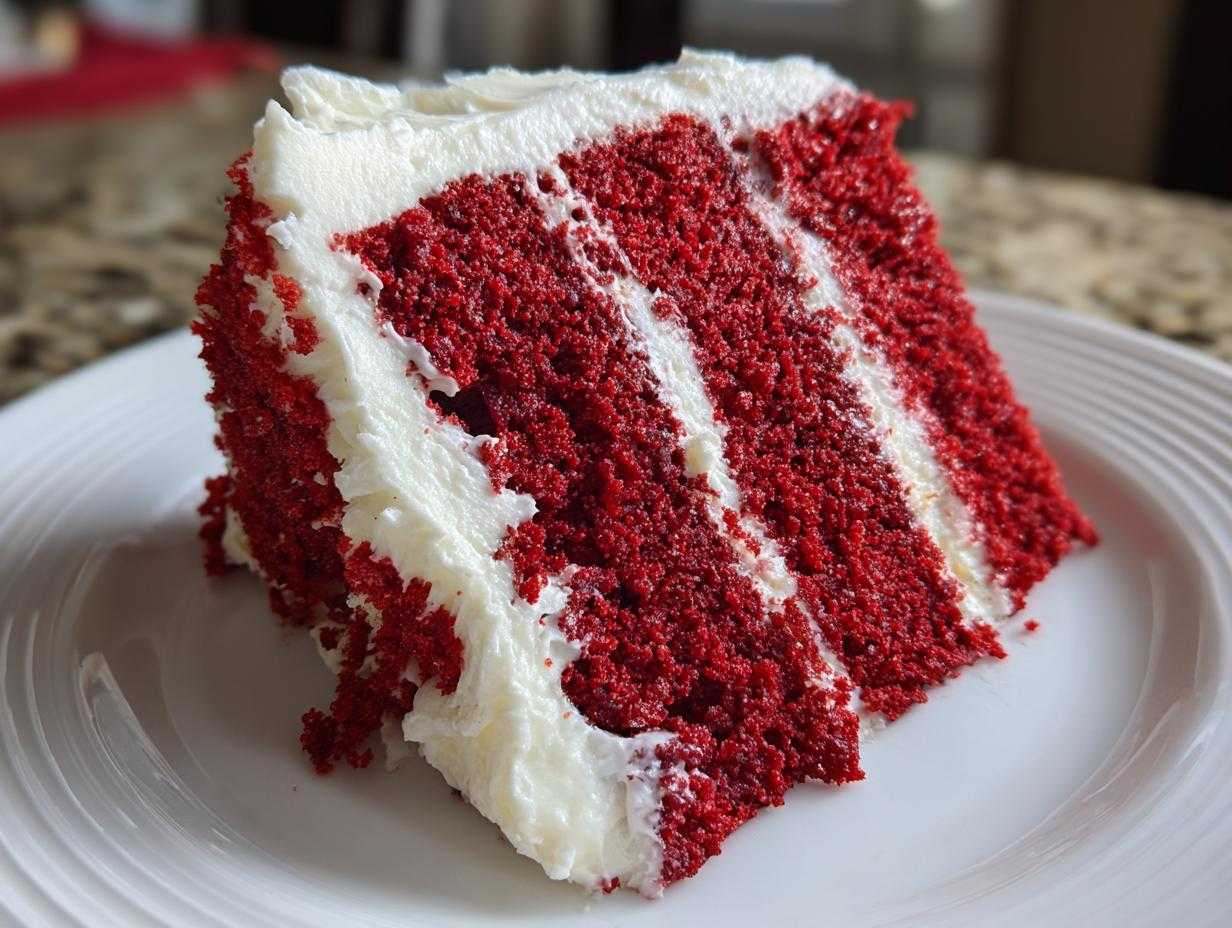

Oh, friends, you know how some desserts just scream celebration? For me, nothing beats a towering, luscious slice of the real deal. Forget those dry, chemical-tasting imposters! Today, I’m finally sharing what I genuinely believe is **the Best Moist Red Velvet Cake From Scratch** you’ll ever attempt. This isn’t just cake; it’s a textural experience. I worked on getting this specific recipe right for ages because I needed that perfect symphony: incredibly moist, wonderfully fluffy, and tender crumb, all paired with a rich, classic cream cheese frosting. When I pull this particular red velvet cake out of the oven, it feels like I’m honoring the tradition of Southern baking, and honestly, I’m so proud to share my success with you.

- Why This is the Best Red Velvet Cake Recipe You Will Ever Make
- Ingredients for the Ultimate Red Velvet Cake From Scratch
- Step-by-Step Instructions for Your Red Velvet Cake
- Tips for a Vibrant Red Velvet Cake Tutorial
- Ingredient Notes and Substitutions for Red Velvet Cake
- Storage and Reheating Instructions for Your Red Velvet Cake
- Serving Suggestions for This Classic Southern Red Velvet Cake
- Frequently Asked Questions About Making Red Velvet Cake
- Share Your Homemade Red Velvet Cake Experience
Why This is the Best Red Velvet Cake Recipe You Will Ever Make
Look, I know everyone claims their recipe is the ‘best,’ but trust me when I say this classic southern red velvet cake is different. Where other recipes end up dense or flavorless, mine delivers on that promise of a truly moist red velvet cake every single time. The secret sauce, if you can call it that, lies in the brilliant chemical reaction happening right in the bowl!
It’s all about the buttermilk and vinegar working their magic with the baking soda. That little bit of acid tenderizes the gluten in the flour, which is how we achieve that phenomenal, fluffy layer cake recipe texture without needing a thousand extra steps. The cocoa powder is present, but just there to add background richness, not to make it taste like a standard chocolate cake.
I remember the first time I nailed the balance—the cake was so tender it practically sighed when I sliced it! It’s the foundation for what I think is the most satisfying birthday cake or holiday centerpiece you can make at home. If you try anything I post, start here, because this recipe proves that red velvet cake from scratch is always superior.
If you want to see some of the other flavor profiles I’ve been playing with lately, check out my main recipe index for more inspiration!
Ingredients for the Ultimate Red Velvet Cake From Scratch
Okay, time to gather our supplies! The beauty of a truly great homemade red velvet cake is that it uses pantry staples, but how we treat them matters. I’ve separated everything into two main groups—the actual cake layers and the frosting you absolutely deserve. Getting your butter and cream cheese suitably softened beforehand is non-negotiable; this is essential for that creamy texture later on! Before you start mixing, make sure you have everything measured out and ready to go.
For the Moist Red Velvet Cake Layers
- 2 1/2 cups all-purpose flour
- 1 teaspoon baking soda
- 1 teaspoon salt
- 1 tablespoon unsweetened cocoa powder
- 1 cup unsalted butter, softened
- 1 1/2 cups granulated sugar
- 2 large eggs
- 1 teaspoon vanilla extract
- 1 cup buttermilk
- 1 tablespoon white vinegar
- 1 to 2 teaspoons red food coloring (use gel for vibrant color)
For the Classic Cream Cheese Frosting
- 8 ounces cream cheese, softened
- 1/2 cup unsalted butter, softened
- 1 teaspoon vanilla extract
- 4 cups powdered sugar, sifted
Step-by-Step Instructions for Your Red Velvet Cake
Alright, time to get baking! This is where the magic happens where we transform those simple ingredients into that signature velvety texture. My biggest piece of advice before you even turn on the mixer is patience—especially when you’re alternating ingredients. Remember, we are building structure here!
Preparing the Cake Batter and Baking
First things first, get that oven humming at 350°F (175°C) and grease and flour those two 9-inch pans. While that warms up, whisk your dry goods together: flour, baking soda, salt, and that tiny bit of cocoa powder. Set that aside.
Now for the creaming! Beat your softened butter and sugar until it’s genuinely light and fluffy—we are whipping air into this batter, so don’t rush it! Next, you’ll add the eggs one at a time. While those are mixing, take a moment to mix the wet elements: buttermilk, vinegar, and that crucial food coloring. Seriously, use the gel coloring if you want that deep, vibrant red color the best red velvet cake deserves; you won’t regret it.
Here’s the crucial part: the alternating. You’re going to add the dry mix and the colored buttermilk mixture in stages, starting and ending with the dry ingredients. Add about a third of the flour mix, then half the liquid, repeat, and finish with the last third of the flour. Stop mixing the second you see no more flour streaks! Overmixing develops gluten and turns your glorious batter into something chewy instead of soft. Pop those pans in the oven for 30 to 35 minutes. They are done when a toothpick comes out clean. Let them cool in the pan for 10 minutes, then flip them onto a wire rack to cool completely. Don’t even *think* about frosting them while they are warm!
Making the Homemade Cream Cheese Frosting
While those layers are chilling out, whip up the topping. You already know the drill for a homemade frosting recipe: cream that softened cream cheese and butter together until they are perfectly smooth—no lumps allowed! Beat in your vanilla extract.
Now, take your sifted powdered sugar and add it very slowly, starting on low speed so you don’t create a white sugar cloud that covers your kitchen. Once it’s mostly incorporated, kick the speed up high and beat it until it looks light, airy, and absolutely perfect for smothering all over that cake.
Assembling the Final Red Velvet Cake
This is the fun part! Once your cake layers are totally cooled—I mean stone-cold—place the first layer down. Spread about a third of that glorious frosting evenly across the top. Carefully place the second layer right on top. Now, make sure you get an even coat over the top and down the sides. Slather it on! You’ve earned every bit of this amazing red velvet cake.

For quick reference on other baking projects, if you’re looking for something chocolatey next, you’ve got to check out my recipe for Hot Chocolate Cupcakes!
Tips for a Vibrant Red Velvet Cake Tutorial
If you want that show-stopping, vibrant color people associate with the perfect red velvet cake, you need to pay attention to one key area: the food coloring! Please, skip the liquid grocery store drops. They just dilute the batter and don’t give you the deep hue we are aiming for. I swear by a high-quality gel coloring; just a couple of teaspoons works wonders without affecting the texture we worked so hard to build.
Also, never skip the buttermilk and vinegar combo! That acidity is what makes this cake so delicate and tender; it’s not just for color. If you open your fridge and realize you’re out of buttermilk—don’t panic! It’s an easy fix. Just take one cup of whole milk, stir in one tablespoon of white vinegar or lemon juice, and let it sit on the counter for about five minutes until it looks slightly curdled. That works perfectly for the chemical reaction needed in this recipe.
This entire cake comes down to balancing those acids and bases. For more insights on managing similar flavor dynamics in desserts, you should take a look at how I tackle citrus in my Lemon Pound Cake recipe!
Ingredient Notes and Substitutions for Red Velvet Cake
When you’re going for a red velvet cake from scratch, paying attention to *why* ingredients are used helps so much! People often look over the tiny amount of cocoa powder and think, ‘Wait, this isn’t chocolatey enough?’ That’s the point! We don’t want a chocolate cake with food coloring; we want that subtle cocoa hint that balances the tang of the buttermilk. If you use too much, it fights the whole point of the recipe. Keep it minimal—just a tablespoon, as written!
Another huge tip for that smooth, beautiful emulsion, especially when making the frosting, is temperature. I cannot stress this enough: your butter and cream cheese for the frosting, and your butter and eggs for the cake, must be genuinely room temperature.
If your butter is too cold, it won’t cream properly with the sugar, and you end up with lumps instead of air pockets, which ruins the promised velvety texture. If it’s too warm or greasy, the batter separates when you add the eggs, and you end up working way too hard to fix it later. Just let things sit out for an hour or so before you start. Trust me, it saves so much headache later!

If you’re interested in seeing how patience with ingredients pays off in another dense, comforting classic, you should see my notes on making Moist Date Nut Bread; the principle of temperature control is exactly the same there!
Storage and Reheating Instructions for Your Red Velvet Cake
Because we used that glorious, tangy cream cheese frosting, this beautiful red velvet cake needs a little chill time, unlike those simple buttery cakes. Store any leftovers tightly covered in the refrigerator. It’s perfectly safe in there for up to four days!
Now, here is the essential trick: the next day, that chilled cake might seem a bit firm. Don’t eat it straight from the fridge! Take the slice you want, maybe 30 minutes before serving, and let it sit on the counter to come back to room temperature. That’s when those buttery, creamy flavors really wake up, and you get that irresistibly soft texture back.

If you are prepping this for a party ahead of time, you can even freeze entire layers (unfrosted) for months! When you’re ready to frost, let them thaw overnight in the fridge. If you’re looking for similar make-ahead dessert inspiration, check out my notes on Chocolate Pudding Cake—it’s perfect for freezing!
Serving Suggestions for This Classic Southern Red Velvet Cake
This Classic Southern Red Velvet Cake is a showstopper all on its own, but that doesn’t mean we can’t have fun dressing it up for the occasion! Because the flavor is so rich and slightly tangy, it pairs beautifully with something light and slightly crisp. If you’re serving this for a big event, like a birthday cake centerpiece or during the holidays, don’t worry about needing heavy sides!
For a beverage pairing, I always reach for a very simple glass of milk—yes, really! The cold dairy is the perfect palate cleanser against the heavy cream cheese frosting. If you want something a little fancier, a crisp, slightly tart sparkling cider or even a dry prosecco cuts through the richness wonderfully.
If you feel like you need an extra dessert component, keep it related but lighter. Instead of another huge cake, try serving individual slices alongside a small scoop of vanilla bean gelato or perhaps some fresh raspberries scattered on the plate. The slight acid from the berries just brightens up the whole experience. It’s decadent, yes, but these little touches make it feel intentional and incredibly comforting.
If you’re feeling ambitious and want to try another impressive, but totally different, Southern-inspired dessert for your next party, you have to look at my Pecan Upside-Down Cake recipe. It’s warm, gooey perfection!
Frequently Asked Questions About Making Red Velvet Cake
I totally get it; baking feels way easier when you know exactly what you’re doing! I’ve gathered up the questions I hear the most when people are tackling this beautiful dessert for the first time. We want to make sure you get that bakery-style result right here in your own kitchen!
Is this truly the best red velvet cake recipe, or is it just a chocolate cake with red dye?
That is such a fair question! And the answer is a firm no—it’s not just dyed chocolate cake! If you taste a red velvet cake side-by-side with a standard chocolate cake, you’ll notice immediately. Our recipe uses only a tablespoon of cocoa powder. That little bit is there to complement the tanginess of the buttermilk and vinegar. It’s the reaction between the acidic milk products and the leavening that creates that unique, tender crumb we call ‘velvet’—that specific soft texture you can’t get from just adding dye to a plain vanilla or chocolate base. It’s a subtle flavor, but it’s everything!
How can I guarantee my red velvet cake turns out moist and fluffy?
If you are chasing that perfect, cloud-like crumb, you have two non-negotiables. First, measure your flour correctly—don’t scoop it out of the bag! That packs it down way too tightly. Second, and this is crucial for a moist red velvet cake, you absolutely cannot overmix once the flour goes in. Stop stirring as soon as you don’t see dry streaks anymore. If you keep mixing, you activate too much gluten, and poof! Your fluffy layers turn into dense, chewy hockey pucks. Stick to the wet/dry alternation method, and you’ll be golden.
Can I make the cream cheese frosting ahead of time?
Yes, you totally can! Since the frosting has cream cheese, it’s much happier in the fridge than just sitting on the counter for hours. You can whip up the red velvet cake cream cheese frosting, cover it well, and keep it chilled for up to three days. The only small step you have to remember? Bring it back out onto the counter about an hour before you plan to frost the cake layers. It needs to soften up just a bit so you can spread it easily without tearing your beautiful cake layers!
What makes this a classic southern red velvet cake?
The true essence of the classic southern red velvet cake comes down to the ingredients that were most readily available historically, often minus lots of rich chocolate. It relies heavily on buttermilk for its sour tang and tenderizing abilities, coupled with a small dose of cocoa powder and vinegar. This combination creates the heritage flavor profile folks associate with this dessert. It’s simple, tangy, and rich—the definition of comfort food!
If you are looking for some simpler baking ideas for next time, you might want to grab my recipe for Easy Peanut Butter Fudge as well!
Share Your Homemade Red Velvet Cake Experience
Seriously, now the hard part is over! You’ve produced a show-stopping, incredibly moist red velvet cake right in your own kitchen. That deserves a celebration, and I truly want to see your beautiful layers!
If you bake this recipe, please do me a huge favor and come back here to leave a rating. Five stars if it earned it, of course! Knowing what worked for you really helps other home bakers feel confident tackling it.
And if you snap a picture of your finished masterpiece—maybe it’s iced for a birthday or just sitting on your counter looking gorgeous—tag me on social media! I absolutely love scrolling through and seeing your creations. You can find me hanging out and sharing daily kitchen wins over on Facebook at Pure Cooking Joy’s page. Happy baking, friend; I hope this cake brings pure joy to your table!
PrintThe Best Moist Red Velvet Cake From Scratch with Classic Cream Cheese Frosting

I’m Alex, and I am happy to share this recipe for the best red velvet cake. This homemade red velvet cake is incredibly moist, fluffy, and tender, featuring the perfect balance of cocoa and buttermilk. You will top it with a rich, classic cream cheese frosting for a truly decadent dessert perfect for birthdays or holidays.
- Prep Time: 25 min
- Cook Time: 35 min
- Total Time: 60 min
- Yield: 12 servings 1x
- Category: Dessert
- Method: Baking
- Cuisine: American
- Diet: Vegetarian
Ingredients
- 2 1/2 cups all-purpose flour
- 1 teaspoon baking soda
- 1 teaspoon salt
- 1 tablespoon unsweetened cocoa powder
- 1 cup unsalted butter, softened
- 1 1/2 cups granulated sugar
- 2 large eggs
- 1 teaspoon vanilla extract
- 1 cup buttermilk
- 1 tablespoon white vinegar
- 1 to 2 teaspoons red food coloring (use gel for vibrant color)
- 8 ounces cream cheese, softened
- 1/2 cup unsalted butter, softened
- 1 teaspoon vanilla extract
- 4 cups powdered sugar, sifted
Instructions
- Preheat your oven to 350°F (175°C). Grease and flour two 9-inch round cake pans.
- In a medium bowl, whisk together the flour, baking soda, salt, and cocoa powder. Set this dry mixture aside.
- In a large bowl, beat the 1 cup of softened butter and 1 1/2 cups of granulated sugar with an electric mixer until light and fluffy. This step builds the cake’s texture.
- Beat in the eggs one at a time, mixing well after each addition. Stir in 1 teaspoon of vanilla extract.
- In a separate small bowl, mix the buttermilk, white vinegar, and red food coloring until the color is uniform and vibrant.
- Alternate adding the dry ingredient mixture and the buttermilk mixture to the butter mixture, beginning and ending with the dry ingredients (add 1/3 dry, 1/2 wet, 1/3 dry, 1/2 wet, 1/3 dry). Mix only until just combined; do not overmix.
- Divide the batter evenly between the prepared cake pans.
- Bake for 30 to 35 minutes, or until a wooden pick inserted into the center comes out clean.
- Let the cakes cool in the pans for 10 minutes before inverting them onto a wire rack to cool completely.
- Prepare the cream cheese frosting: In a large bowl, beat the softened cream cheese and 1/2 cup of softened butter until smooth. Beat in 1 teaspoon of vanilla extract.
- Gradually add the sifted powdered sugar, mixing on low speed until incorporated, then increase the speed to medium-high and beat until the frosting is light and fluffy.
- Once the cakes are completely cool, place one layer on a serving plate. Spread about one-third of the frosting evenly over the top. Place the second layer on top and frost the top and sides of the entire cake.
Notes
- For the most vibrant red velvet cake color, use a high-quality gel food coloring instead of liquid drops.
- Buttermilk is key for the tender crumb and tang; if you do not have buttermilk, mix 1 cup of whole milk with 1 tablespoon of white vinegar or lemon juice and let it sit for 5 minutes before using.
- Do not overmix the batter once the flour is added; this prevents a tough cake and keeps your crumb soft and velvety.
Nutrition
- Serving Size: 1 slice
- Calories: 480
- Sugar: 55g
- Sodium: 350mg
- Fat: 26g
- Saturated Fat: 15g
- Unsaturated Fat: 11g
- Trans Fat: 0.5g
- Carbohydrates: 60g
- Fiber: 1g
- Protein: 5g
- Cholesterol: 85mg
