 Skip to content
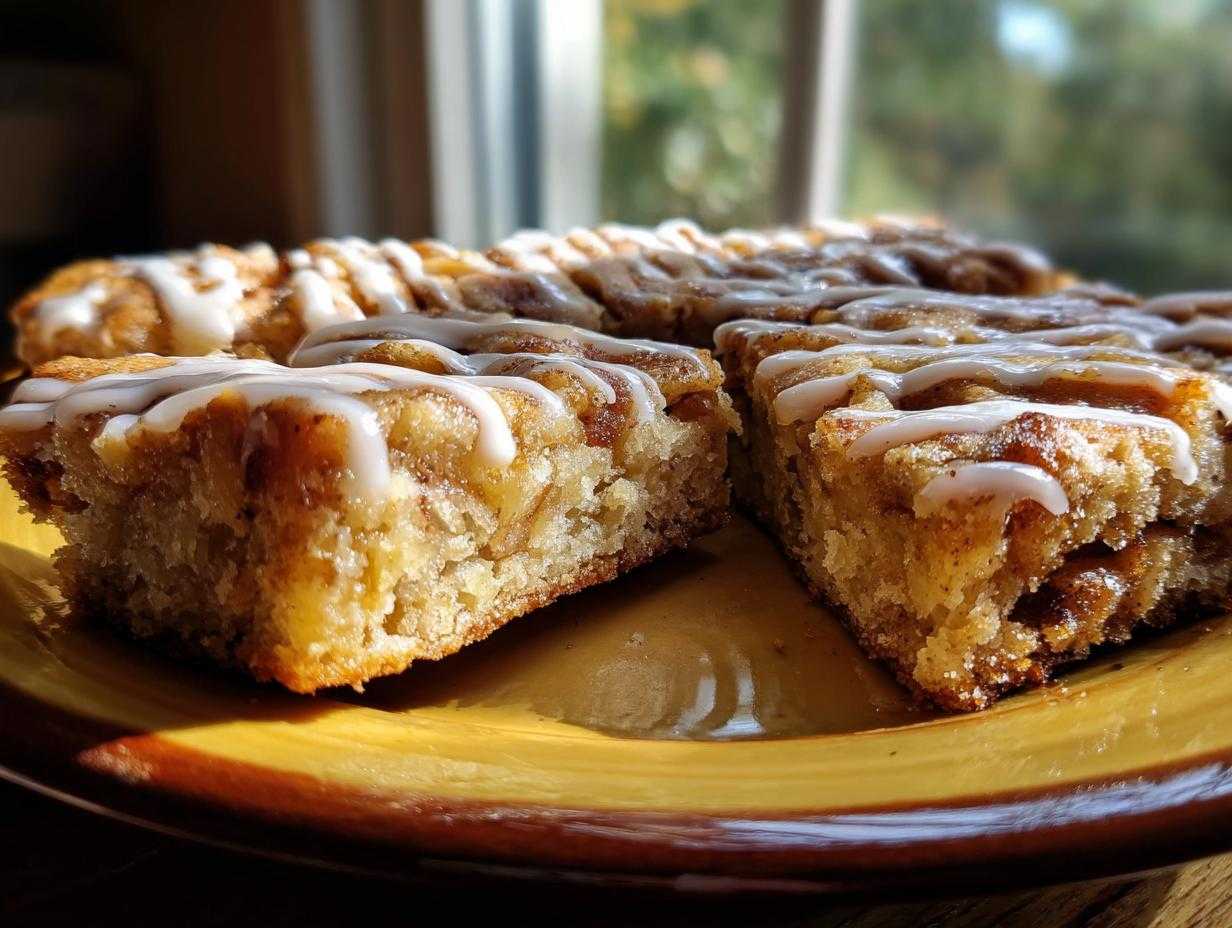

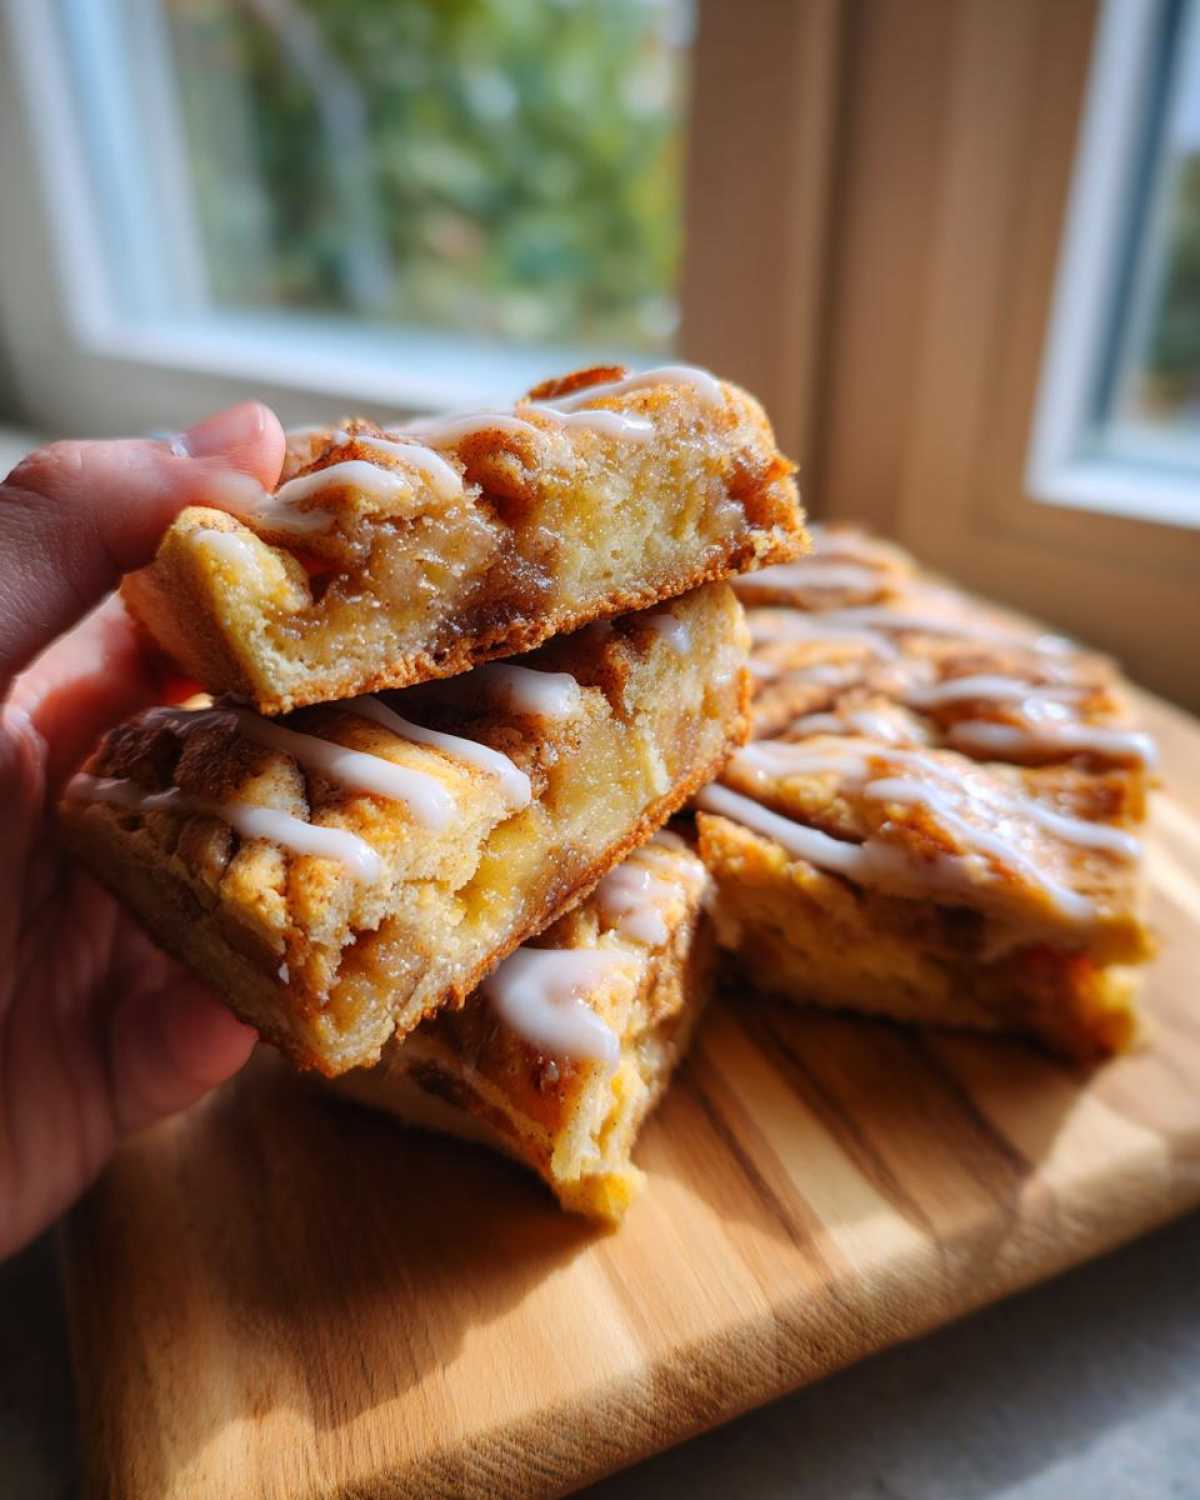
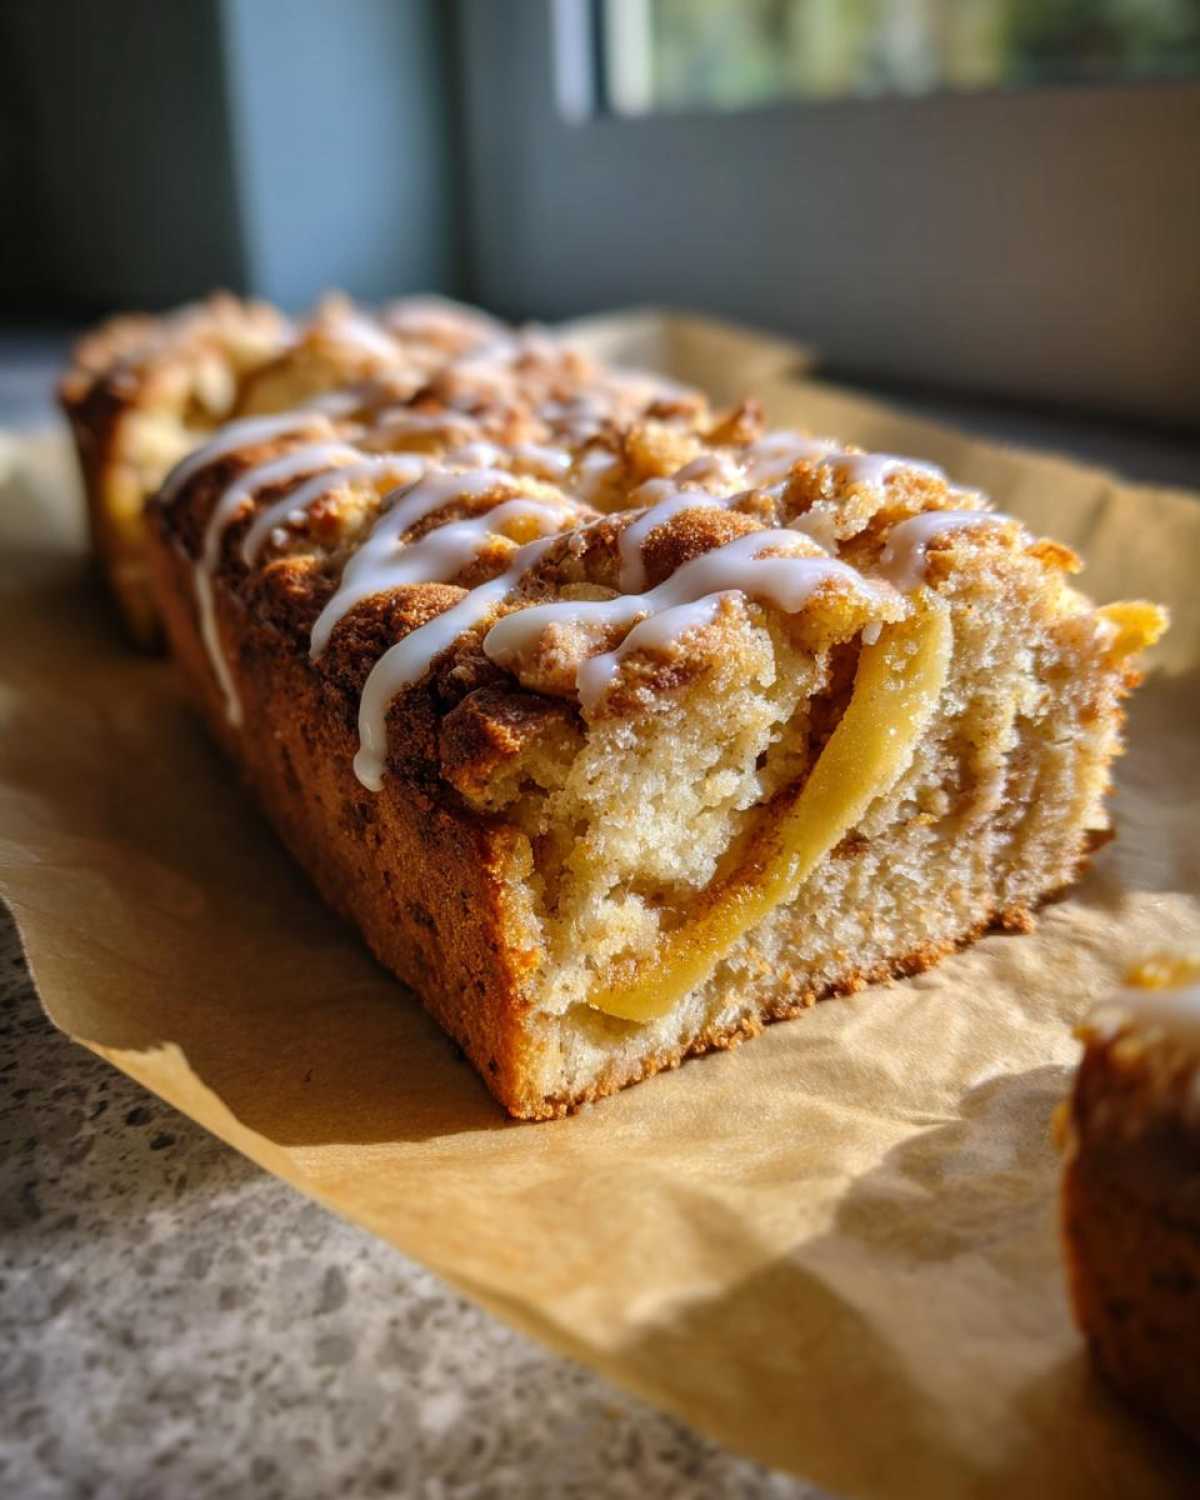
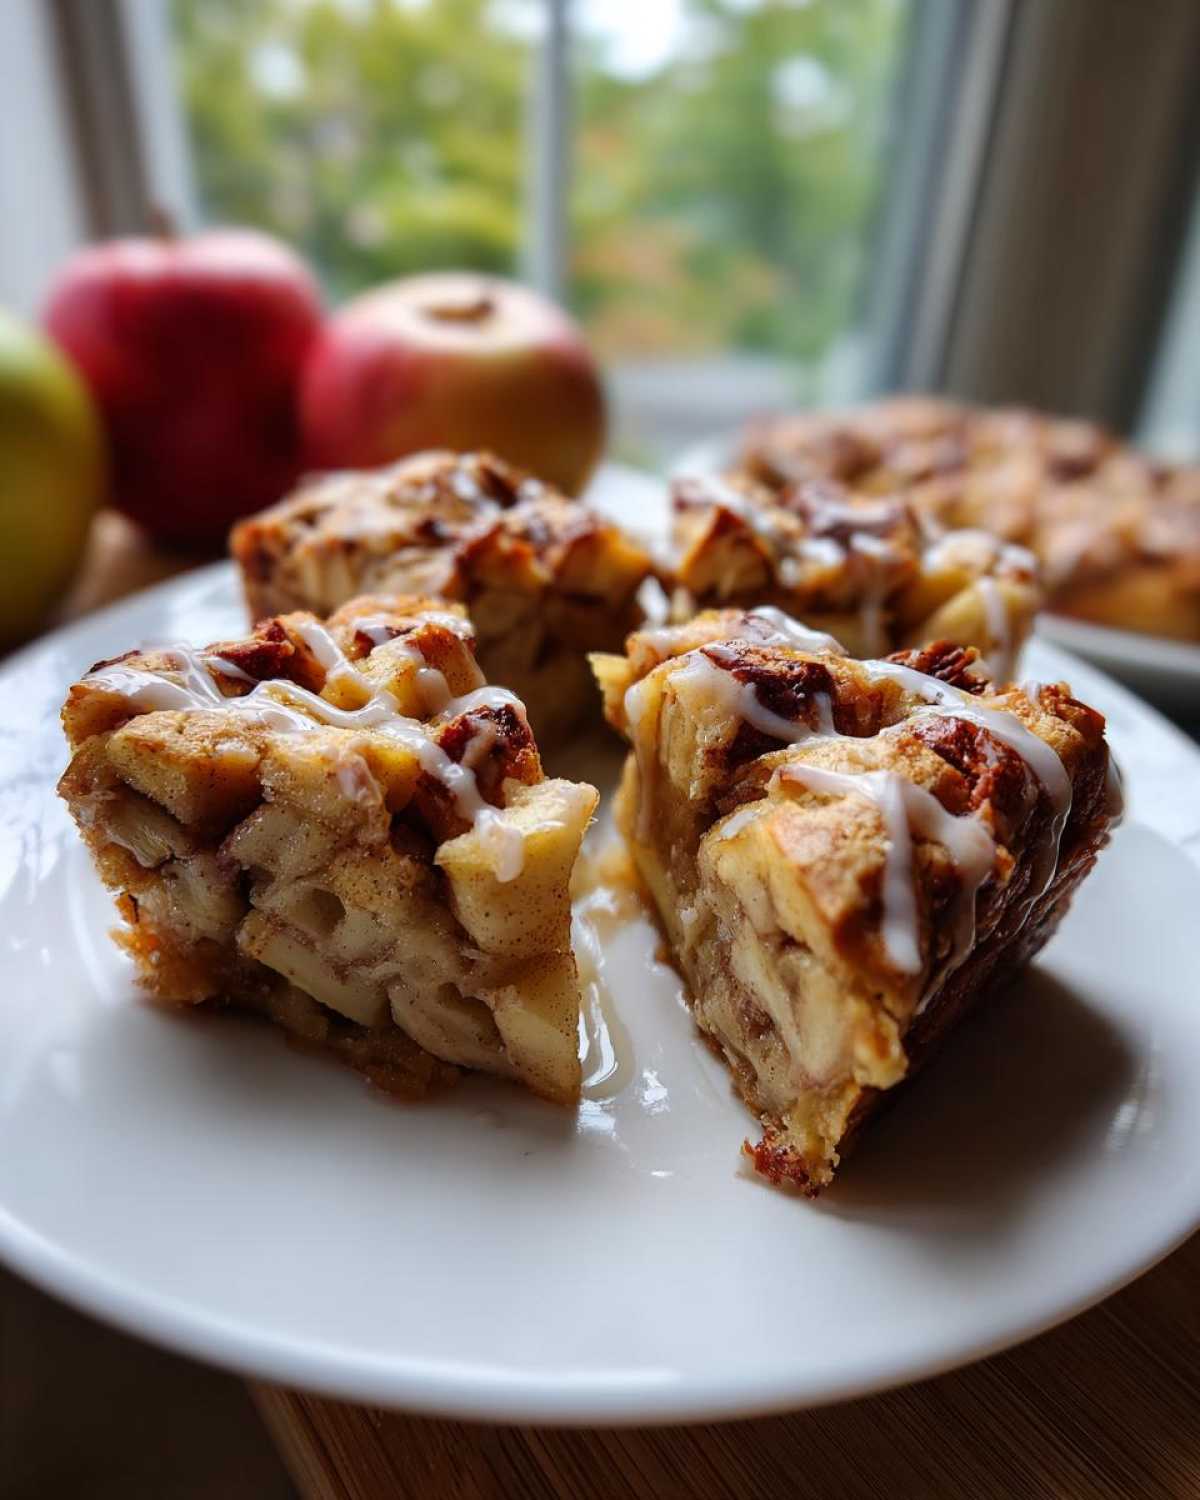
Oh, apple slice bars! Just saying the name brings back such warm, fuzzy memories, doesn’t it? When I first discovered my love for cooking, it wasn’t about fancy techniques or complicated dishes; it was about finding that pure joy in creating something delicious and comforting, just like these amazing apple slice bars. They’re like a hug in dessert form, with that sweet, cinnamony apple filling nestled between flaky pastry layers, all topped off with a simple, sweet glaze. This recipe is all about making those simple moments count, bringing people together, and proving that incredible food can be really, really easy. It’s the kind of treat that makes you feel good, inside and out, just like that first perfect loaf of bread I baked. You can follow along with more of my kitchen adventures on Facebook!
- Why You'll Love These Apple Slice Bars
- Gather Your Ingredients for Apple Slice Bars
- The Simple Steps to Making Apple Slice Bars
- Tips for the Best Apple Slice Bars
- Ingredient Notes and Substitutions
- Making Ahead and Storing Your Apple Slice Bars
- Frequently Asked Questions about Apple Slice Bars
- Estimated Nutritional Information
- Share Your Apple Slice Bar Creations!
Why You’ll Love These Apple Slice Bars
Seriously, these are just fantastic. Here’s why you’ll be making them again and again:
- Super Easy to Make: Using refrigerated pie crusts means no fuss, just pure goodness. They’re truly easy apple bars!
- Cozy Fall Flavors: Packed with cinnamon and nutmeg, they’re perfect for everything from a casual weeknight treat to a full-on simple fall baking project.
- Crowd-Pleasers: Whether it’s a bake sale, family gathering, or just a Tuesday, these apple pie bars are always a hit.
- Deliciously Glazed: That simple glaze just takes them over the top, making them look as good as they taste.
Gather Your Ingredients for Apple Slice Bars
Alright, let’s get our goodies together for these amazing apple slice bars. Using good quality ingredients really makes a difference, so try to grab the best you can find! Fresh apples are key here, so pick out some nice firm ones. You’ll need:
For the Bars:
- 1 package refrigerated pie crusts (that’s the two-crust kind you find in the dairy aisle!)
- 1/2 cup (1 stick) unsalted butter, melted (melt it gently, don’t scorch it!)
- 3/4 cup granulated sugar
- 1/4 cup all-purpose flour
- 1 teaspoon ground cinnamon
- 1/4 teaspoon ground nutmeg
- 4 cups thinly sliced peeled apples (about 4 medium apples – I love using a mix of Granny Smith and Honeycrisp!)
- 1 tablespoon lemon juice (this helps the apples stay bright and keeps them from getting *too* sweet)
For the Glaze:
- 1/4 cup powdered sugar
- 1 tablespoon milk (whole milk makes it nice and rich!)
The Simple Steps to Making Apple Slice Bars
Making these apple slice bars is honestly as easy as pie! Well, almost. You just follow these simple steps, and you’ll have a pan full of pure comfort food. Trust me, it’s a process that brings real joy, just like the best apple pie bars. Let’s get baking!
Preparing the Pan and Crust for Apple Slice Bars
First thing’s first, let’s get that oven fired up to 375°F (190°C). While it’s preheating, grab your 9×13 inch baking pan. Unroll one of those refrigerated pie crusts and carefully press it right into the bottom of the pan. Make sure it goes all the way into the corners – you want that nice, even base for our delicious apples!
Creating the Delicious Apple Filling
Okay, now for the star of the show: the apples! In a medium bowl, whisk together the melted butter, granulated sugar, flour, cinnamon, and nutmeg. You want this mixture to be nice and combined. Then, gently toss in your thinly sliced apples and that tablespoon of lemon juice. Give it all a good, gentle mix so every apple slice gets coated in that yummy spiced butter-sugar goodness.
Assembling and Baking Your Apple Slice Bars
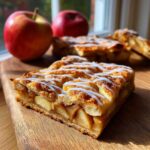
Now, carefully spread that beautifully coated apple mixture evenly over the crust you prepped in the pan. It helps to distribute them so you get apples in every bite! Next, unroll that second pie crust and place it right on top of the apples. Trim any extra dough hanging over the sides, and then crimp the edges together with the bottom crust to seal everything up. This is important to keep all those lovely juices inside! Don’t forget to cut a few small slits in the top crust – this lets the steam escape while baking, preventing any puffing disasters. Pop that pan into your preheated oven for about 35-45 minutes. You’re looking for a gorgeous golden-brown crust and a bubbly apple filling peeking through those slits. These are turning into perfect glazed apple squares right before your eyes!
Glazing and Cooling for Perfect Apple Slice Bars
Once they’re out of the oven, smelling absolutely incredible, it’s time for the glaze! While the bars are still warm (but not scorching hot!), whisk together the powdered sugar and milk in a small bowl until it’s smooth and drizzly. Pour or drizzle this simple glaze all over the top of those beautiful bars. Let them cool completely in the pan – I know, the hardest part! This lets everything set up perfectly, so when you cut them, you get nice, clean slices for your family dessert tray.
Tips for the Best Apple Slice Bars
You know, I’ve made these easy apple bars enough times to know a few little tricks that really make them shine. First off, picking the right apples is half the battle! I love a mix of tart Granny Smith and sweet Honeycrisp for the best flavor balance, but really, any firm apple that holds its shape when baked will work. To avoid that dreaded soggy bottom, make sure your oven is fully preheated and that you don’t skip cutting those vents in the top crust – they let the steam escape so the pastry stays crisp. And that glaze? A simple whisk of powdered sugar and milk is all you need, but if it seems a little too thick, just a tiny splash more milk will make it perfectly pourable. These bars are just fantastic for sharing, whether it’s a busy weeknight or you’re putting together a big family dessert tray. You can even peek at my story to see how I found my joy in simple baking!
Ingredient Notes and Substitutions
When making these apple slice bars, a few little tweaks can make a big difference! For the apples, I really love using a mix of tart and sweet, like Granny Smith and Honeycrisp, because they give you that perfect balance of flavor and they hold their shape beautifully. If you can’t find those, Fuji or Golden Delicious are also great choices. And if you’re ever out of refrigerated pie crusts – no worries! You can absolutely use your favorite homemade pie dough recipe; just make sure it’s rolled out to fit your pan.
Making Ahead and Storing Your Apple Slice Bars
These apple slice bars are wonderful because they’re just as tasty the next day, or even a couple of days later! They actually hold up really well, making them perfect for prepping ahead of time for a bake sale or your next family dessert tray. If you need to make them a day in advance, just let them cool completely, cover them tightly with plastic wrap right in the pan, and stash them on the counter. For longer storage, you can pop them in the fridge, but let them come to room temp for the best flavor. You can even freeze them! Just wrap them well once cooled, and they’ll keep for a couple of months. Planning ahead is totally doable with these gems, just like my apple crumble!

Frequently Asked Questions about Apple Slice Bars
Got questions about these delightful apple slice bars? I’ve got answers! It’s totally normal to have a few things pop up when you’re baking something new, and I’m happy to help you nail these apple pie bars every time.
Can I use frozen apples for these apple slice bars?
You know, you *can* use frozen apples, but you need to be a little careful. If you do, make sure they are completely thawed and, this is super important, that you drain off as much liquid as possible. Soaking up excess moisture helps prevent your bars from getting too soggy. Fresh apples are definitely my preference for the best texture!
How do I stop the bottom crust from getting soggy?
Ah, the soggy bottom! It’s a classic baking fear. For these apple slice bars, the key is really hot oven temperature from the start and making sure your apples aren’t too wet. Also, don’t skip those vents in the top crust! They let steam escape, which helps keep everything crisp. Sometimes, a little bit of flour or cornstarch mixed into the apples can help too, by absorbing any extra liquid.
Can I make these ahead of time or freeze them?
Absolutely! These bars are fantastic for making ahead. Let them cool completely, then store them wrapped tightly in the pan at room temperature for a day or two. If you want to freeze them, wrap them super well once totally cooled and they’ll be good for about 2 months. They’re perfect for a make-ahead family dessert tray!
What kind of apples work best for apple slice bars?
I really love a mix of apples for the best flavor and texture in my glazed apple squares. A tart apple like Granny Smith paired with a sweeter, firmer apple like Honeycrisp or Fuji gives you a wonderful balance. You want apples that will hold their shape as they bake, not turn into complete mush, so avoid softer varieties like Red Delicious if you can.
Estimated Nutritional Information
Just a friendly heads-up, the nutritional info below is an estimate, and it can change depending on the exact ingredients you use. We try our best to be accurate, but every kitchen is a little bit different, right? For the full scoop and a disclaimer, you can always check out our disclaimer page.
- Calories: Around 350 per bar
- Fat: About 18g (with 10g saturated)
- Protein: Roughly 3g
- Carbohydrates: Around 45g
- Sugar: About 30g
- Fiber: Close to 3g
- Sodium: Approximately 200mg
Share Your Apple Slice Bar Creations!
I just love seeing what you all whip up in your kitchens! If you bake these yummy apple slice bars, please come back and leave a comment. Let me know how they turned out, or if you made any fun tweaks! You can also share your photos on social media – I absolutely love seeing them. Don’t forget to check out my blog for more simple, joyful recipes!
PrintEasy Apple Slice Bars
Enjoy these simple apple slice bars, a comforting dessert perfect for any occasion. They feature a sweet apple filling between layers of pastry, finished with a glaze.
- Prep Time: 20 min
- Cook Time: 45 min
- Total Time: 65 min
- Yield: 12-16 servings 1x
- Category: Dessert
- Method: Baking
- Cuisine: American
- Diet: Vegetarian
Ingredients
- 1 package refrigerated pie crusts (2 crusts)
- 1/2 cup (1 stick) unsalted butter, melted
- 3/4 cup granulated sugar
- 1/4 cup all-purpose flour
- 1 teaspoon ground cinnamon
- 1/4 teaspoon ground nutmeg
- 4 cups thinly sliced peeled apples (about 4 medium apples)
- 1 tablespoon lemon juice
- 1/4 cup powdered sugar
- 1 tablespoon milk
Instructions
- Preheat your oven to 375°F (190°C). Unroll one pie crust and press it into the bottom of a 9×13 inch baking pan.
- In a medium bowl, combine the melted butter, granulated sugar, flour, cinnamon, and nutmeg. Mix well.
- Add the sliced apples and lemon juice to the butter mixture. Toss gently to coat the apples evenly.
- Spread the apple mixture over the crust in the baking pan.
- Unroll the second pie crust and place it over the apples. Trim any excess dough and crimp the edges to seal. Cut a few slits in the top crust to allow steam to escape.
- Bake for 35-45 minutes, or until the crust is golden brown and the apple filling is bubbly.
- While the bars are still warm, whisk together the powdered sugar and milk in a small bowl to create a glaze. Drizzle the glaze over the top of the bars.
- Let the bars cool completely in the pan before cutting into squares.
Notes
- For a richer flavor, you can add a pinch of ground cloves to the apple mixture.
- If you don’t have refrigerated pie crusts, you can make your own.
- These bars are delicious served with a scoop of vanilla ice cream.
Nutrition
- Serving Size: 1 bar
- Calories: 350
- Sugar: 30g
- Sodium: 200mg
- Fat: 18g
- Saturated Fat: 10g
- Unsaturated Fat: 8g
- Trans Fat: 0g
- Carbohydrates: 45g
- Fiber: 3g
- Protein: 3g
- Cholesterol: 40mg
