 Skip to content
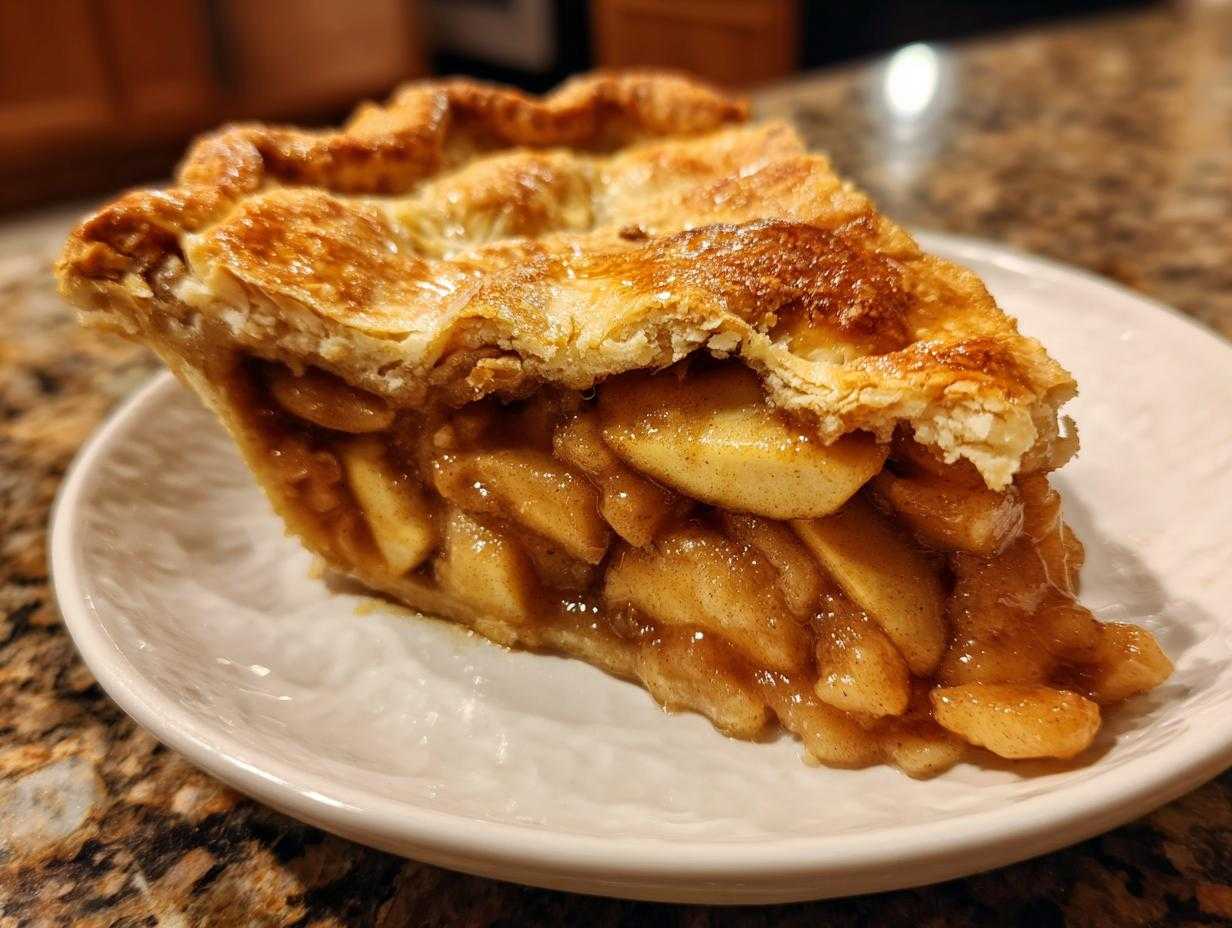

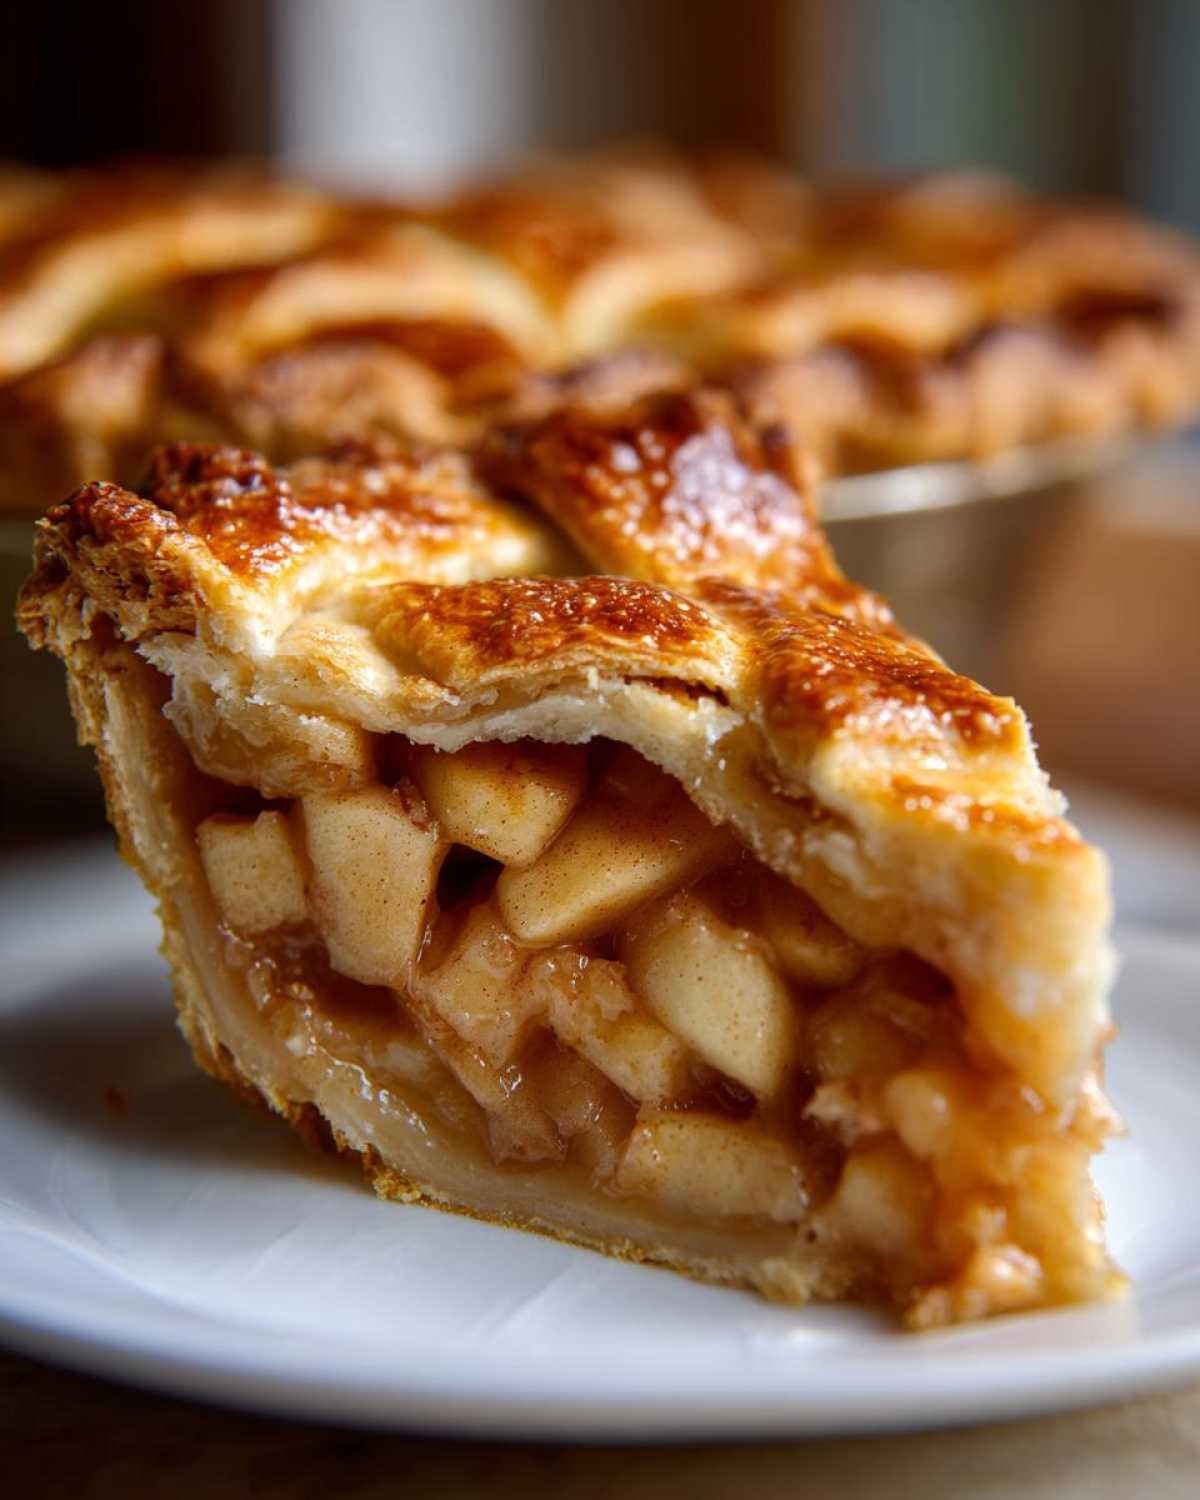
Oh, the smell of a perfect, bubbling apple pie wafting through the house… it just doesn’t get any better, right? If you’ve ever felt a little intimidated by making a homemade apple pie from scratch, trust me, I’ve been there! For years, the kitchen felt like a foreign land to me. Burnout from my old job meant takeout was my default. But then I decided to tackle baking, starting with something as simple as bread, and that first successful loaf? Pure joy. It sparked this whole journey into finding happiness in cooking, just like we talk about here at Pure Cooking Joy. This apple pie recipe is my absolute go-to because it’s genuinely foolproof. Seriously, whether you’re new to baking or just looking for a reliable winner, this recipe delivers. We’re talking a super flaky crust and a delicious, sweet apple filling that everyone will rave about. I’m so excited to share this approachable, flavorful recipe with you!
- Why You'll Love This Perfect Apple Pie
- Gather Your Ingredients for the Best Apple Pie Recipe
- Step-by-Step Guide to Your Homemade Apple Pie
- Tips for Baking the Best Apple Pie
- Ingredient Spotlight: Choosing the Right Apples
- Serving Suggestions for Your Homemade Apple Pie
- Storing and Reheating Your Apple Pie
- Frequently Asked Questions About This Apple Pie Recipe
- Nutritional Estimate for Your Perfect Apple Pie
Why You’ll Love This Perfect Apple Pie
Honestly, what’s not to love about a homemade apple pie? This recipe is truly a gem for so many reasons:
- It’s super easy! Seriously, even if you’re just dipping your toes into baking, you can totally nail this. The instructions are laid out so clearly, you’ll feel like a pro in no time.
- The flavor is just unreal – that perfect balance of sweet apples, warm cinnamon, and cozy nutmeg. Plus, that crust? Oh my gosh, it’s flaky perfection.
- It’s versatile! Whether it’s a Sunday dinner dessert, a holiday gathering, or just a Tuesday craving, this pie fits right in. It’s the kind of food that just makes people happy and brings everyone together, which is totally what we’re all about.
Gather Your Ingredients for the Best Apple Pie Recipe
Okay, gathering your ingredients is the first super satisfying step. It’s like laying out all the treasures before you create something magical! For this perfect homemade apple pie, you’ll need a few key things. First up, you absolutely need a fantastic double pie crust. Whether you whip up your own favorite recipe or use a good store-bought one, make sure you’ve got enough for both the bottom and the top. Then, for that glorious filling, we’ll need about 6 cups of thinly sliced baking apples – that’s usually around 6 medium apples. Pick apples that hold their shape, I’ll tell you more about that soon! For the sweetener and thickener, grab 3/4 cup of granulated sugar and 1/4 cup of all-purpose flour. Don’t forget the warm spices: 1 teaspoon of ground cinnamon and 1/4 teaspoon of ground nutmeg, plus a little pinch of salt to balance everything out. A splash of lemon juice adds a little brightness, and a couple of tablespoons of butter cut into small pieces get dotted right on top of the apples before the crust goes on. Oh, and for that gorgeous golden finish, have one egg ready for an egg wash and an extra tablespoon of granulated sugar to sprinkle over the top. Easy peasy!
Step-by-Step Guide to Your Homemade Apple Pie
Alright, let’s get this pie made! It really is so much simpler than you might think. Just follow these steps, and you’ll have a beautiful, delicious apple pie that tastes like it came straight from a bakery.
Preparing the Double Crust Apple Pie
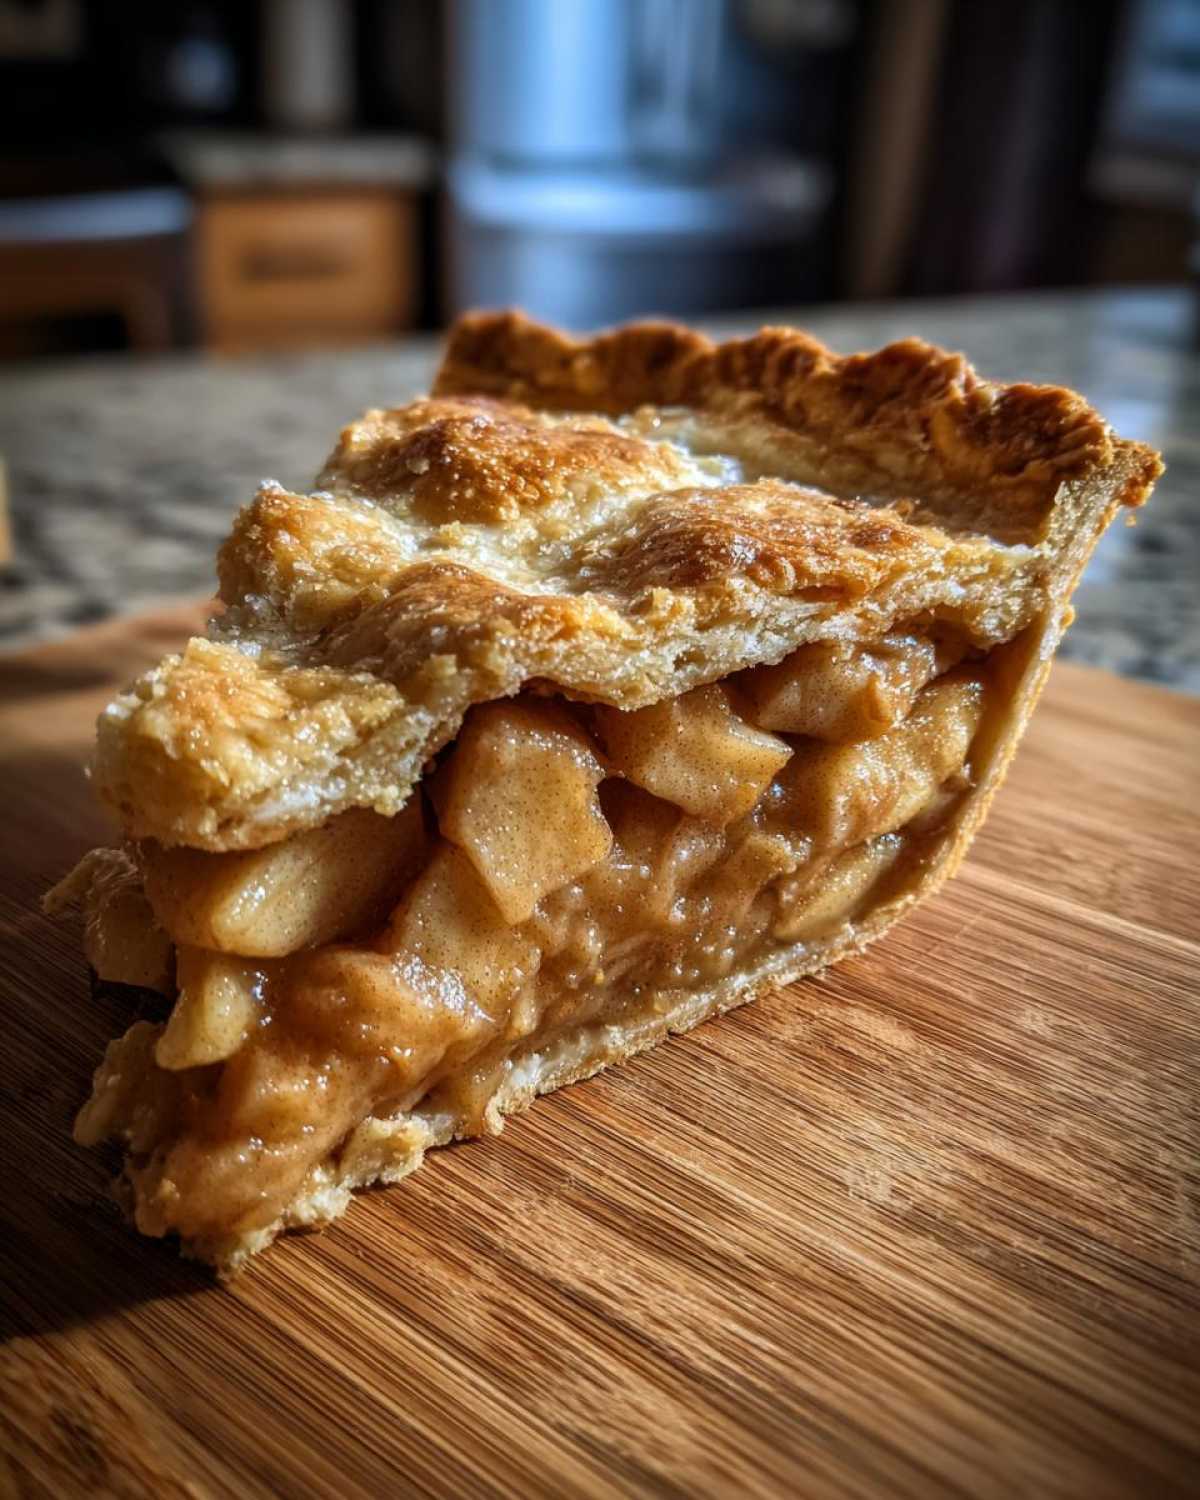
First things first, let’s get our glorious double pie crust ready. If you’re making it from scratch, make sure your butter and water are super cold – that’s my little secret for extra flakiness! Remember, chill that dough until it’s firm. Then, on a lightly floured surface, roll out your bottom crust and gently press it into your pie plate. Don’t fuss too much if it’s not perfectly round; we’ll trim it later! Now for the filling: in a big bowl, toss your sliced apples with the 3/4 cup of sugar, the flour, cinnamon, nutmeg, and salt. Make sure every single apple slice gets coated – that’s what makes the filling just right! Give it a final stir with that tablespoon of lemon juice. Trust me, the lemon juice really brightens up all those warm apple flavors.
Assembling Your Perfect Apple Pie
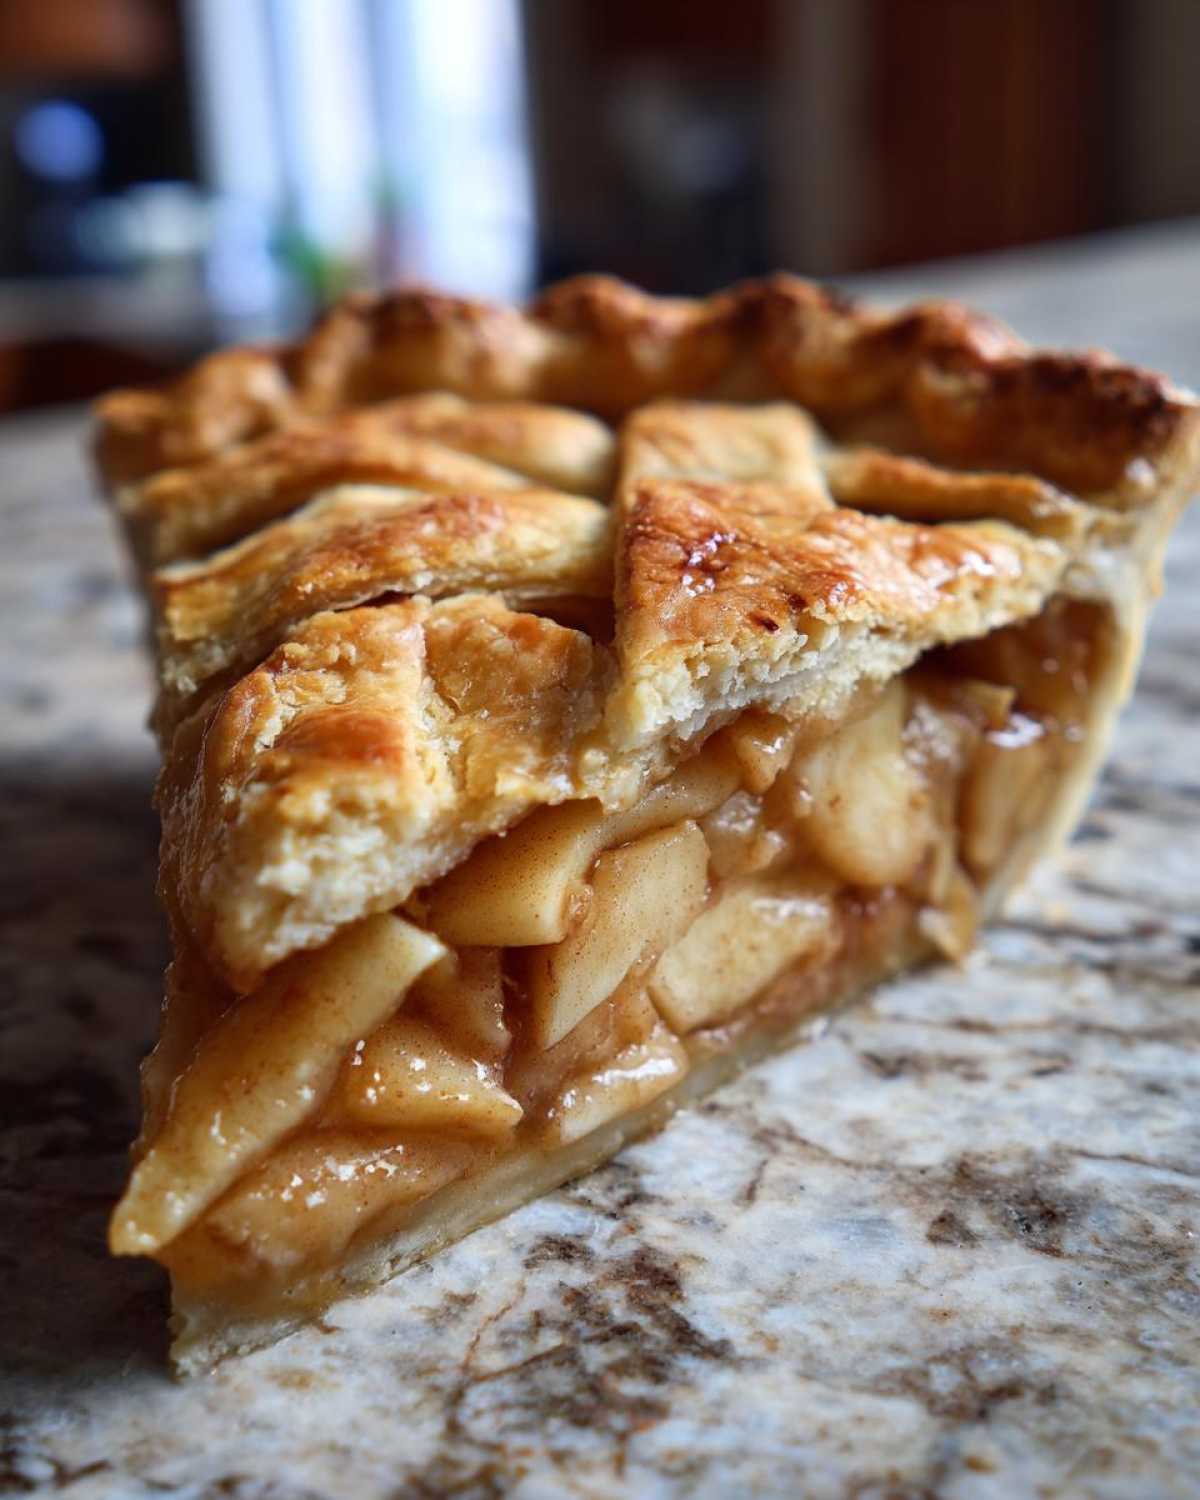
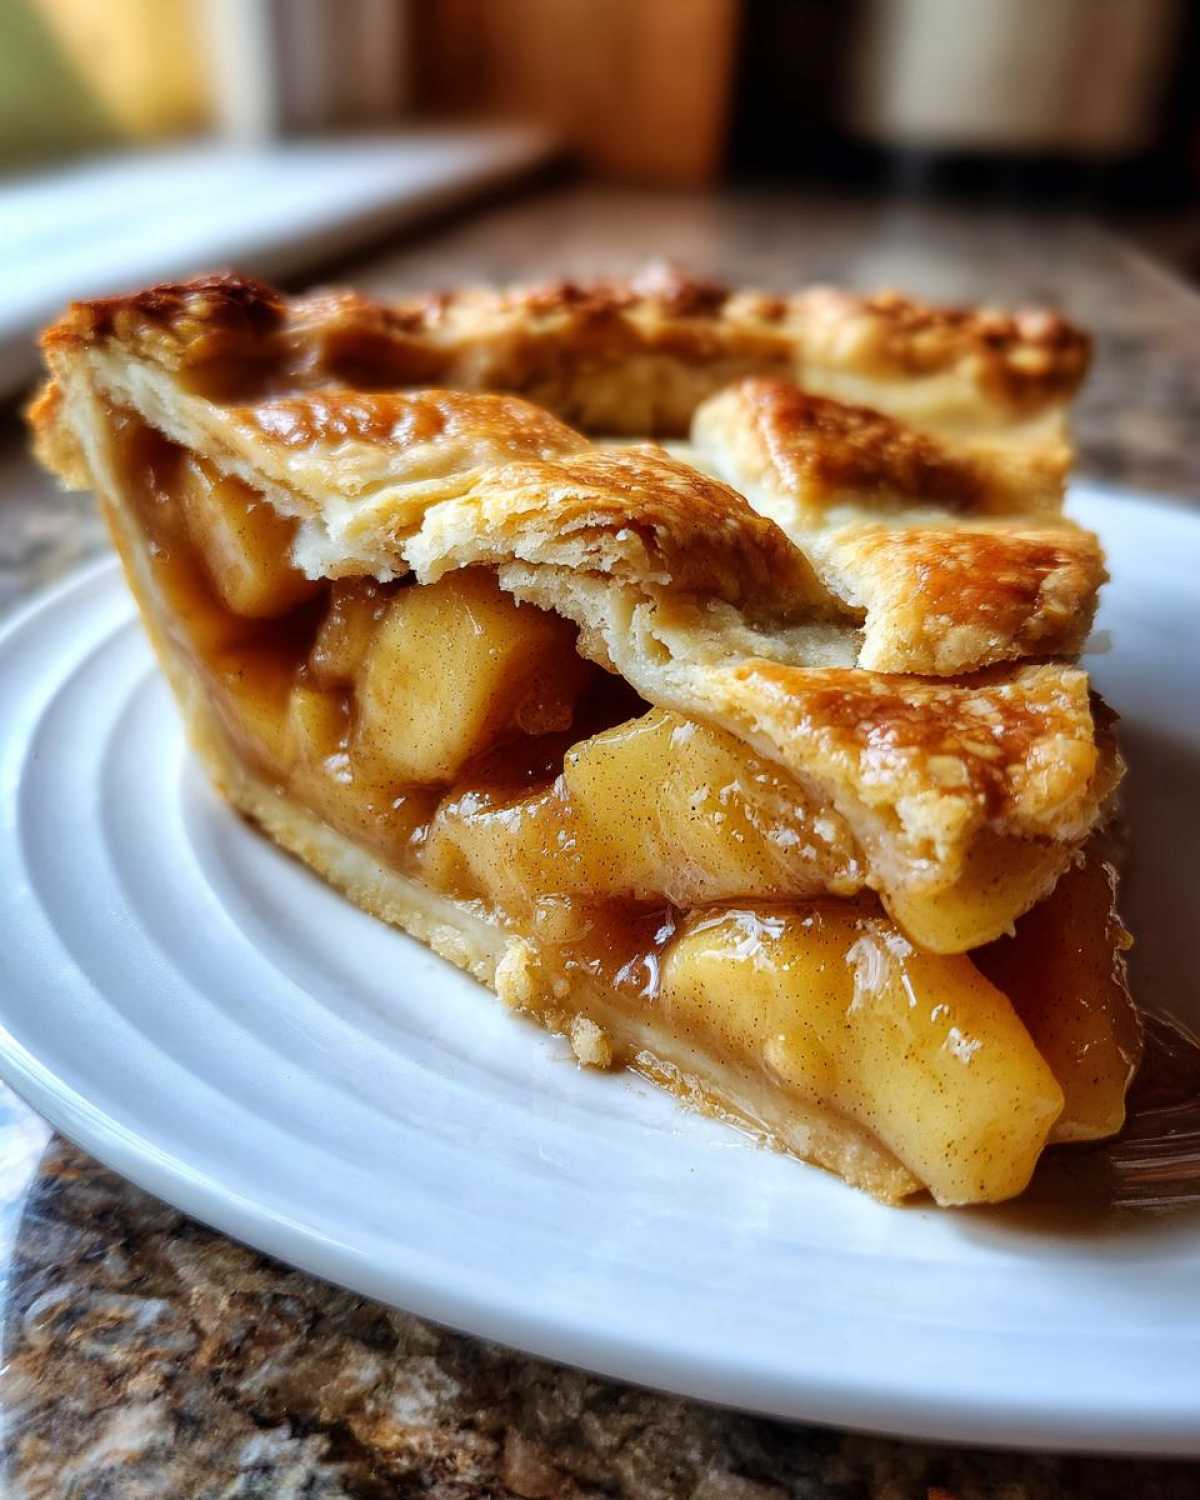
Now for the fun part – putting it all together! Pour that lovely apple mixture right into your prepared bottom crust. Try to spread it out evenly. Then, dot the top of the apples with those little pieces of butter we prepped. They melt down as it bakes and make everything so rich and delicious. Time for the top crust! You can go with a full top crust, or if you’re feeling fancy, try a lattice top – it looks so impressive! If you do a full top crust, just lay it over the apples and crimp the edges of the top and bottom crusts together really well to seal it all in. Don’t forget to cut a few slits in the top crust with a sharp knife; this helps all that steam escape while it bakes so your pie doesn’t explode!
Baking and Cooling Your Apple Pie
We’re in the home stretch now! Get your oven preheated to 400°F (200°C). Before it goes in, give that top crust a nice brush with your beaten egg wash and sprinkle it with that extra tablespoon of sugar. It makes it look so pretty and golden brown! Bake it at 400°F for about 20 minutes. Then, lower the oven temp to 375°F (190°C) and let it bake for another 30 to 40 minutes. You’ll know it’s ready when the crust is a beautiful golden brown and you can see the apple filling bubbling up through those vents. If the edges start to get too dark, just loosely tent a piece of foil over them. The hardest part? Letting it cool! You really need to let it sit on a wire rack for at least 2 to 3 hours. I know, it’s torturous, but trust me, this lets the filling set up perfectly, otherwise, you’ll have apple soup!
Tips for Baking the Best Apple Pie
Now that you’ve got the hang of the basics, let’s talk about those little extra touches that’ll take your pie from great to absolutely unforgettable! It’s all about those smart techniques that make a huge difference, just like we love here at Pure Cooking Joy. First off, apple selection is key! For that perfect balance of sweet and tart, and a filling that holds its shape, I really love a mix of apples. Granny Smith gives a nice tartness and holds up well, but mixing in something like Honeycrisp or Fuji adds a lovely sweetness and a slightly softer texture. Really, any good baking apple will do! Then there’s the crust – if you want that show-stopping flakiness, make sure your butter and water are ice cold when you’re making the dough. Seriously, it makes all the difference! And don’t forget that little step of dotting butter on top of the apples before the second crust goes on; it adds this incredible richness. These little things really turn a good pie into a truly spectacular one!
Ingredient Spotlight: Choosing the Right Apples
Okay, so let’s chat apples for a sec, because honestly, picking the right kind makes a HUGE difference in your pie! You want apples that bake up tender but don’t turn into mush, you know? My absolute favorites for this perfect apple pie recipe are a mix. Granny Smith apples are a classic for a reason – they’re nice and tart and hold their shape beautifully. Then, I love to mix in something like Honeycrisp or Fuji for a bit of juicy sweetness. It’s that combination that really makes the filling sing!
Serving Suggestions for Your Homemade Apple Pie
Okay, so you’ve just pulled this glorious homemade apple pie out of the oven, and it smells absolutely divine! Now, how do you make it even better? Well, serving it warm is definitely the way to go. A big scoop of creamy vanilla ice cream melting over a slice? Pure heaven! Or maybe some fluffy whipped cream if that’s more your style. And don’t even get me started on a drizzle of warm caramel sauce – it’s divine! These little extras aren’t just toppings; they’re part of making this pie a true expression of love, something you’re just so happy to share with everyone!
Storing and Reheating Your Apple Pie
So, you’ve got some leftover apple pie – lucky you! To keep it tasting fresh, cover it loosely with plastic wrap or foil once it’s completely cool, and store it at room temperature for up to two days. If you’ve got more than that, pop it in the fridge. When you’re ready for another slice, the best way to reheat it is in a moderate oven, maybe around 350°F (175°C), for about 15-20 minutes. This helps keep that crust nice and crisp, not soggy, and warms the filling right up!
Frequently Asked Questions About This Apple Pie Recipe
Got questions about making your perfect apple pie? I’ve got you covered! It’s totally normal to have a few things pop up as you bake, and honestly, I love chatting about all the little details that make this recipe shine.
Can I make this a streusel apple pie instead?
Oh, absolutely! If you love that crumbly, buttery topping, you can totally swap out the top crust for a streusel. Just whisk together 1 cup of flour, about 1/2 cup of brown sugar (packed!), and 1/2 cup of cold butter cut into little cubes. Mix it with your fingers or a pastry blender until it looks like coarse crumbs. Sprinkle that deliciousness over your apple filling before baking. It’s a fantastic variation!
What’s the secret to a perfect double crust apple pie?
The biggest secret is keeping everything super cold when you’re making the dough – your butter, your water, even your flour if you can! That’s what creates those lovely flaky layers. Also, don’t overwork the dough; we want it tender, not tough. And remember to let it chill properly before rolling. When you’re assembling, make sure to seal those edges well and cut those steam vents so everything bakes up beautifully!
Can I use different kinds of apples?
Yes, you totally can! I love using a mix for the best flavor and texture. Granny Smith is great for tartness and structure, but mixing in something like Honeycrisp, Fuji, or Gala adds a wonderful sweetness and a softer bite. Just avoid apples that break down too much, like McIntosh, unless you want a saucier filling.
My apple pie filling seems too runny, what did I do wrong?
Don’t worry about that! The most common reason for a runnier filling is not letting the pie cool completely. That cooling time is crucial for the juices to thicken up. Honestly, patience is key here! If it’s still a little loose after a few hours, pop it in the fridge for a bit longer. Also, make sure you’re using enough flour or cornstarch as your thickener – the 1/4 cup of flour in this recipe usually does the trick beautifully.
Nutritional Estimate for Your Perfect Apple Pie
Now, let’s talk numbers for this amazing apple pie! Keep in mind this is just an estimate, and your final results might vary a bit depending on the exact apples you use or if you add a special touch. But generally, one slice is looking at around 350 calories, with about 18g of fat (8g of that being saturated fat), 45g of carbohydrates, and roughly 4g of protein. It’s a dessert, so it’s meant to be enjoyed!
If you want to try another recipe, check out this apple pie recipe.
PrintPerfect Homemade Apple Pie Recipe

Learn how to make a delicious homemade apple pie with a flaky crust and sweet apple filling. This easy pie tutorial is perfect for beginners.
- Prep Time: 30 min
- Cook Time: 50 min
- Total Time: 80 min
- Yield: 8 servings 1x
- Category: Dessert
- Method: Baking
- Cuisine: American
- Diet: Vegetarian
Ingredients
- 1 recipe for double pie crust
- 6 cups thinly sliced peeled baking apples (about 6 medium apples)
- 3/4 cup granulated sugar
- 1/4 cup all-purpose flour
- 1 teaspoon ground cinnamon
- 1/4 teaspoon ground nutmeg
- 1/4 teaspoon salt
- 1 tablespoon lemon juice
- 1 tablespoon butter, cut into small pieces
- 1 egg, beaten (for egg wash)
- 1 tablespoon granulated sugar (for sprinkling)
Instructions
- Prepare your double pie crust according to your favorite recipe.
- In a large bowl, combine the sliced apples, 3/4 cup sugar, flour, cinnamon, nutmeg, and salt. Toss gently to coat the apples evenly.
- Stir in the lemon juice.
- Pour the apple mixture into the bottom pie crust. Dot the top of the apples with the small butter pieces.
- Place the top crust over the filling. If making a lattice top, arrange strips of dough over the filling and weave them together. Crimp the edges of the top and bottom crusts to seal.
- Cut several slits in the top crust to allow steam to escape.
- Brush the top crust with the beaten egg wash and sprinkle with the remaining 1 tablespoon of sugar.
- Bake in a preheated oven at 400°F (200°C) for 20 minutes.
- Reduce the oven temperature to 375°F (190°C) and continue baking for another 30-40 minutes, or until the crust is golden brown and the filling is bubbly. If the crust starts to brown too quickly, you can loosely tent it with aluminum foil.
- Let the pie cool on a wire rack for at least 2-3 hours before slicing and serving. This allows the filling to set properly.
Notes
- For an extra flaky crust, ensure your butter and water are very cold when making the dough.
- Using a mix of apple varieties can add more depth of flavor to your pie.
- If you prefer a streusel topping, combine 1 cup flour, 1/2 cup brown sugar, and 1/2 cup cold butter until crumbly, then sprinkle over the apples before adding the top crust or lattice.
- This pie is delicious served warm with vanilla ice cream or whipped cream.
Nutrition
- Serving Size: 1 slice
- Calories: 350
- Sugar: 25g
- Sodium: 200mg
- Fat: 18g
- Saturated Fat: 8g
- Unsaturated Fat: 10g
- Trans Fat: 0g
- Carbohydrates: 45g
- Fiber: 3g
- Protein: 4g
- Cholesterol: 30mg
