 Skip to content
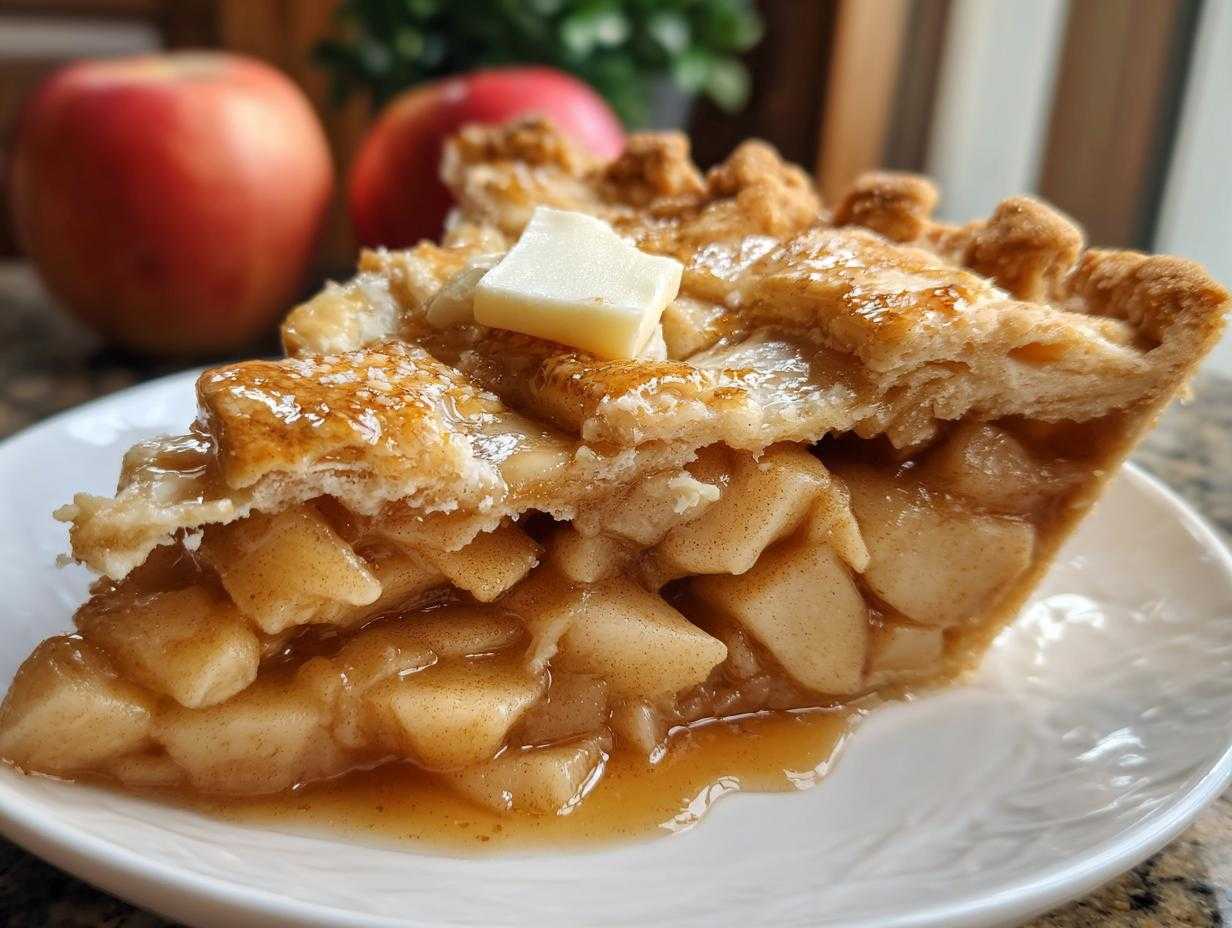

Ah, the smell of warm, spiced apples baking in the oven… it just gets me every single time! There’s nothing quite like it, is there? It’s that cozy, hug-in-a-mug feeling that makes home feel like home. You know, when I first started cooking, the idea of making something like homemade apple pie filling felt totally intimidating. I used to think baking was just for “other people,” the ones who had all the fancy gadgets and instincts I clearly lacked. My kitchen was more of a place to microwave leftovers than create magic!
But then I discovered that creating a fantastic apple pie filling, and by extension, a perfect pie, is actually way simpler than you might think. This recipe here is my absolute go-to. It’s so versatile – you can can it for shelf-stable goodness, freeze it for later, or just whip it up fresh to bake a pie right away. It’s a recipe I’ve tweaked and tested until it’s just right, so you can feel totally confident making it. Trust me, ditching the store-bought stuff is totally worth it!
- Why You'll Love This Homemade Apple Pie Filling
- Gather Your Ingredients for Perfect Apple Pie Filling
- Step-by-Step Guide to Making Your Apple Pie Filling
- Tips for the Best Apple Pie Filling
- Ingredient Spotlight: Apples for Your Pie Filling
- Serving and Storage for Your Apple Pie Filling
- Frequently Asked Questions About Apple Pie Filling
- Understanding the Nutritional Value of Your Apple Pie Filling
- Share Your Homemade Apple Pie Filling Creations
Why You’ll Love This Homemade Apple Pie Filling
Seriously, get ready to fall in love with this easy apple pie filling. It’s one of those recipes that just keeps on giving, and here’s why:
- Super Simple to Make: You’re literally just tossing a few ingredients together. No super fancy techniques needed, which is exactly how I like it!
- So Versatile: Need a filling for tonight? Done. Want to stash some away in the freezer for a future craving? Easy peasy. Feeling ambitious and want to can it for pantry storage? We’ve got you covered.
- Incredible Flavor: Fresh apples, just the right touch of cinnamon and nutmeg, and a hint of bright lemon juice. It tastes SO much better than anything from a can.
- You Control the Sweetness: Apples can be tricky, right? Some are super tart, others sweeter. This recipe lets you adjust the sugar to perfectly match your apples and your taste buds.
- The ‘No-Peel’ Option: Honestly, who has time to peel every single apple? This recipe works beautifully whether you peel them or not. Less work, same delicious results!
- That Homemade Pride: There’s just something so satisfying about filling your home with the aroma of homemade apple pie, knowing you made the filling from scratch. It’s pure joy!
- Makes a Great Make-Ahead Filling: Got a busy weekend coming up? Just whip up a batch of this filling ahead of time and store it in the fridge. Then, pie whenever the craving strikes!
Gather Your Ingredients for Perfect Apple Pie Filling
Alright, time to get your kitchen prepped! Making this amazing apple pie filling is all about having the right stuff on hand. It’s really pretty straightforward and uses things you probably already have or can easily find. Grab these goodies and let’s get started:
- 6 cups of thinly sliced peeled apples (that’s about 2 and a half pounds of apples, give or take!)
- 1 cup of granulated sugar – but feel free to pop in a little more or less depending on how sweet your apples are or how you like it!
- 1/4 cup of all-purpose flour – this is our thickener!
- 1 teaspoon of ground cinnamon – the classic cozy spice!
- 1/4 teaspoon of ground nutmeg – just a tiny bit adds such a nice warmth.
- 1/4 teaspoon of salt – it really helps all those flavors pop.
- 2 tablespoons of fresh lemon juice – this brightens everything up and helps keep your apples from browning too much.
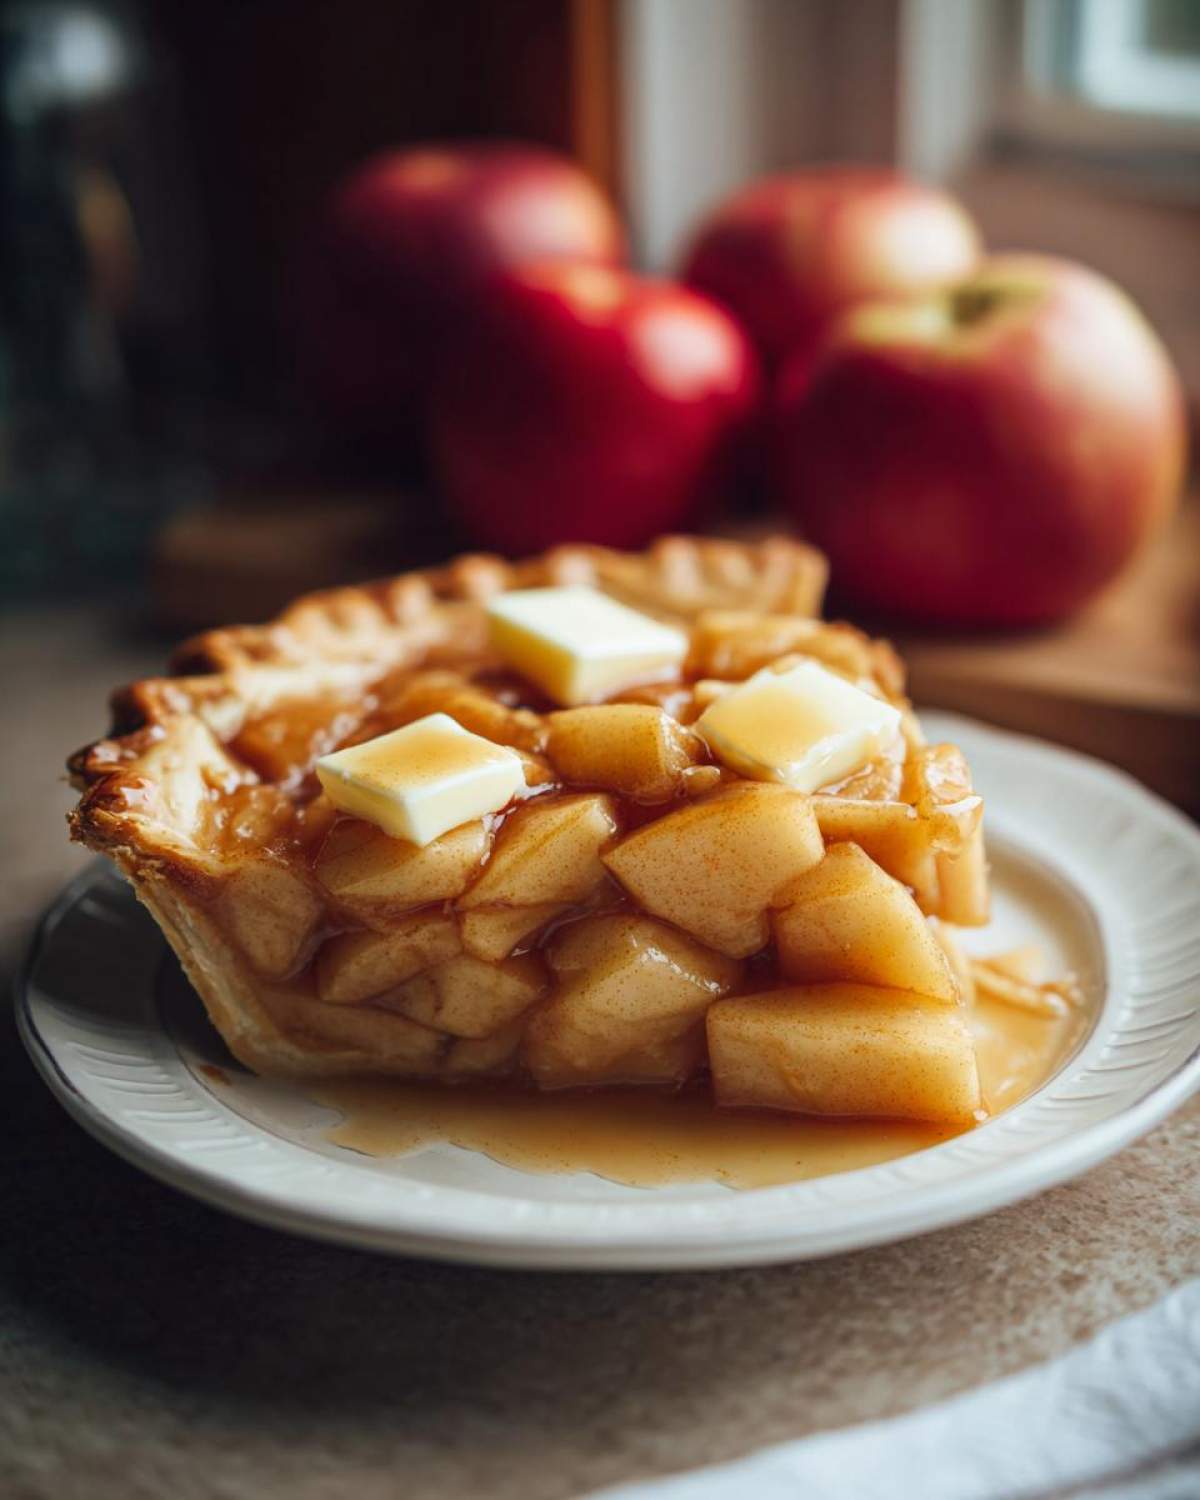
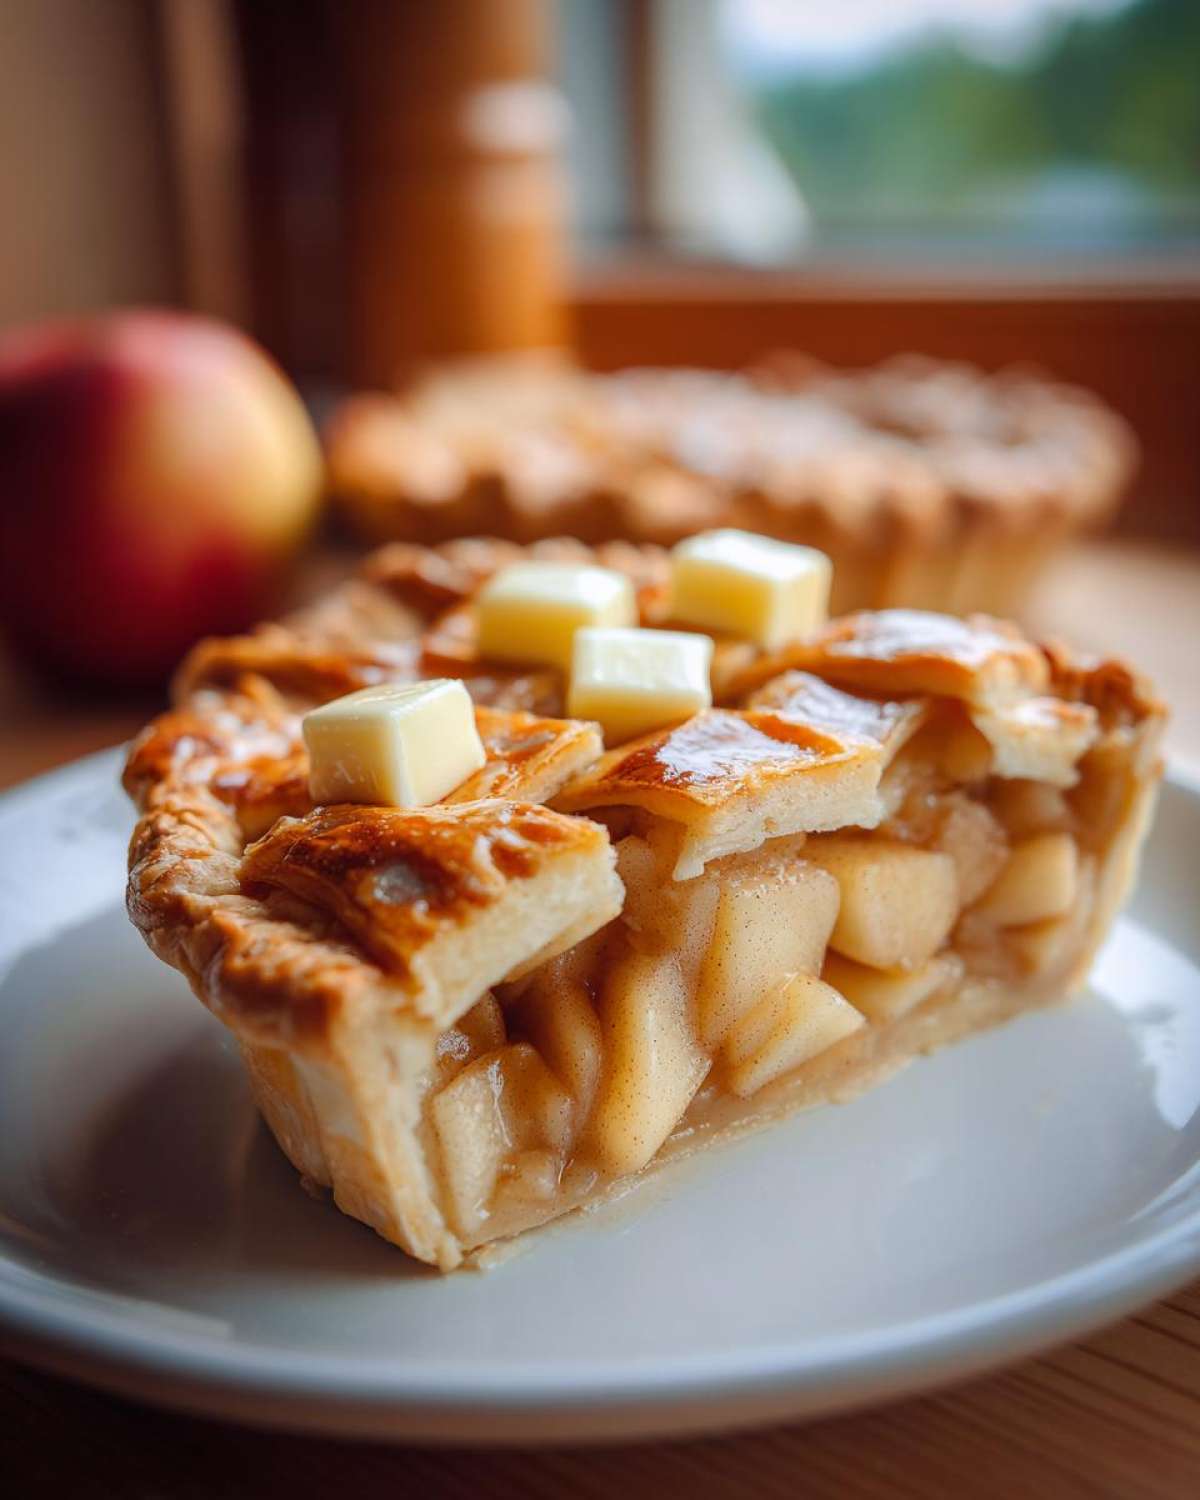
- 2 tablespoons of butter, cut into little pieces – this is our little secret for richness!

Step-by-Step Guide to Making Your Apple Pie Filling
Okay, let’s get down to business! Following these steps will give you the most wonderfully simple and delicious apple pie filling. It’s honestly so easy, you’ll wonder why you ever bought it from the store. We’re going to cover how to prep it, how to can it if you’re feeling organized, how to freeze it for later, or just how to use it fresh right away. Easy peasy!
Preparing the Apples for Your Apple Pie Filling
First things first, grab that big beautiful bowl. Gently toss your sliced apples with the sugar, flour, cinnamon, nutmeg, and salt. Make sure every apple slice gets coated – this is where all that yummy flavor starts! Then, stir in that splash of lemon juice to brighten everything up.
Canning Your Shelf-Stable Apple Pie Filling
If you’re going the canning route for that shelf-stable magic, here’s what you do: carefully ladle your prepared apple mixture into sterilized canning jars. You want to leave about an inch of space at the top, called headspace. Pop those little butter pieces right on top, seal them up, and then process them according to your canner’s instructions for fruit pie fillings. It’s super important to follow those guidelines for safety!
Freezing Your Make-Ahead Apple Pie Filling
Want to save this goodness for another day? Awesome! Spoon your apple filling into freezer-safe containers or bags. Just remember to leave a little space at the top because things expand when they freeze. Seal them up tight, and into the freezer they go! It’ll keep beautifully for about 6 months. When you’re ready to use it, just pop it in the fridge overnight to thaw. You might notice a little extra liquid – just drain that off before you use it in your pie.
Using Your Homemade Apple Pie Filling Immediately
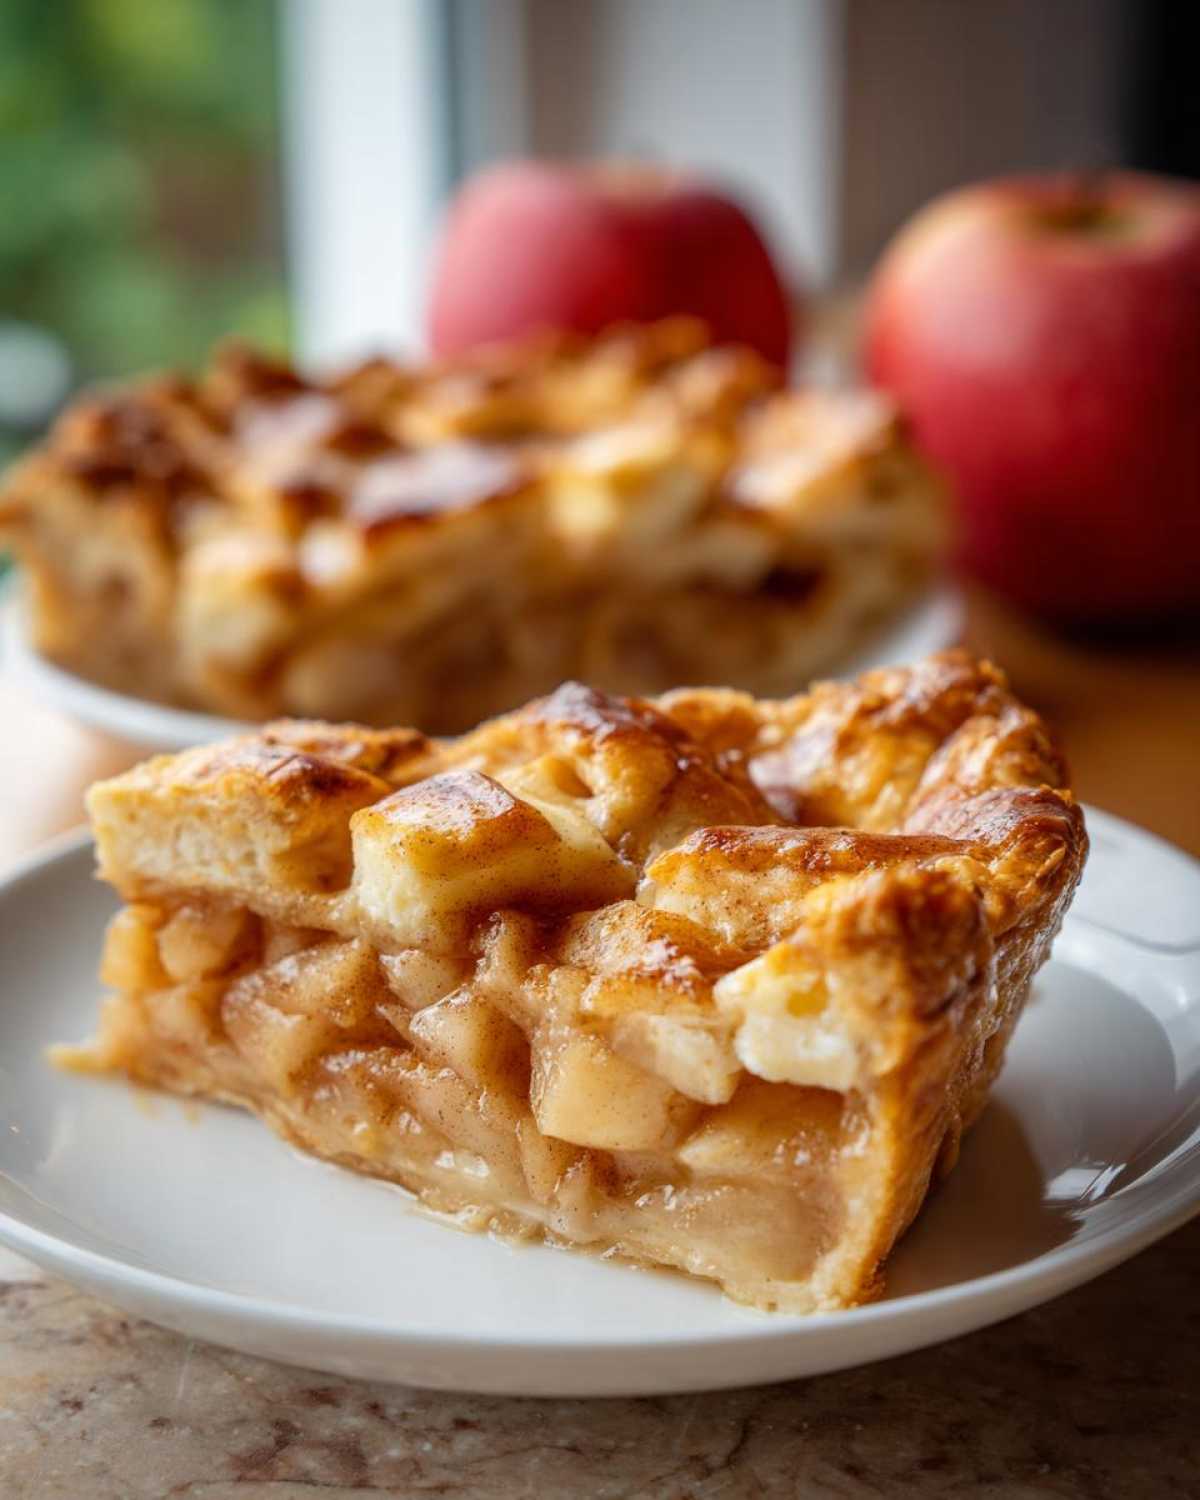
Craving pie *now*? I get it! If you’re baking right away, just pour this glorious filling directly into your unbaked pie crust. Dot those lovely little butter pieces all over the top. Then, pop it into the oven and bake it up just like your favorite pie recipe calls for. So simple, right?
Tips for the Best Apple Pie Filling
Whipping up a truly fantastic apple pie filling is all about a few little secrets that make a big difference. Don’t stress, though – it’s super easy! First off, when you’re picking apples, think sturdy! Varieties like Honeycrisp, Granny Smith, or even a mix of Fuji and Gala work wonderfully because they hold their shape nice and neat during baking. You know, those softer apples can turn into applesauce in the pie, and nobody wants that!
And about that sweetness – taste your apples before you add the sugar! Some apples are naturally sweet, others are tart. This recipe is flexible, so feel free to bump up or dial down the sugar to match your apples and your personal preference. My favorite trick? Always go with the ‘no-peel’ option! Seriously, who has time to peel every single apple? Just give them a good wash, slice ’em up, and toss them in. It saves so much time and honestly, you can barely tell the difference in the finished pie.
Ingredient Spotlight: Apples for Your Pie Filling
Choosing the right apples for your apple pie filling is honestly half the fun! You want apples that are firm and hold their shape when they bake, so they don’t just turn into mush. My favorite go-to apples are a mix of Honeycrisp for that perfect sweet-tart crunch and Granny Smith for a little bit of zing. Blending a couple of varieties really gives your pie filling awesome depth of flavor!
Serving and Storage for Your Apple Pie Filling
Got extra apple pie filling? Lucky you! Pop any leftover filling into an airtight container and keep it in the fridge. It’ll stay yummy and fresh for about 3 to 4 days. If you want to warm it up before using it in a pie or just as a sweet topping, gently heat it on the stovetop over low heat, stirring occasionally, until it’s perfectly warm. It’s like having a little bit of pie sunshine ready whenever you need it!
Frequently Asked Questions About Apple Pie Filling
Got questions about whipping up this glorious apple pie filling? I’ve got answers! It’s totally normal to have a few things pop up when you’re making something from scratch – I certainly did when I first started.
Can I really adjust the sugar in this apple pie filling?
Oh, absolutely! That’s one of the best parts of making your own apple pie filling. Apples vary so much in sweetness, so tasting your sliced apples before you add the sugar is key. If they’re super sweet, you might want to cut back a bit. If they’re on the tart side, you can add a little more. Just start with the recipe amount and adjust from there. You’re the boss of your pie!
What kind of apples should I use for the best filling?
For a fantastic homemade pie filling that holds its shape, you really want to pick apples that are firm and a bit tart or a good balance of sweet and tart. Honeycrisp, Granny Smith, Braeburn, or even Fuji are wonderful choices. Mixing a couple of types really gives your pie a lovely depth of flavor. Softer apples can turn a bit mushy, so those are usually better for applesauce!
How long does this filling last if I’m not canning or freezing it?
If you’re just making the filling for immediate use but have a little extra, you can totally store it in an airtight container in the refrigerator. It should be good for about 3 to 4 days. Just give it a gentle stir before you use it in your pie or on top of some ice cream. It’s great for a last-minute dessert!
Can I use this as a freezer pie filling?
Yes, you absolutely can! This recipe works wonderfully as a freezer pie filling. Just spoon the prepared apple mixture (minus the butter, unless you want to freeze that separately) into freezer-safe bags or containers. Make sure to leave a little headspace for expansion. It’ll keep well for about 6 months. When you’re ready to bake, just thaw it in the fridge overnight, drain off any excess liquid, and you’re good to go!
Is this recipe suitable for a canned pie filling?
Yes, this recipe is perfect for making a shelf-stable, canned pie filling! Just follow the canning steps provided in the recipe carefully, making sure to sterilize your jars properly and process them according to your canner’s instructions for fruit pie fillings. It’s a fantastic way to preserve the taste of fall apples all year round.
Understanding the Nutritional Value of Your Apple Pie Filling
Just a friendly heads-up: the nutritional details for this glorious apple pie filling are just estimates. They can really change depending on the exact types of apples you use, how much sugar you decide to add, and even the brands of ingredients you reach for. Think of it as a helpful guide, not a strict rulebook!
Share Your Homemade Apple Pie Filling Creations
Have you tried making this simple, delicious apple pie filling? I absolutely love hearing about your baking adventures! Did you tweak the sugar? Try a different apple mix? Tag me in your photos or leave a comment below sharing your pie success (or even the learning moments – we’ve all been there!). Your sharing truly makes this community so special!
PrintHomemade Apple Pie Filling

Create a delicious and shelf-stable apple pie filling perfect for canning or freezing. This recipe offers flexibility for sugar adjustments and easy pie assembly.
- Prep Time: 20 min
- Cook Time: 0 min (for filling preparation)
- Total Time: 20 min
- Yield: About 6 cups 1x
- Category: Dessert
- Method: Canning/Freezing/Baking
- Cuisine: American
- Diet: Vegetarian
Ingredients
- 6 cups thinly sliced peeled apples (about 2.5 lbs)
- 1 cup granulated sugar (adjust to taste)
- 1/4 cup all-purpose flour
- 1 teaspoon ground cinnamon
- 1/4 teaspoon ground nutmeg
- 1/4 teaspoon salt
- 2 tablespoons lemon juice
- 2 tablespoons butter, cut into small pieces
Instructions
- In a large bowl, combine sliced apples, sugar, flour, cinnamon, nutmeg, and salt. Toss gently to coat the apples evenly.
- Stir in the lemon juice.
- For canning: Ladle the apple mixture into sterilized canning jars, leaving 1-inch headspace. Add butter pieces on top. Process according to your canner’s instructions for fruit pie fillings.
- For freezing: Spoon the apple mixture into freezer-safe containers or bags, leaving headspace for expansion. Seal tightly and freeze for up to 6 months.
- To use frozen filling: Thaw overnight in the refrigerator. You may need to drain off excess liquid before using in your pie.
- For immediate use: Pour the filling into an unbaked pie crust. Dot with butter pieces. Bake according to your pie recipe instructions.
Notes
- For a no-peel filling, simply slice the apples without peeling.
- Adjust sugar quantity based on the sweetness of your apples and your preference.
- This filling can be made ahead and stored in the refrigerator for up to 3 days before baking or canning.
- Ensure your canning equipment is properly sterilized for safe preservation.
Nutrition
- Serving Size: 1/6th of recipe (approx. 1 cup)
- Calories: 350
- Sugar: 55g
- Sodium: 150mg
- Fat: 5g
- Saturated Fat: 3g
- Unsaturated Fat: 2g
- Trans Fat: 0g
- Carbohydrates: 75g
- Fiber: 4g
- Protein: 1g
- Cholesterol: 10mg
