 Skip to content
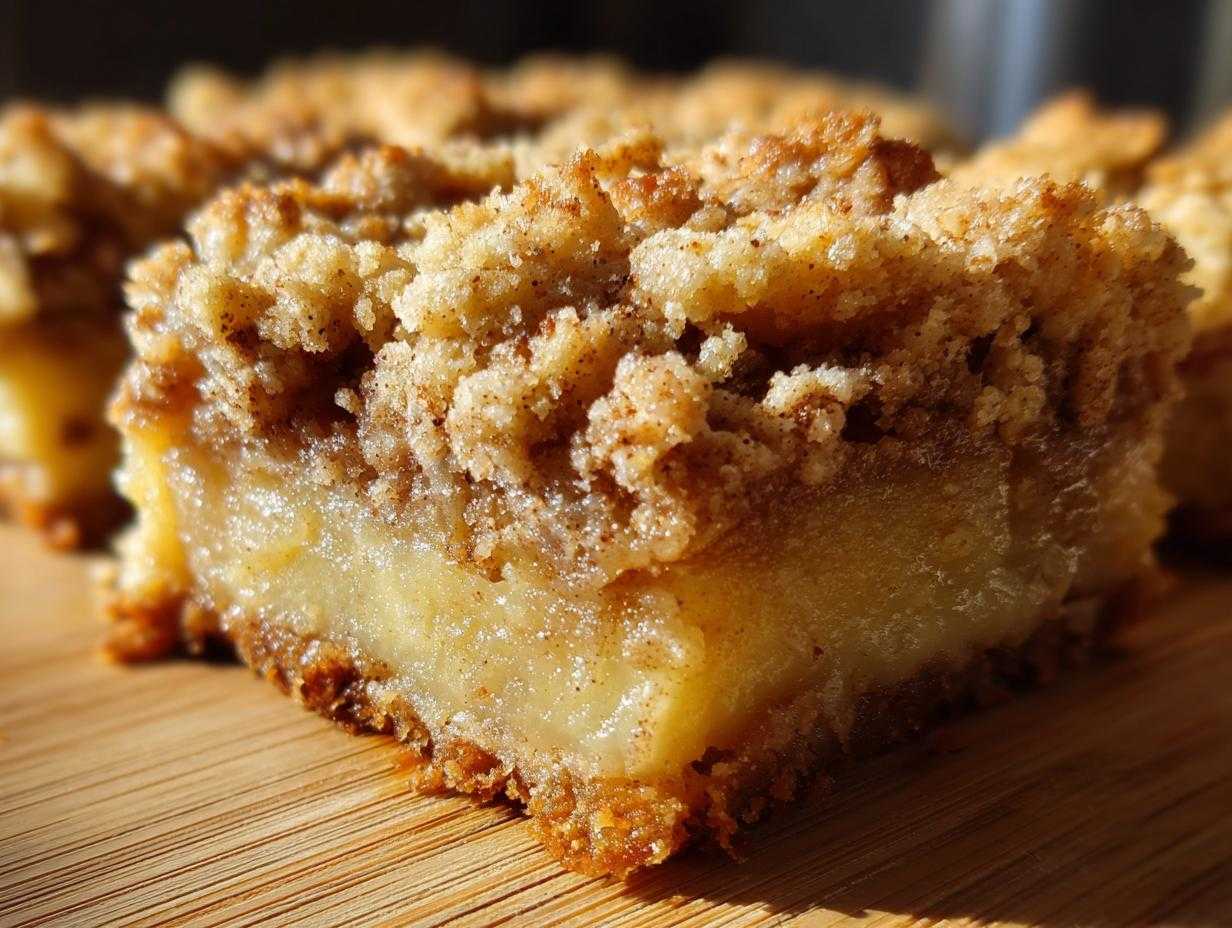

You know, for the longest time, the kitchen felt like the biggest chore on my list. So much so that I was convinced I wasn’t a “kitchen person” at all! But then I learned something amazing: finding joy in cooking doesn’t have to be complicated. It’s about creating tasty things that bring people together, simple as that. That’s exactly what these easy apple pie bars are all about. They’re like a classic apple pie all dressed up in an easy-to-slice, no-fuss package that’s just perfect for parties or just because. They’ve got that comforting spiced apple filling nestled between a buttery crust and a sweet crumb topping, and trust me, they disappear fast!
- Why You'll Love These Easy Apple Bars
- Gather Your Ingredients for Apple Pie Bars
- Crafting Your Perfect Sheet Pan Apple Bars
- Tips for Success with Your Crumb Apple Bars
- Ingredient Spotlight: The Magic of Apples
- Making Ahead and Storing Your Easy Apple Bars
- Serving Suggestions for Your Party Apple Bake
- Frequently Asked Questions about Apple Pie Bars
- Understanding the Nutritional Value of This Bar Style Pie
- Share Your Pure Cooking Joy!
Why You’ll Love These Easy Apple Bars
These easy apple bars are such a dream to make and even better to eat! Seriously, they tick all the boxes:
- Super Simple to Make: No fancy techniques here! Just mix, press, layer, and bake.
- Perfectly Portable: Slice ’em up and take them anywhere – picnics, potlucks, you name it!
- Crowd-Pleaser Guaranteed: That classic apple pie flavor in bar form? Everyone goes wild for it.
- Minimal Fuss, Maximum Joy: They deliver all the comfort of pie without all the fuss.
- Versatile Treat: Great for breakfast, a snack, or dessert. They seriously fit any time of day!
Gather Your Ingredients for Apple Pie Bars
Okay, let’s get our ingredients ready for these amazing apple pie bars! We’re going to be working with a buttery crust, a spiced apple filling, and a yummy crumb topping. You’ll need about 4 medium apples – I love using Granny Smith or Honeycrisp for a nice tartness, but whatever you’ve got works great. Just make sure to peel and chop them up! For the crust and topping, grab your all-purpose flour, some light brown sugar (that’s the stuff that gives it that lovely deep flavor), and regular granulated sugar. We’ll also need some cold, cubed unsalted butter – don’t let it get soft! And for that perfect apple pie spice mix, we’ll use cinnamon and a little pinch of nutmeg. Oh, and a splash of lemon juice for the apples to keep ’em bright!

Crafting Your Perfect Sheet Pan Apple Bars
Alright, let’s get down to the fun part – making these incredible sheet pan apple bars! Trust me, it’s way easier than you think, and the smell that fills your kitchen will be pure magic. We’ll start with the base, then add that lovely apple layer, and finish with a gorgeous crumb topping. It all comes together beautifully!
Preparing the Crust and Crumb Topping
First things first, let’s get that base and that crumb topping ready. In a bowl, you’ll whisk together your flour, those sugars (both brown and granulated!), a little cinnamon, and salt. Now, toss in your cold butter cubes – this is key! You’re going to want to cut that butter in until it looks like coarse crumbs, almost like wet sand. You can use a pastry blender, or your fingers work just fine too! Take about two-thirds of this mixture and press it evenly into the bottom of your greased and floured baking pan. That’s your crust! Now, for the topping, we’ll do pretty much the same thing with the rest of the crumble mixture in the same bowl. Don’t wash it – more flavor!
Assembling and Baking Your Slab Apple Desserts
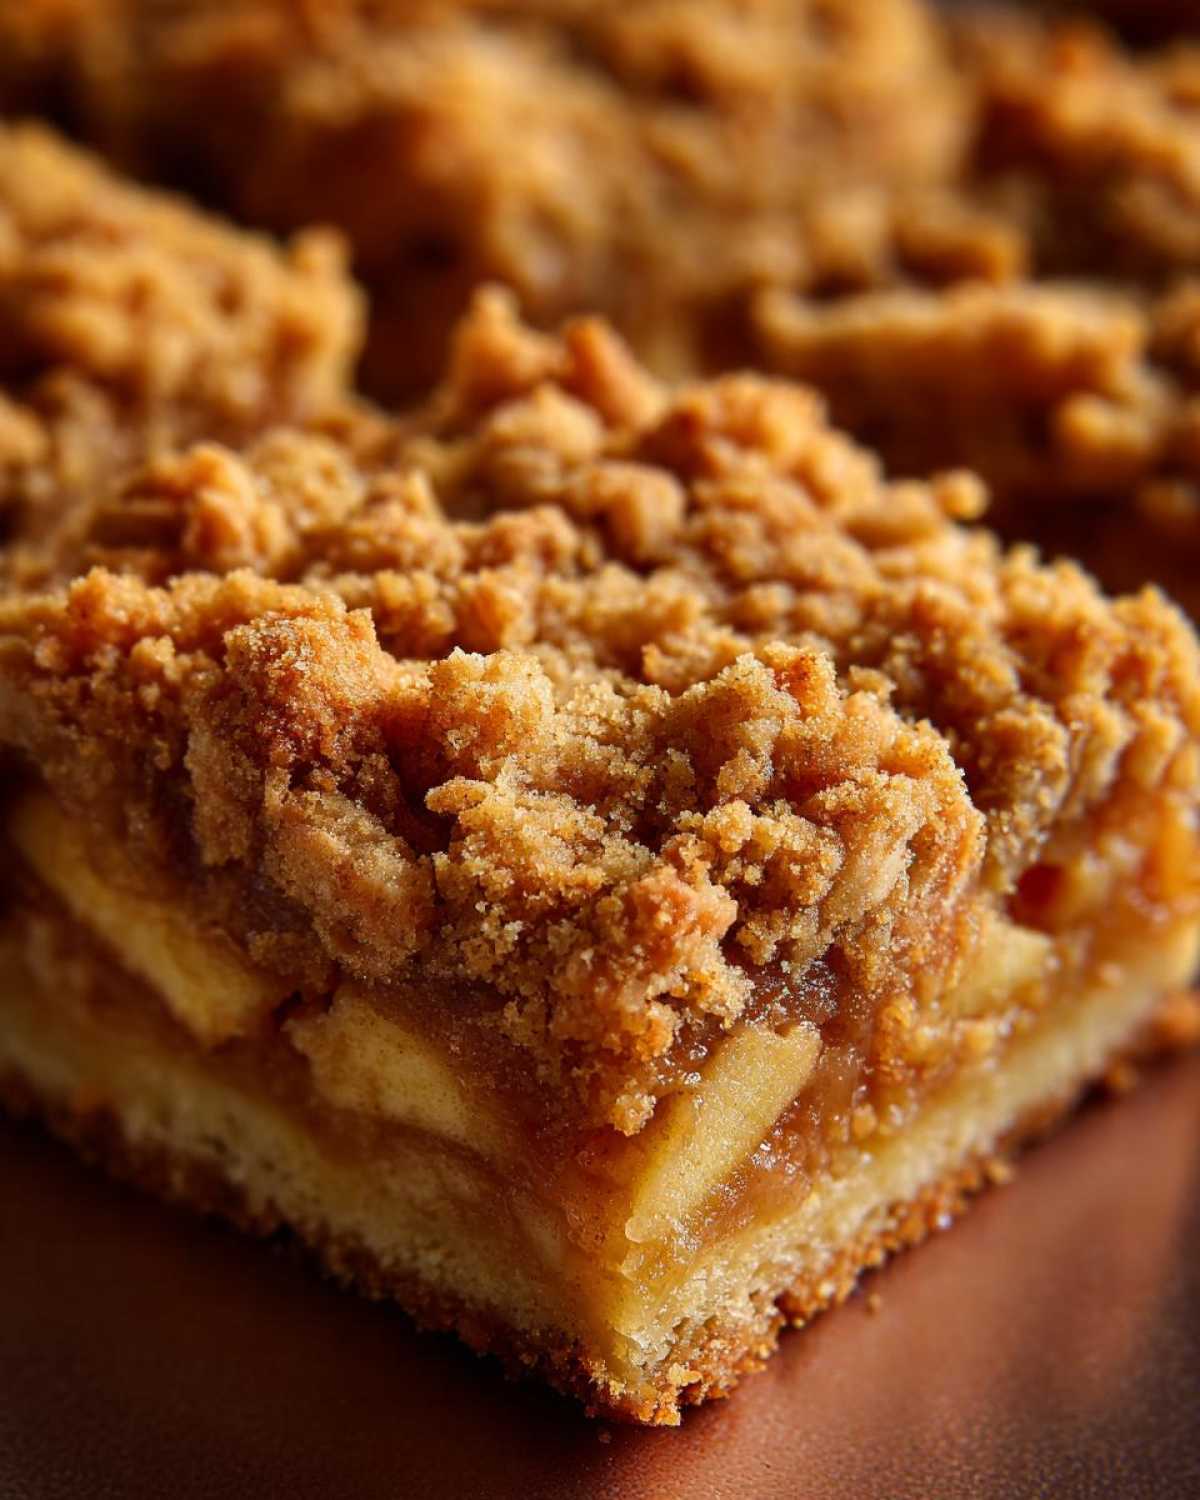
Now for the apple layer! In a separate bowl, give your peeled and chopped apples a toss with some granulated sugar, a tablespoon of flour, cinnamon, nutmeg, and that little splash of lemon juice. This keeps them from getting *too* mushy and adds a nice zing. Spread this apple mixture evenly over your pressed crust. See? It’s already looking so good! Now, take that reserved crumb topping and sprinkle it all over the apples, making sure to cover them evenly. Pop it into your preheated oven, and let it bake for about 35-45 minutes. You’re looking for that topping to be golden brown and gorgeous, and you should be able to easily stick a fork into the apples. These slab apple desserts are almost ready!
Tips for Success with Your Crumb Apple Bars
Okay, so you’ve got your crumb apple bars all assembled, but let’s make sure they’re absolutely perfect. A few little tricks can really make these shine! First off, that cold butter for the crust and topping? It’s non-negotiable! Using cold butter is what gives you that lovely crumbly texture, not a greasy mess. If your butter gets too warm while you’re mixing, just pop it back in the fridge for a few minutes. Also, don’t be afraid to use tart apples like Granny Smith – they balance out the sweetness so nicely. And when you’re mixing the crumb part, stop when it looks like coarse crumbs. Overmixing can make it tough!
Ingredient Spotlight: The Magic of Apples
You know, the star of these apple pie bars really is the apples themselves! It’s so important to peel them and then chop them up pretty evenly. This way, they all cook at the same rate, so you don’t get some mushy apples and some hard ones – you want them tender all through! I tend to grab Granny Smith apples because they’re a little tart and hold their shape so well, but Honeycrisp or even Braeburn are fantastic too. It just adds to that wonderful, comforting apple pie flavor we all love.
Making Ahead and Storing Your Easy Apple Bars
You know, the beauty of these easy apple bars is that you can totally make them ahead of time, which is a lifesaver when you’re hosting or just need a quick treat! Once they’ve cooled completely in the pan, just cover them up tight with plastic wrap or pop them into an airtight container. They’re perfectly happy sitting on the counter at room temperature for up to 3 days. They stay nice and fresh, and you don’t have to worry about fiddling with the fridge!
Serving Suggestions for Your Party Apple Bake
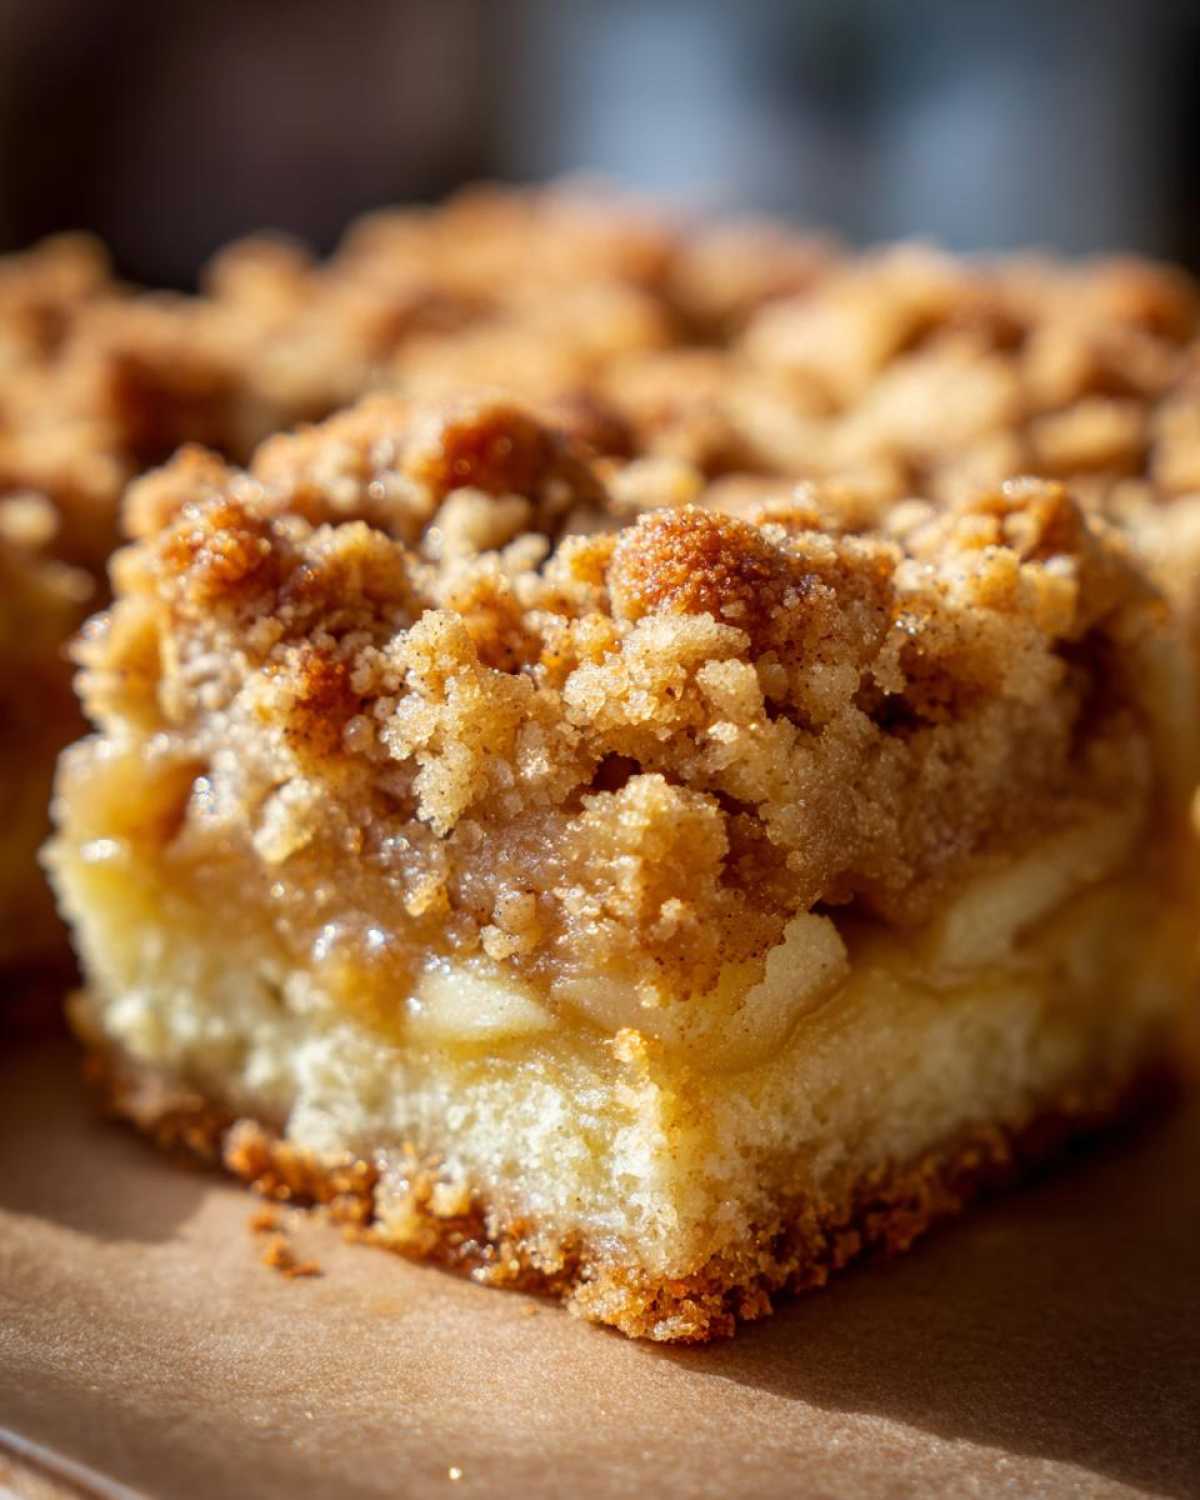
These party apple bake bars are already fantastic on their own, but you can totally elevate them! Try serving them warm, maybe with a scoop of vanilla bean ice cream melting alongside – pure heaven! A dollop of fresh whipped cream or a drizzle of caramel sauce also works wonders. They’re also a great addition to a dessert spread alongside cookies or brownies; they add that perfect touch of cozy, home-baked goodness everyone loves.
Frequently Asked Questions about Apple Pie Bars
Got questions about whipping up these delicious apple pie bars? I get it! Let’s clear up a few things so you can bake with total confidence.
What kind of apples should I use for these bars?
I really love using a mix of apples, or at least a tart one like Granny Smith! They hold their shape so well during baking and give you that perfect balance against the sweet crumb topping. Honeycrisp is another favorite of mine. Really, any good baking apple will do, just make sure they’re peeled and chopped pretty evenly!
Can I use margarine instead of butter?
While butter is definitely my preference for that rich, classic flavor and amazing texture, you *can* use margarine if you need to. Just make sure it’s a good quality stick margarine, not the kind that comes in a tub, as those have more water. It might change the texture just a tiny bit, but you’ll still end up with a yummy bar!
How long do these bars last?
These bars are surprisingly sturdy! Once they’ve cooled completely, you can store them in an airtight container right on the counter for about 3 days. They stay nice and fresh without needing the fridge, which is super handy if you’re prepping for a party or just want a quick snack available. If you have any leftover after that, you can definitely stash them in the fridge or even the freezer!
Can I add anything extra to the crumb topping?
Oh, absolutely! That crumb topping is the perfect canvas for a little extra something. I love adding about half a cup of chopped nuts, like pecans or walnuts, right into the topping mixture. It adds a fantastic crunch and another layer of flavor. You could also toss in a little extra cinnamon or even some rolled oats for a heartier topping!
Understanding the Nutritional Value of This Bar Style Pie
Now, let’s talk a little bit about what goes into these delicious bar style pie treats. Because we’re using real butter, apples, and sugars, we get a pretty satisfying little bake. On average, one of these bars has about 250 calories, around 35g of carbs, which mostly comes from the apples and sugars, and about 12g of fat from that lovely butter. It’s got 20g of sugar, which sounds like a lot, but remember that includes the natural sugars from the apples! Of course, these numbers are just estimates, and they can change a bit depending on the exact apples you pick or the type of butter you use. But it gives you a good idea of what you’re getting in each yummy square!
Share Your Pure Cooking Joy!
So, what did you think of these easy apple bars? I’d absolutely LOVE to hear all about it! Drop a comment below with your thoughts, tell me how yours turned out, or share any fun twists you tried. Your feedback really helps us all connect and share the joy of cooking!
PrintEasy Apple Pie Bars
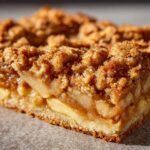
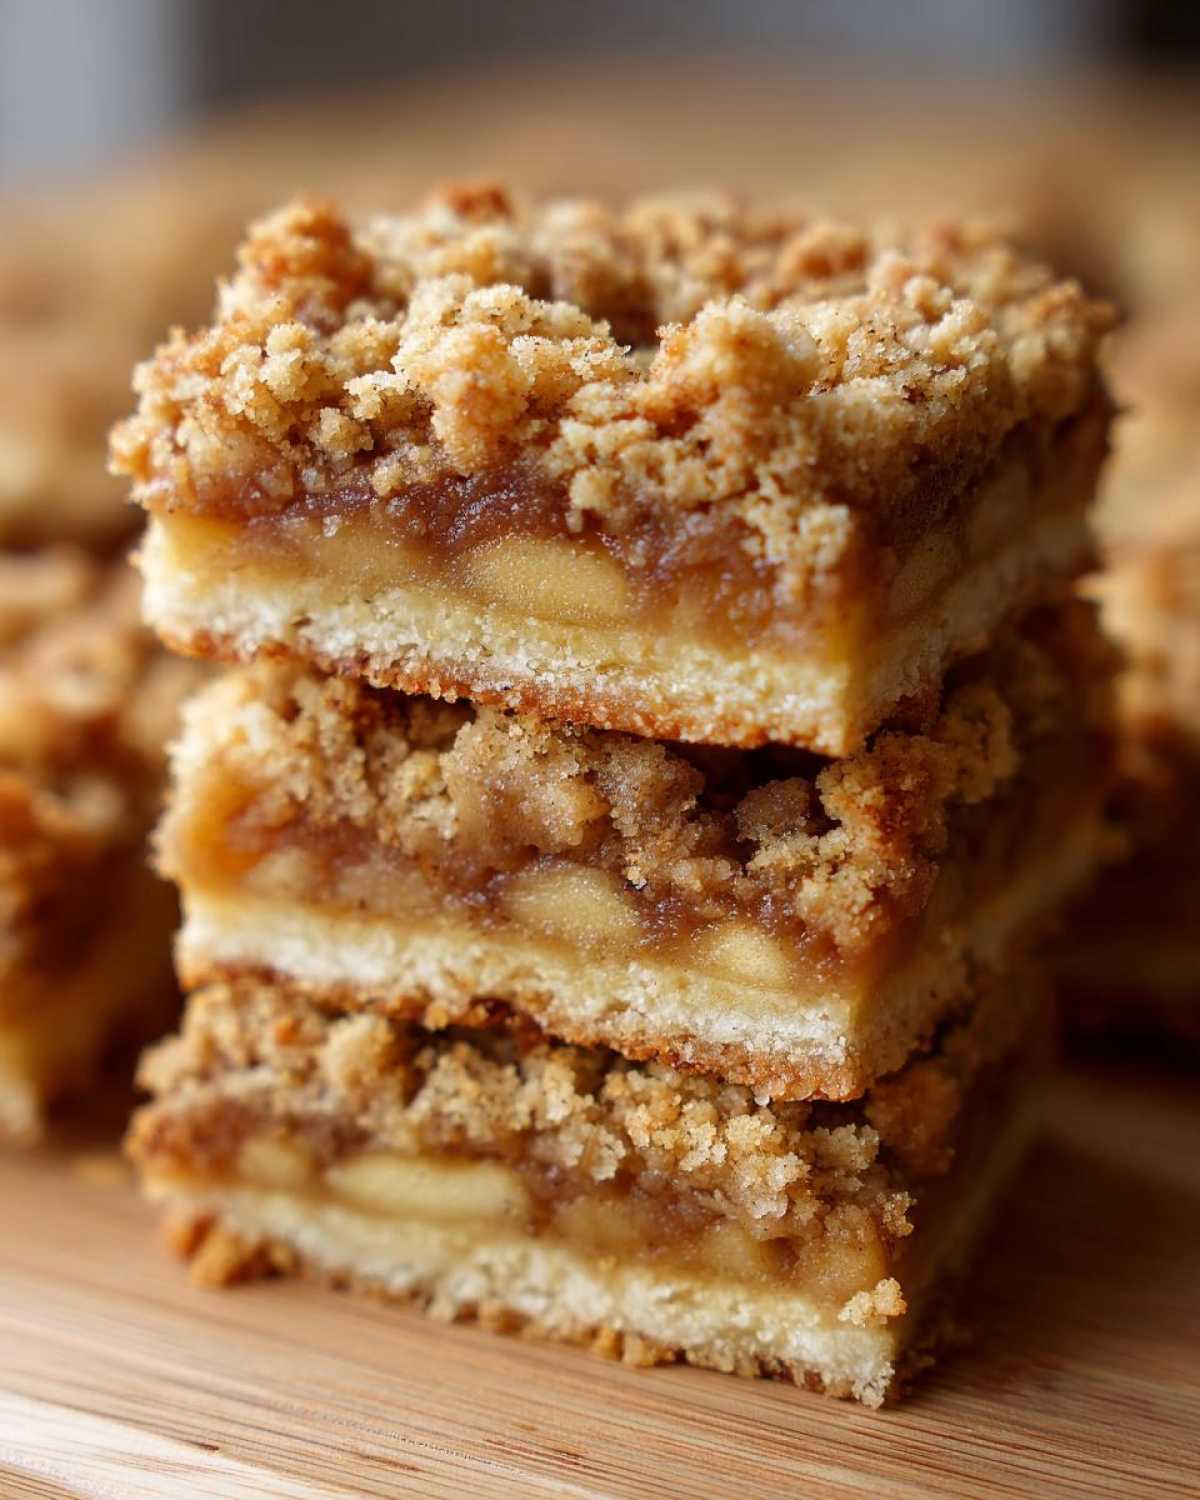
Enjoy these simple apple pie bars, a perfect slab dessert for parties or any occasion. They feature a spiced apple filling between a buttery crust and a sweet crumb topping.
- Prep Time: 20 min
- Cook Time: 40 min
- Total Time: 60 min
- Yield: 16 servings 1x
- Category: Dessert
- Method: Baking
- Cuisine: American
- Diet: Vegetarian
Ingredients
- 1 cup all-purpose flour
- 1/2 cup packed light brown sugar
- 1/4 cup granulated sugar
- 1/2 teaspoon ground cinnamon
- 1/4 teaspoon salt
- 1/2 cup unsalted butter, cold and cut into cubes
- 4 cups peeled and chopped apples (about 4 medium apples)
- 1/4 cup granulated sugar
- 1 tablespoon all-purpose flour
- 1 teaspoon ground cinnamon
- 1/4 teaspoon ground nutmeg
- 1 tablespoon lemon juice
- 1/4 cup all-purpose flour
- 1/4 cup packed light brown sugar
- 1/4 cup granulated sugar
- 1/4 teaspoon ground cinnamon
- 1/4 cup unsalted butter, cold and cut into cubes
Instructions
- Preheat your oven to 375°F (190°C). Grease and flour a 9×13 inch baking pan.
- In a medium bowl, combine 1 cup flour, 1/2 cup brown sugar, 1/4 cup granulated sugar, 1/4 teaspoon cinnamon, and salt. Cut in the cold butter using a pastry blender or your fingers until the mixture resembles coarse crumbs.
- Press about two-thirds of the crumb mixture evenly into the bottom of the prepared baking pan to form the crust.
- In a large bowl, toss the chopped apples with 1/4 cup granulated sugar, 1 tablespoon flour, 1 teaspoon cinnamon, nutmeg, and lemon juice.
- Spread the apple mixture evenly over the crust.
- In the same bowl used for the crust, combine the remaining 1/4 cup flour, 1/4 cup brown sugar, 1/4 cup granulated sugar, and 1/4 teaspoon cinnamon. Cut in the remaining cold butter until crumbly.
- Sprinkle the crumb topping evenly over the apple layer.
- Bake for 35-45 minutes, or until the topping is golden brown and the apples are tender.
- Let the bars cool completely in the pan before cutting into squares.
Notes
- For a richer flavor, you can add chopped nuts like walnuts or pecans to the crumb topping.
- These bars are great for meal planning and can be stored in an airtight container at room temperature for up to 3 days.
Nutrition
- Serving Size: 1 bar
- Calories: 250
- Sugar: 20g
- Sodium: 100mg
- Fat: 12g
- Saturated Fat: 7g
- Unsaturated Fat: 5g
- Trans Fat: 0g
- Carbohydrates: 35g
- Fiber: 2g
- Protein: 2g
- Cholesterol: 30mg
