 Skip to content
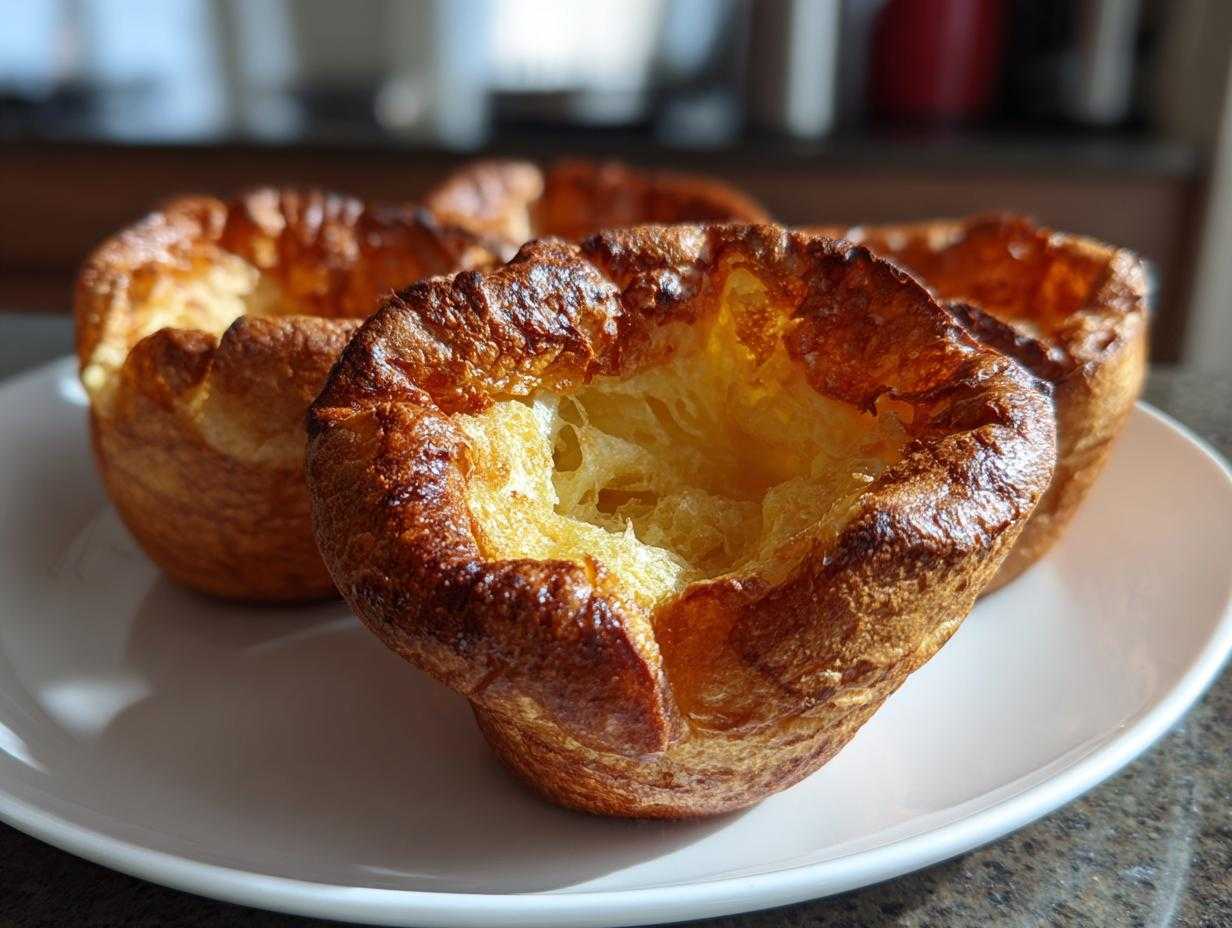

If there is one truly magical moment in the kitchen, it’s pulling out a tray of Yorkshire pudding only to find tall, golden towers towering over the tin. Seriously, they puff up so dramatically it feels like actual kitchen alchemy! If you, like my former corporate self, thought making these English popovers was too fussy, trust me, I get it. I used to believe cooking anything beyond a microwave meal was complicated. But capturing that crispy exterior and airy center for the perfect Yorkshire pudding? That’s proof that simple ingredients, handled with the right know-how, create incredible rewards. This is my go-to, no-fail method designed to bring that same sense of pure joy to your Sunday roast.
- Why This Foolproof yorkshire Pudding Recipe Works Every Time
- Ingredients for the Best yorkshire Pudding
- How to Make yorkshire Puddings: Step-by-Step Instructions
- Tips and Tricks for Perfect Puffy yorkshire Puddings Every Time
- Serving Suggestions for this Classic British Side Dish
- Making Ahead and Storing your yorkshire Pudding
- Frequently Asked Questions About yorkshire Pudding
- Nutritional Estimates for Homemade yorkshire Pudding
- Share Your Fluffy yorkshire Pudding Success
Why This Foolproof yorkshire Pudding Recipe Works Every Time
Making truly puffy puddings isn’t magic; it’s just knowing a couple of crucial rules. This Foolproof Yorkshire Pudding method focuses entirely on creating that dramatic contrast: crispy edges and a light, hollow center. We aren’t dealing with fussy steps here, just smart techniques that build confidence. When you respect the science behind these British classics, they practically bake themselves high.
The Secret to Crispy Yorkshire Puddings: Temperature Shock
Listen, if you take away only one thing today, let it be this: the fat has to be ripping hot! We aren’t just warming the oil or dripping; we want it smoking, practically spitting when the batter hits it. That intense heat instantly vaporizes the water in the batter, forcing it to launch upward. It’s the ultimate temperature shock that creates those tall, beautiful peaks we all dream about having in our Yorkshire Pudding. Don’t even open the oven until they’ve had their chance to rise!
Resting the Easy yorkshire Pudding Batter for Texture
I know you want to mix and bake right away—I’ve been there when I was rushing through dinner prep! But letting the batter rest is how we earn those airy yorkshire puddings. Giving that mixture at least half an hour, even better if it rests in the fridge, allows the flour’s starches to fully absorb the liquid. This hydration step relaxes the gluten just enough. That relaxation is what keeps the final product light and tender inside, rather than rubbery. It proves that even simple dishes benefit from a little planned patience.
Ingredients for the Best yorkshire Pudding
You need so few things for truly spectacular yorkshire pudding, which is exactly the kind of simple, rewarding cooking I love to share! Forget complicated shopping lists. These are classic pantry staples, and having them on hand is step one in being ready for surprise guests or a last-minute roast.
Here is exactly what you need for a dozen perfectly puffed puddings. Stick to the measurements, and you won’t go wrong:
- 4 large eggs
- 1 cup all-purpose flour
- 1 cup whole milk
- 1/2 teaspoon salt
- Vegetable oil or beef dripping for the tin (Dripping is traditional, but any high smoke point oil works like a charm!)
That’s it! Four simple, honest ingredients, plus the salt. Because we are focusing on technique here, treating these basic items right—like making sure that fat is spitting hot—is what separates the good puddings from the ones that scrape the top of the oven like delicious golden clouds.
How to Make yorkshire Puddings: Step-by-Step Instructions
You’ve got your ingredients, and you’ve let that beautiful batter chill out. Now comes the quick part, but you have to move fast once the oven gets hot! This is where baking becomes a bit of a dance—quick, precise movements that pay off instantly. Remember, the goal here is efficiency so we don’t lose any heat. If you’re looking for quick meals for the week, mastering this part means you can save time later because nobody ever says no to yorkshire pudding right? Check out how easy our Effortless Weeknight Dinners section makes planning!
Preparing the yorkshire Pudding Batter
First things first, grab your bowl. Mix up your flour and salt. Then, make a little dip right in the middle, like a tiny paddling pool. Crack your eggs right into that spot. Now, start whisking gently, slowly pulling in that milk bit by bit. You are looking for a batter that’s completely smooth and thin—like heavy cream, not pancake batter! The most important thing here is to stop whisking as soon as it’s smooth. Seriously, do not overmix! Once it’s done, cover it up and put it in the fridge to rest while you tackle the oven situation.
Heating the Fat and Baking Individual yorkshire Puddings
This step means business. Get your oven cranked up to 450°F (230°C). Pour about half a teaspoon of your chosen oil or dripping into each cup of your muffin tin and slide that tin into the preheating oven for at least ten minutes. It must be smoking hot when it comes out! Work quickly now: pull the tray out, pour the batter evenly into the scorching fat—it should sizzle instantly—and get that tray straight back in the oven. And listen to me on this next bit: do not, under any circumstances, open that oven door for the first 15 minutes. That’s your rise time, and a rush of cool air will deflate your dreams!
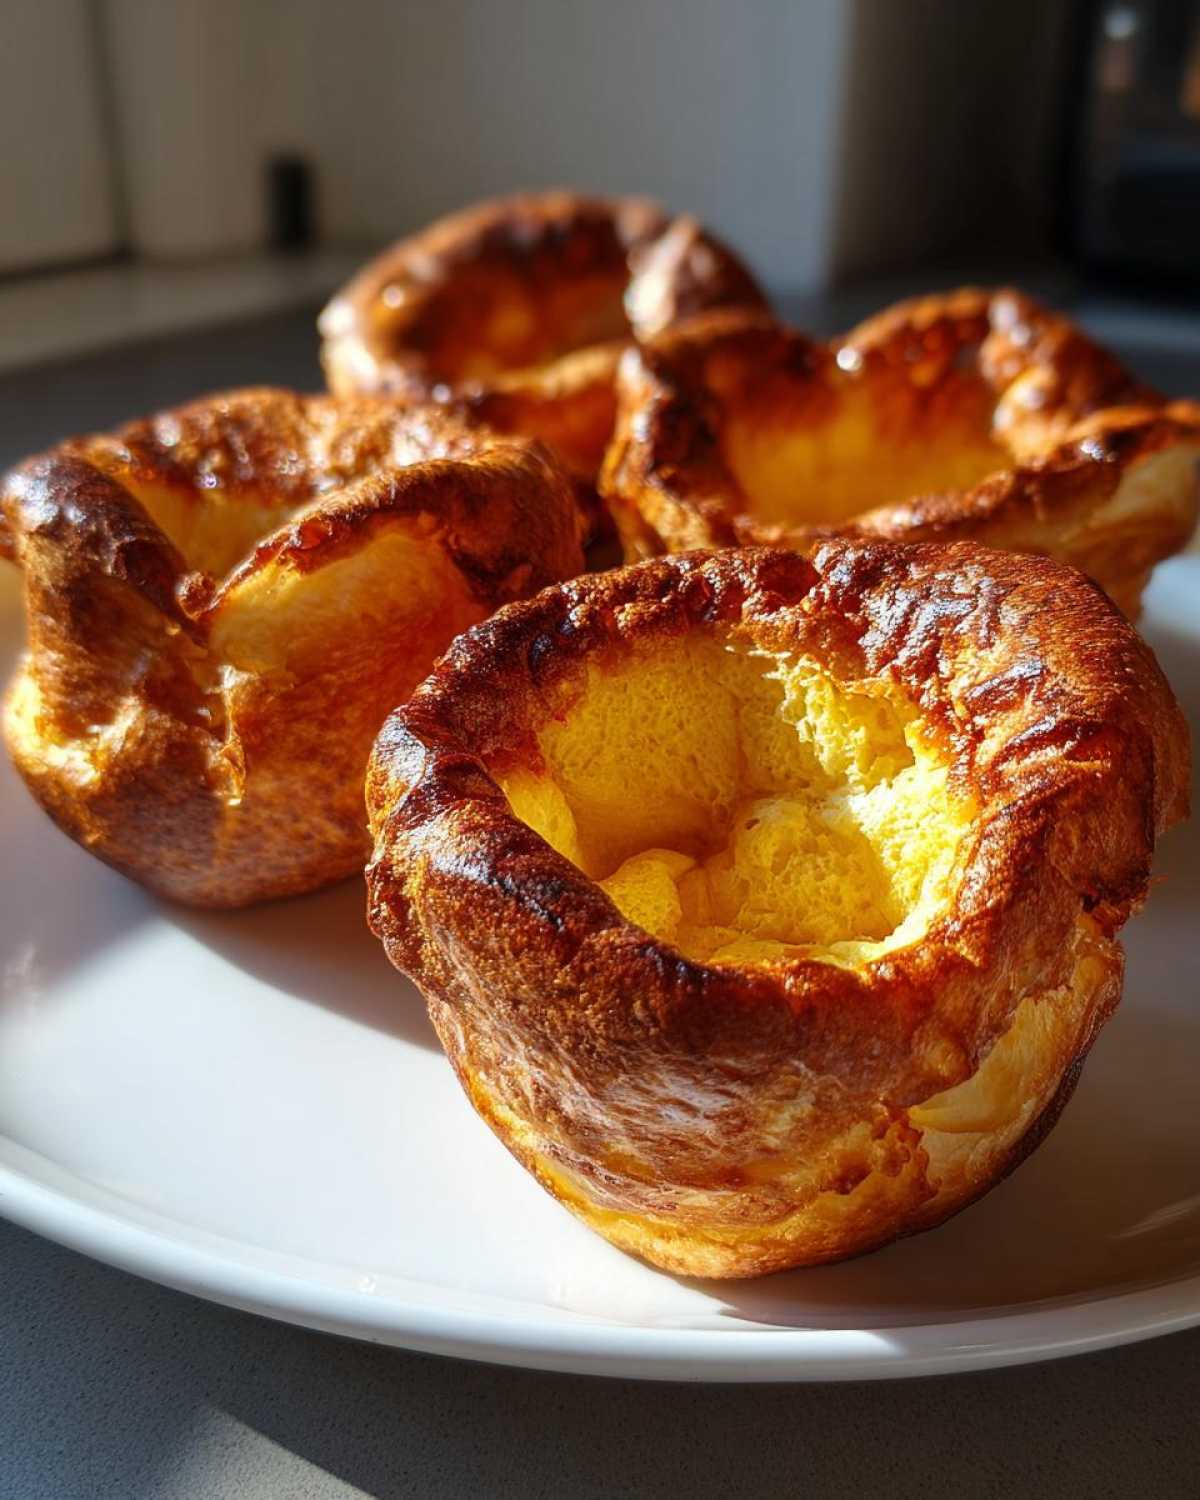
Tips and Tricks for Perfect Puffy yorkshire Puddings Every Time
I love sharing these little secrets because knowing the ‘why’ makes you such a better cook. Getting those tall, Puffy Yorkshire Puddings isn’t luck; it’s following reliable rules. Having struggled to get mine right early on, these yorkshire Pudding Tips and Tricks are what I now rely on every single time I make this favorite comfort food staple. It’s about confidence, not complexity!
Fat Choice for Golden Brown Puddings
The original way, and my favorite way, is using beef dripping. It adds this incredible, rich, beefy undertone that just smells like Sunday dinner heaven! Dripping has a very high smoke point, which is essential for getting those absolutely Golden Brown Puddings. If you aren’t using dripping, don’t just grab any olive oil—you need a high smoke point vegetable oil. If the fat burns before the puddings are ready, you’ll get a bitter taste instead of that beautiful golden color.

Troubleshooting Common yorkshire Pudding Issues
So, what happens when they look flat? Usually, one of two things went wrong and I see this mistake all the time! Either your fat wasn’t nearly hot enough when you poured the batter in, so it just sat there instead of instantly steaming upwards, OR you peeked. Opening that oven door before the 15-minute mark lets in cool air. That sudden temperature drop causes the steam holding your magnificent rise up to collapse. Don’t let it happen to you!
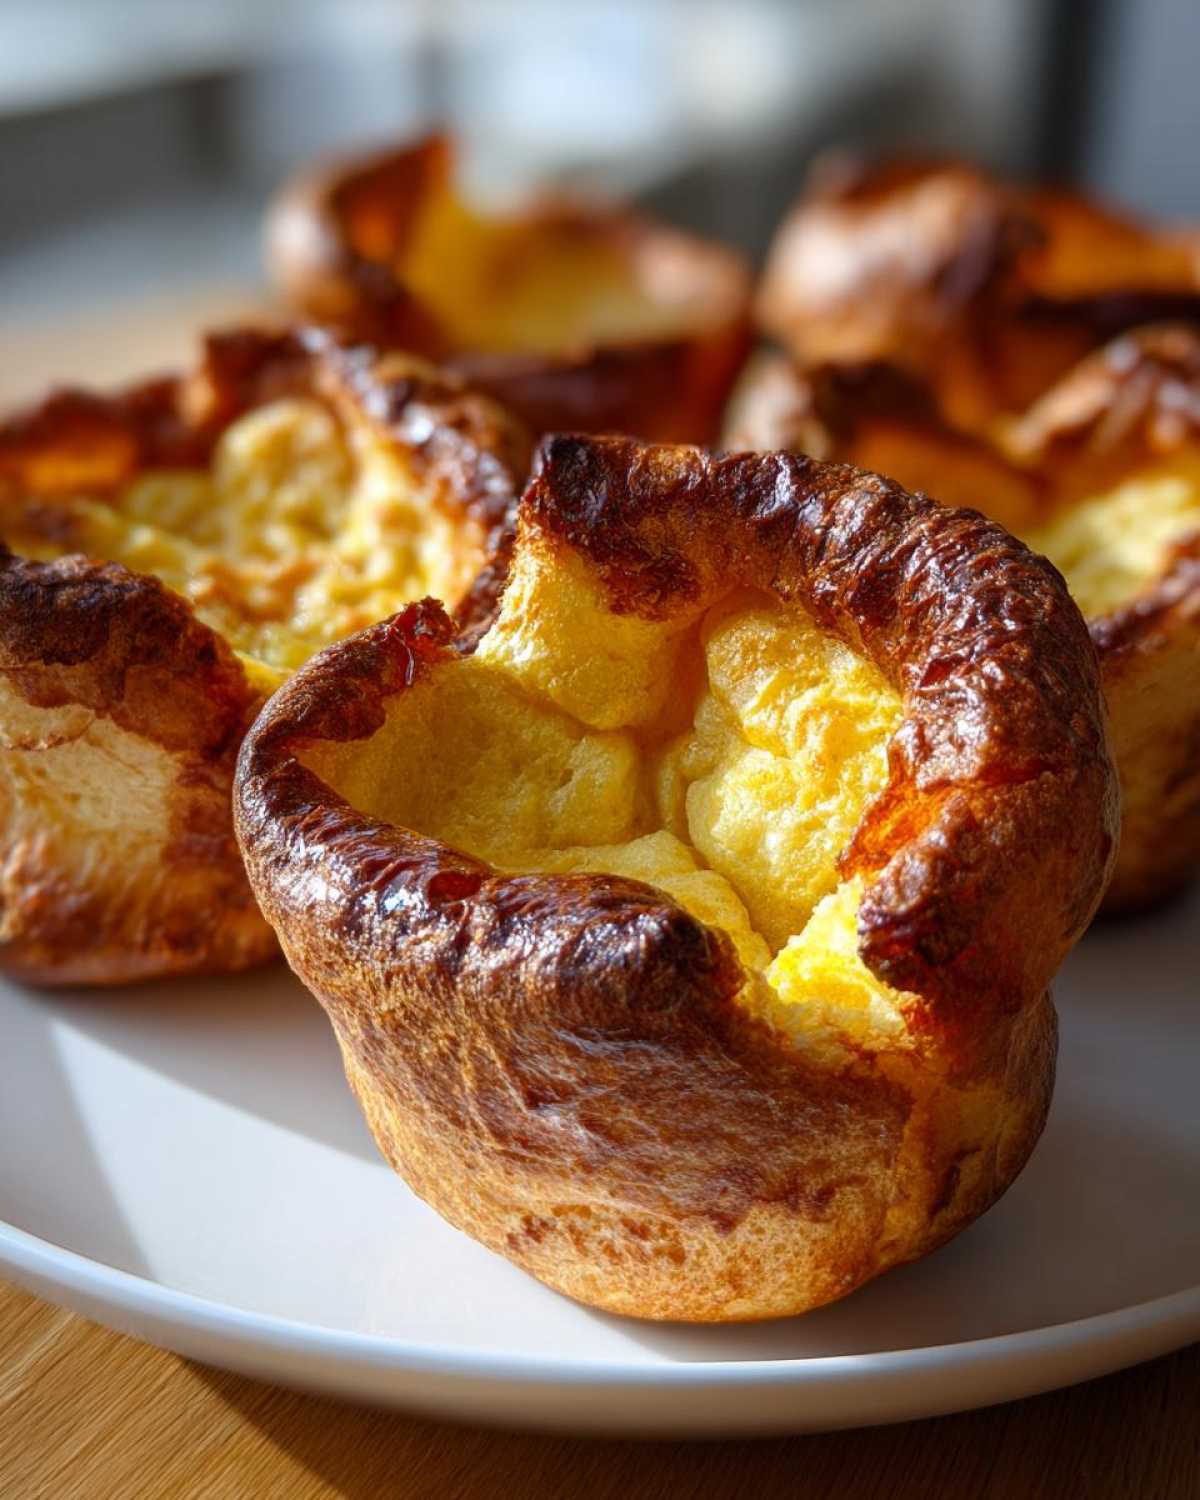
Serving Suggestions for this Classic British Side Dish
Honestly, what is a roast—any roast—without these perfect puffy clouds on the side? These are the quintessential Sunday Roast Sides. The best way to enjoy these is straight from the oven, ideally with a river of rich, homemade gravy ready to soak right into that airy center. Think about serving them alongside a crackling joint of beef or savory roast chicken; they just elevate everything!

If you’re planning for a big dinner party, these are simple, impressive Dinner Party Sides that feel incredibly gourmet but are actually so easy. They truly are the perfect Roast Dinner Essentials. Make sure your gravy is ready to go, because once these are out, they disappear fast!
Making Ahead and Storing your yorkshire Pudding
One thing I love about these gorgeous tall puddings is that you don’t have to stress about making them the second your roast is done. That’s the beauty of food that’s ‘Made for Sharing’—it can wait just a tiny bit! If you make the batter ahead of time—even a day early—just keep it covered in the fridge. Honestly, cold batter works fine as long as that fat in the tin is blazing hot when you use it.
Once you bake them, they are best immediately, of course. But if you have leftovers, here’s my trick for getting that crispness back: pop them straight onto a baking sheet in a hot oven—say 400°F (200°C)—for about five minutes. Avoid the microwave, which will just turn them sad and soggy fast. A little blast of dry heat brings back that perfect crunch every time!
Frequently Asked Questions About yorkshire Pudding
It’s totally normal to have questions when you’re tackling a classic like this! I always review my notes before baking because even simple things like the air temperature or how long I let the batter rest can flip the results from excellent to just okay. Below, I’ve answered the ones I get asked the most. Head over to my About Me page if you want to read more about my philosophy on keeping things approachable!
Can I use cold batter to make yorkshire pudding?
Please don’t! That’s a rookie mistake that guarantees flat puddings. Remember that temperature shock we talked about for the fat? Well, the batter plays an equal part. If you pour cold batter onto smoking hot fat, that sudden temperature difference is what makes them leap up. If the cold batter cools down the fat too much, the batter just sits flat and steams sadly instead of puffing dramatically. You can use batter that’s just chilled (like straight from the fridge), but the fat has to be sizzling hot to compensate immediately.
What is the difference between yorkshire pudding and English popovers?
That’s a great question, especially since you’ll see the term English popovers used a lot over here in the States. Honestly, chemically and structurally, they are almost identical! They both use that same simple flour, egg, and milk ratio to create steam pockets. The main difference comes down to tradition. True, authentic yorkshire pudding is famously served alongside roast beef, it usually uses beef dripping for that savory hit, and it’s a savory side dish through and through. Popovers sometimes trend sweeter or are served on their own with butter, but for all intents and purposes, they are cousins!
How do I make sure my yorkshire pudding batter is smooth?
We want smooth, but we do *not* want tough! The key to getting that perfect, thin consistency is to whisk gently, incorporating the milk slowly. You should stop whisking the second you don’t see any dry flour streaks left. If you keep beating it, you develop the gluten too much, and that leads to chewy textures instead of light, Airy Yorkshire Puddings. If you’ve whisked plenty but still see little pockets of flour stubbornly hanging around, just take a fine-mesh sieve and pour the batter through it into a clean jug. That little step cleans up any lumps instantly and ensures you get that beautifully smooth base ready for baking.
Nutritional Estimates for Homemade yorkshire Pudding
Food is always about joy and sharing, but I know some of you are curious about the numbers, too. Since this recipe is so simple, these estimates are pretty straightforward, but keep in mind that what you serve *with* your puddings (hello, gravy!) will change the total stats! Use these numbers as a general guide for one of these beautiful, puffy sides. We used beef dripping in our internal test run, just so you know!
Here are the nutritional estimates based on the classic recipe above:
- Serving Size: 1 pudding
- Calories: 110
- Fat: 6g (with 2g Saturated Fat)
- Carbohydrates: 10g
- Protein: 4g
- Sugar: 1g
- Sodium: 150mg
When I look at these numbers, it just reinforces that yorkshire pudding is a fantastic, low-sugar way to bulk out a meal, especially when you compare it to, say, loading up on potatoes. Plus, since these are so good at soaking up that rich gravy, remember that the gravy is often where a lot of the extra fat and salt sneaks in. If you are trying to keep track of your diet, maybe try our keto meal plan delivery guides for other inspirations, but for enjoying a traditional roast, these numbers are surprisingly friendly!
Share Your Fluffy yorkshire Pudding Success
I truly hope you’ve found the confidence to conquer the humble, but mighty, yorkshire pudding! For me, this recipe embodies everything Pure Cooking Joy is about: creating something truly impressive using basic steps. When I pull those golden, towering creations out of the oven, I feel that same sense of peace I felt baking that first loaf of bread years ago. And that’s the joy I want you walking away with!
Now, it’s your turn to tell me about it. Did they rise? How high did they go? Did you manage to resist opening the oven door for that crucial first 15 minutes? Please be sure to rate this recipe down below and leave a detailed comment about your batch. Knowing that this simple side dish helped bring your family together around the table for a fantastic Roast Dinner is the best reward for me.
If you’ve got pictures of your successful, puffy puddings, tag me on social media! I love scrolling through and seeing your results. Don’t forget to check out my latest ideas and cooking adventures over on the main Blog page for even more inspiration built for sharing!
PrintFoolproof Yorkshire Puddings for a Perfect Rise

Make classic, crispy, and fluffy Yorkshire puddings with this simple recipe. These golden British side dishes are perfect for your Sunday roast and bring joy to any shared meal.
- Prep Time: 10 min
- Cook Time: 25 min
- Total Time: 65 min
- Yield: 12 individual puddings 1x
- Category: Side Dish
- Method: Baking
- Cuisine: British
- Diet: Vegetarian
Ingredients
- 4 large eggs
- 1 cup all-purpose flour
- 1 cup whole milk
- 1/2 teaspoon salt
- Vegetable oil or beef dripping for the tin
Instructions
- Combine the flour and salt in a large bowl. Make a well in the center.
- Add the eggs to the well, then gradually whisk in the milk until you have a smooth, thin batter. Do not overmix.
- Cover the bowl and let the batter rest in the refrigerator for at least 30 minutes, or up to several hours. This resting period is key for a good rise.
- Preheat your oven to 450°F (230°C). Place a 12-cup muffin tin or a roasting tin into the oven. Add about 1/2 teaspoon of oil or dripping to each cup. Heat the tin in the oven for at least 10 minutes until the fat is smoking hot.
- Carefully remove the hot tin from the oven. Quickly and evenly pour the batter into the hot fat, filling each cup about halfway.
- Immediately return the tin to the oven. Do not open the oven door for the first 15 minutes of baking.
- Bake for 20 to 25 minutes, or until the puddings are well-risen, golden brown, and crispy.
- Serve immediately with gravy and your favorite roast dinner.
Notes
- For the best results, the fat must be extremely hot before you add the batter. This shock helps create the tall, puffy shape.
- If you are planning meals for the week, consider how this simple side fits into your overall meal planning.
- If you prefer not to use animal fat, use a high smoke point vegetable oil.
Nutrition
- Serving Size: 1 pudding
- Calories: 110
- Sugar: 1
- Sodium: 150
- Fat: 6
- Saturated Fat: 2
- Unsaturated Fat: 4
- Trans Fat: 0
- Carbohydrates: 10
- Fiber: 0
- Protein: 4
- Cholesterol: 60
