 Skip to content
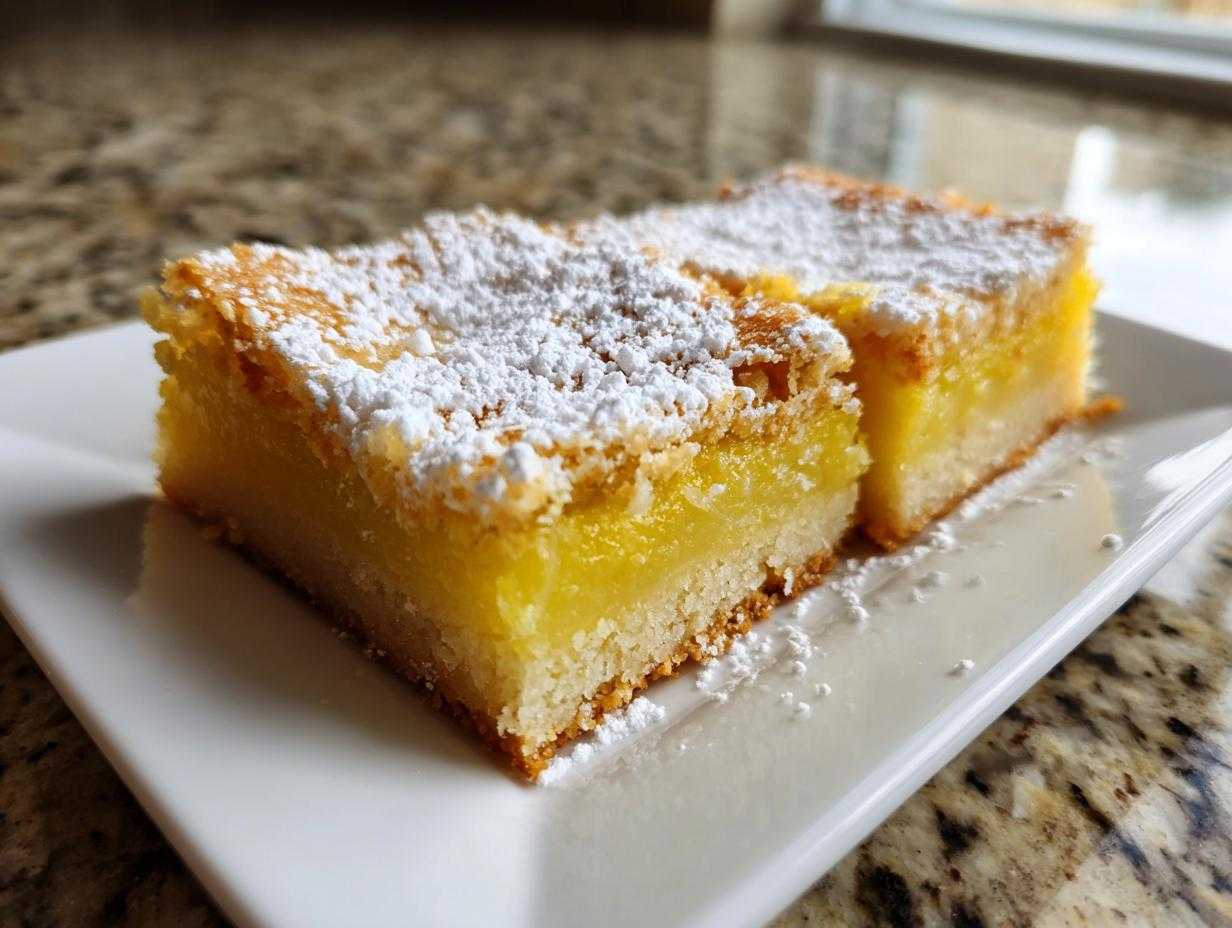

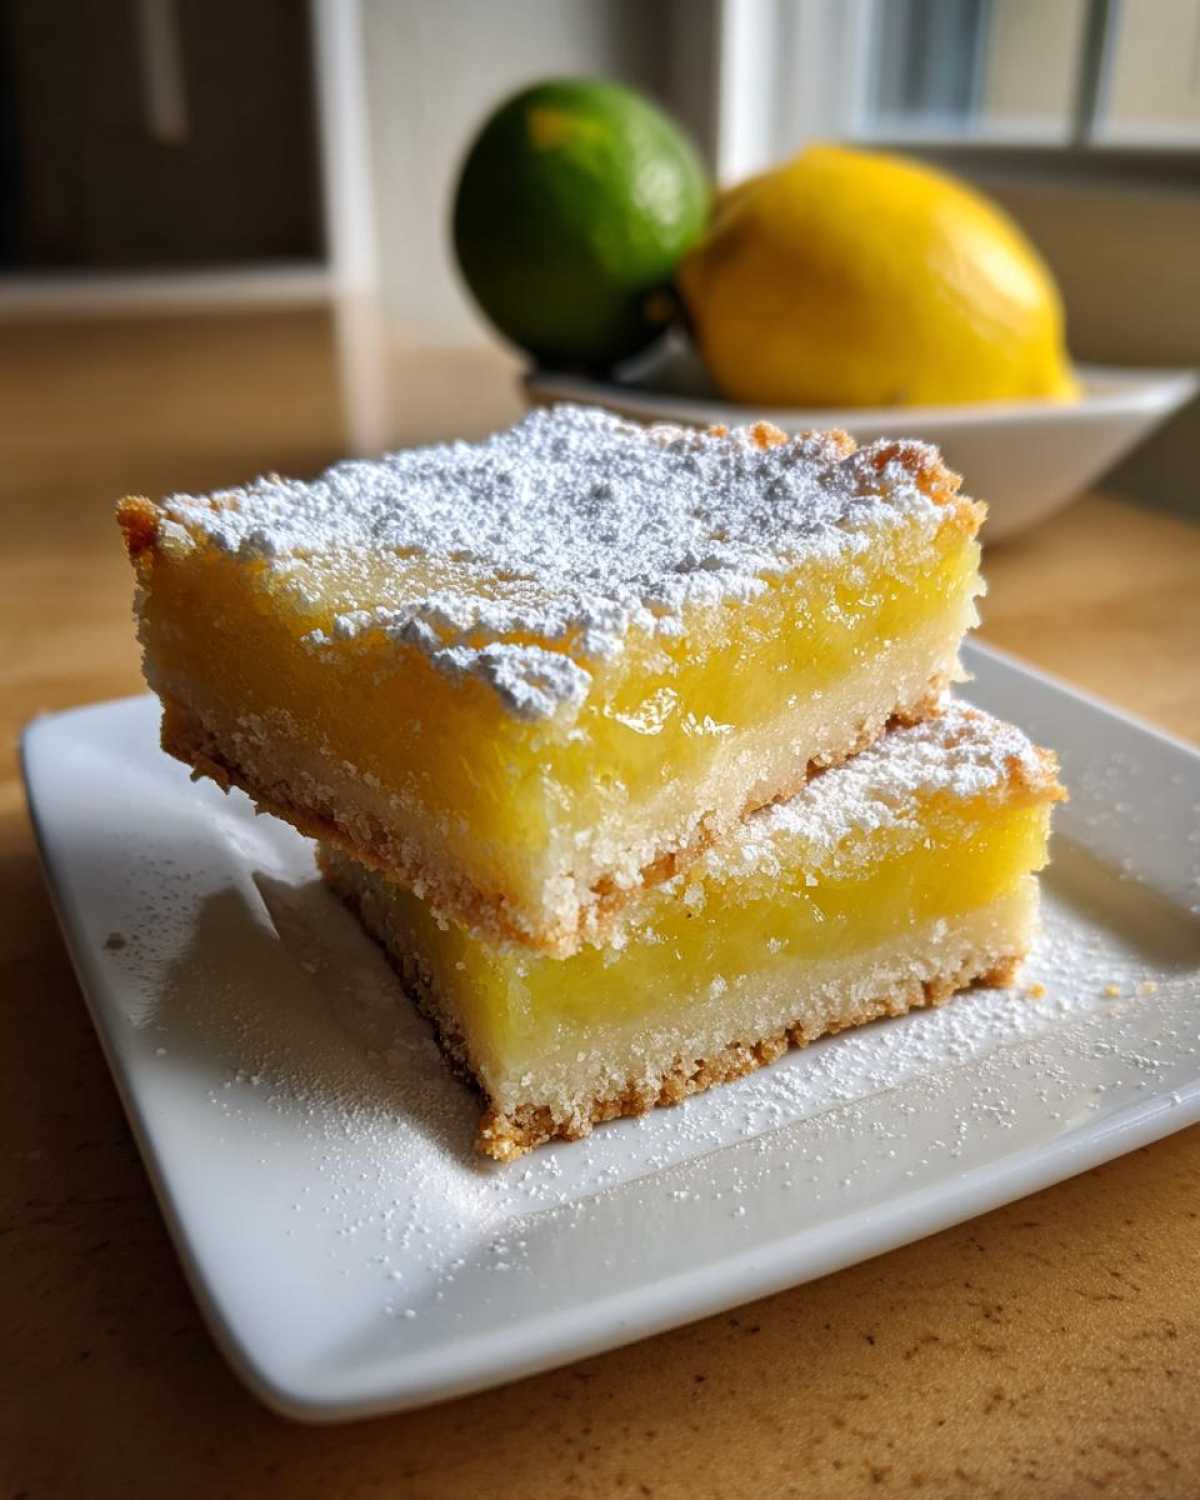
Oh, spring is definitely in the air, and you know what that means? It’s lemon bar season! There’s just something about that bright, zesty flavor that just screams sunshine and happy picnics. For me, baking these lemon bars is pure joy – that perfect balance of a buttery shortbread crust and a super tangy, wonderfully wobbly lemon filling is just… perfection. I remember the first time I nailed this recipe; that melt-in-your-mouth shortbread and that zingy custard just made me feel so happy in my kitchen, and that’s what “Pure Cooking Joy” is all about, right?
- Why You'll Love These Easy Lemon Bars
- Gather Your Ingredients for Perfect Lemon Bars
- Crafting the Perfect Shortbread Crust
- Creating the Tangy Lemon Filling
- Baking and Cooling Your Lemon Squares
- Tips for the Best Lemon Bars
- Serving and Storing Your Tangy Lemon Dessert
- Frequently Asked Questions about Lemon Bars
- What to Pair with Your Lemon Bars
- Nutritional Information for These Lemon Bars
- Share Your Lemon Bar Creations!
Why You’ll Love These Easy Lemon Bars
Honestly, these lemon bars are just the best! Here’s why you’re going to be obsessed:
- Super Easy to Make: Seriously, if you can mix things in a bowl, you can make these. No fancy skills needed!
- The Perfect Zing: That tangy lemon filling is so bright and delicious, it just wakes up your taste buds.
- Buttery Bliss Crust: The shortbread crust? Oh my goodness, it’s golden, buttery, and the perfect crumbly base.
- Make-Ahead Magic: These are totally ‘make ahead bars,’ which is a lifesaver when you’ve got a busy week or guests coming over.
- Perfect Spring Desserts: They’re light, fresh, and just scream sunshine – they’re practically begging to be your go-to ‘spring desserts.’
- Crowd-Pleaser Guaranteed: Whether it’s a picnic, a potluck, or just a Tuesday, everyone *loves* these lemon squares.
Gather Your Ingredients for Perfect Lemon Bars
Alright, let’s get our ducks in a row for these amazing lemon bars! You’ll want to gather everything before you start mixing, so things go super smoothly. First up, for that gorgeous buttery shortbread crust, we need 1 cup (that’s two sticks, butter lovers!) of softened unsalted butter. Make sure it’s softened just right – not melted, but soft enough to easily cream. Then, we’ll need 1/2 cup of granulated sugar and 1 teaspoon of vanilla extract to make that crust really sing. For the body of the crust, grab 2 cups of all-purpose flour and just a whisper of salt, about 1/4 teaspoon.
Now, for that sunshine-y, tangy lemon filling that we all adore! You’ll need 4 large eggs – these are super important for getting that lovely custard texture. We’ll also use 1 1/2 cups of granulated sugar, and then another 1/3 cup of all-purpose flour to help thicken it all up. The star of the show? 1/4 cup of fresh lemon juice. Trust me, using *fresh* lemon juice makes ALL the difference here; it’s what gives these bars that incredible bright flavor. And definitely don’t forget about 1 tablespoon of lemon zest to really amp up that lemony goodness! Oh, and of course, we’ll need some powdered sugar for that beautiful, classic topping once they’re all cooled and ready to go.
Crafting the Perfect Shortbread Crust
Okay, let’s talk about the foundation of these amazing lemon bars – that dreamy shortbread crust! This is where the magic really starts. We’re going to cream our softened butter (remember, nice and soft, not melty!) with 1/2 cup of sugar. Just use a mixer or even a good ol’ wooden spoon, and beat it until it’s light and fluffy. It should look almost creamy and pale. Then, a splash of vanilla extract goes in. Now, mix in your 2 cups of flour and that pinch of salt. You just want to mix until it *just* comes together, don’t overdo it! Press this lovely dough evenly into your 9×13 inch pan. Pop it into your preheated oven at 350°F (175°C) for about 15-20 minutes. You’re looking for it to be *just* lightly golden around the edges. It’ll finish baking with the filling, so we don’t want it too dark!
Creating the Tangy Lemon Filling
Alright, now for the star of the show – that incredibly bright and wonderfully tangy lemon filling! This is where you really get that sunshine-in-a-pan flavor. While your crust is happily baking away, let’s whip up this glorious filling. In a medium bowl, grab your 4 large eggs and whisk them together with the 1 1/2 cups of granulated sugar. You really want to get these going until they’re nice and combined, making sure all that sugar starts to dissolve. Then, whisk in that 1/3 cup of flour until everything is super smooth – no lumps allowed!
Now, for the most important part: the lemon! Stir in that 1/4 cup of fresh lemon juice. Seriously, ditch the bottled stuff; fresh is the only way to go for that truly vibrant, authentic citrus flavor that makes these bars such a perfect tangy lemon dessert. And don’t forget that tablespoon of lemon zest to really boost that lemony punch! This mixture needs to be smooth and luscious. Just whisk it all together until it’s beautifully combined and ready to go onto that pre-baked crust.
Baking and Cooling Your Lemon Squares
Okay, our crust is golden and smelling amazing, and that tangy lemon filling is ready to go! Now comes the exciting part: baking these glorious lemon squares. Carefully pour that sunshine-y lemon mixture evenly over the hot crust. It might look a little soupy, but trust the process! Pop the whole pan back into that 350°F (175°C) oven for another 20 to 25 minutes. We’re looking for the filling to be set – that means it shouldn’t be jiggly in the center anymore. The edges might look just slightly golden, and if you gently nudge the pan, the center should be firm, not liquid. It’s like jello, but baked! If you’re looking for other great baking tips, check out my easy skillet apple crumble recipe for more ideas.
Once they’re done, the *hardest* part begins: waiting for them to cool completely! Seriously, let them cool down in the pan on a wire rack. This is super important. If you try to cut them when they’re warm, they’ll just crumble apart. Patience, my friends! This cooling time lets that custardy filling really firm up, giving you those beautiful, clean edges we all love. You might be tempted to peek, but resist! It’ll be worth the wait, I promise.
Tips for the Best Lemon Bars
Okay, let’s talk about little tricks that can take your lemon bars from just good to absolutely spectacular! Proper cooling is key, seriously. Let those bars cool *completely* in the pan on a wire rack. If you cut them while they’re still warm, they’ll end up kind of messy, and nobody wants that. It helps the filling set up firm!
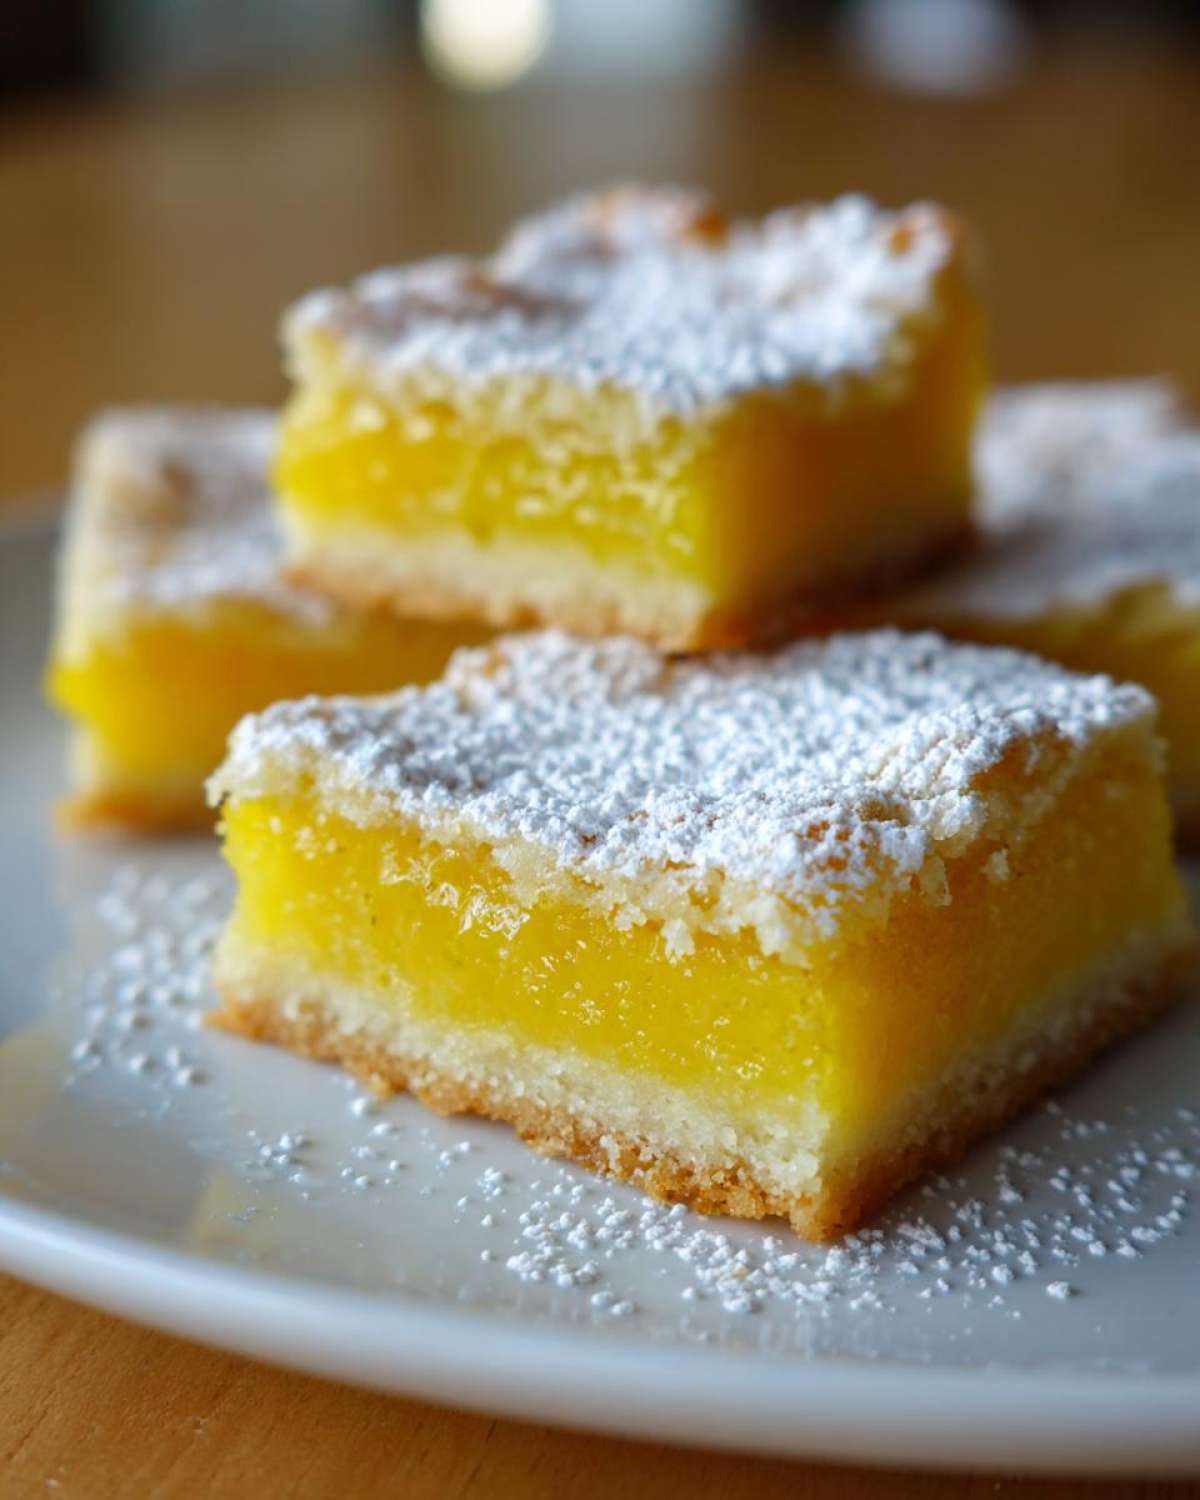
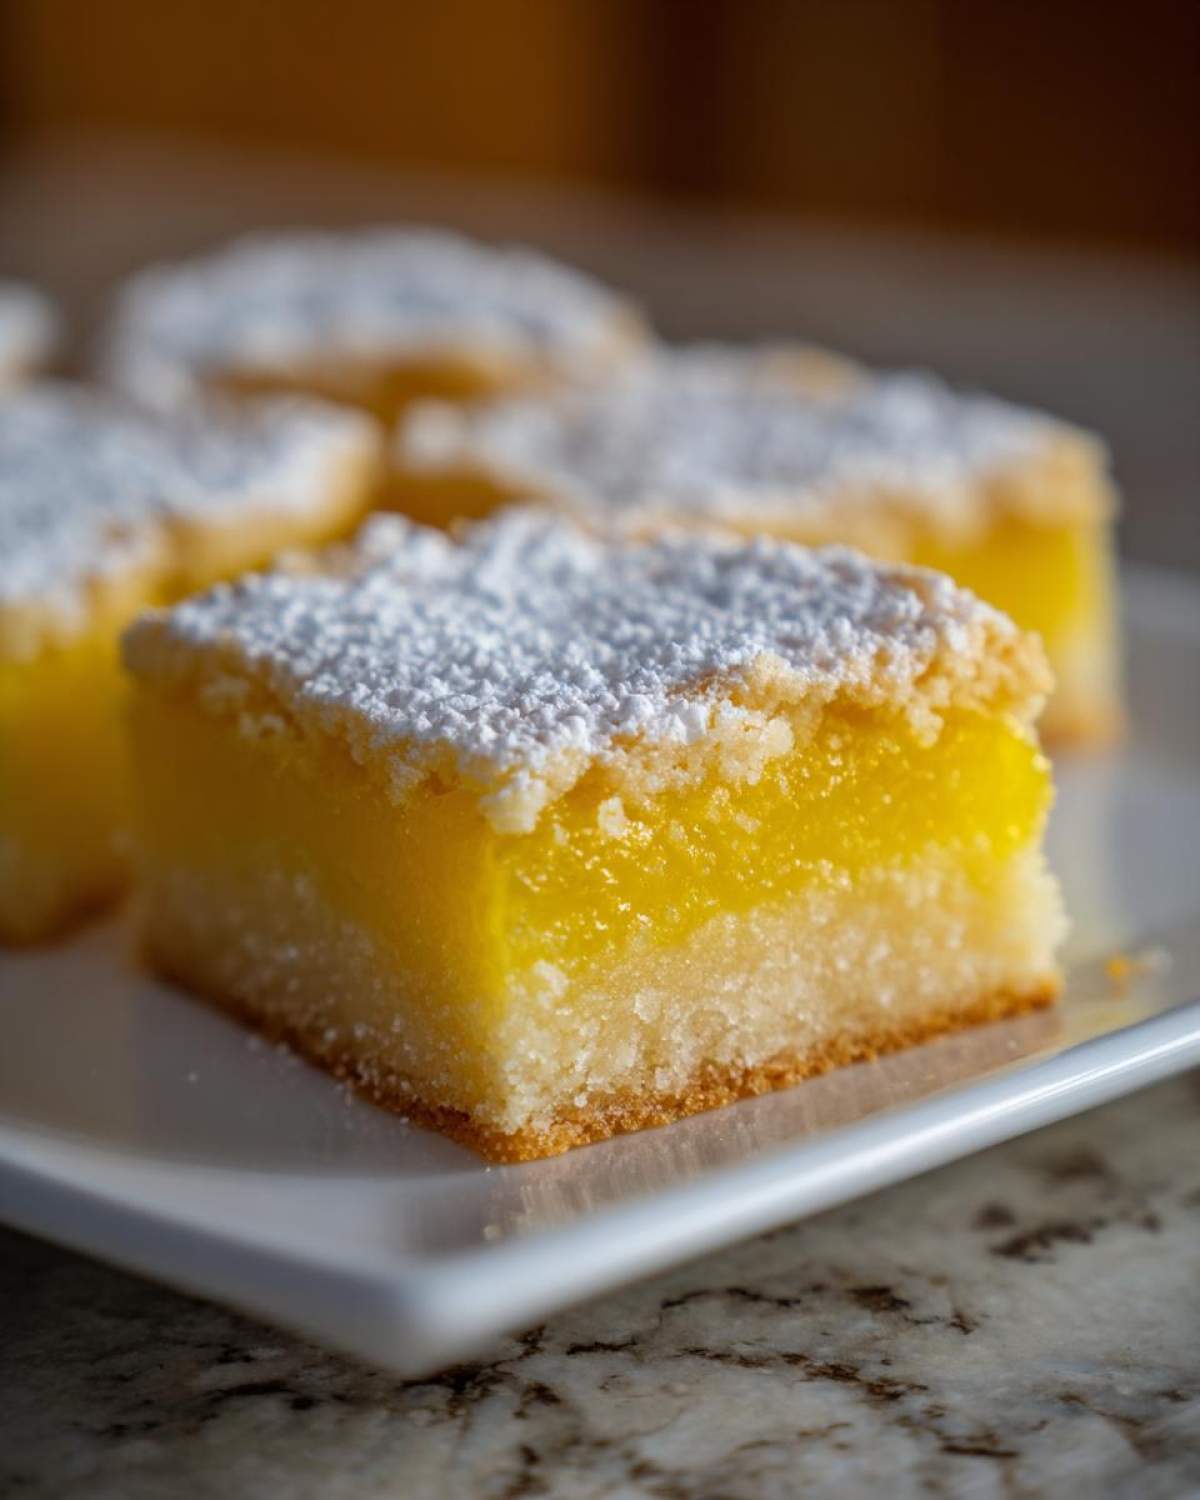
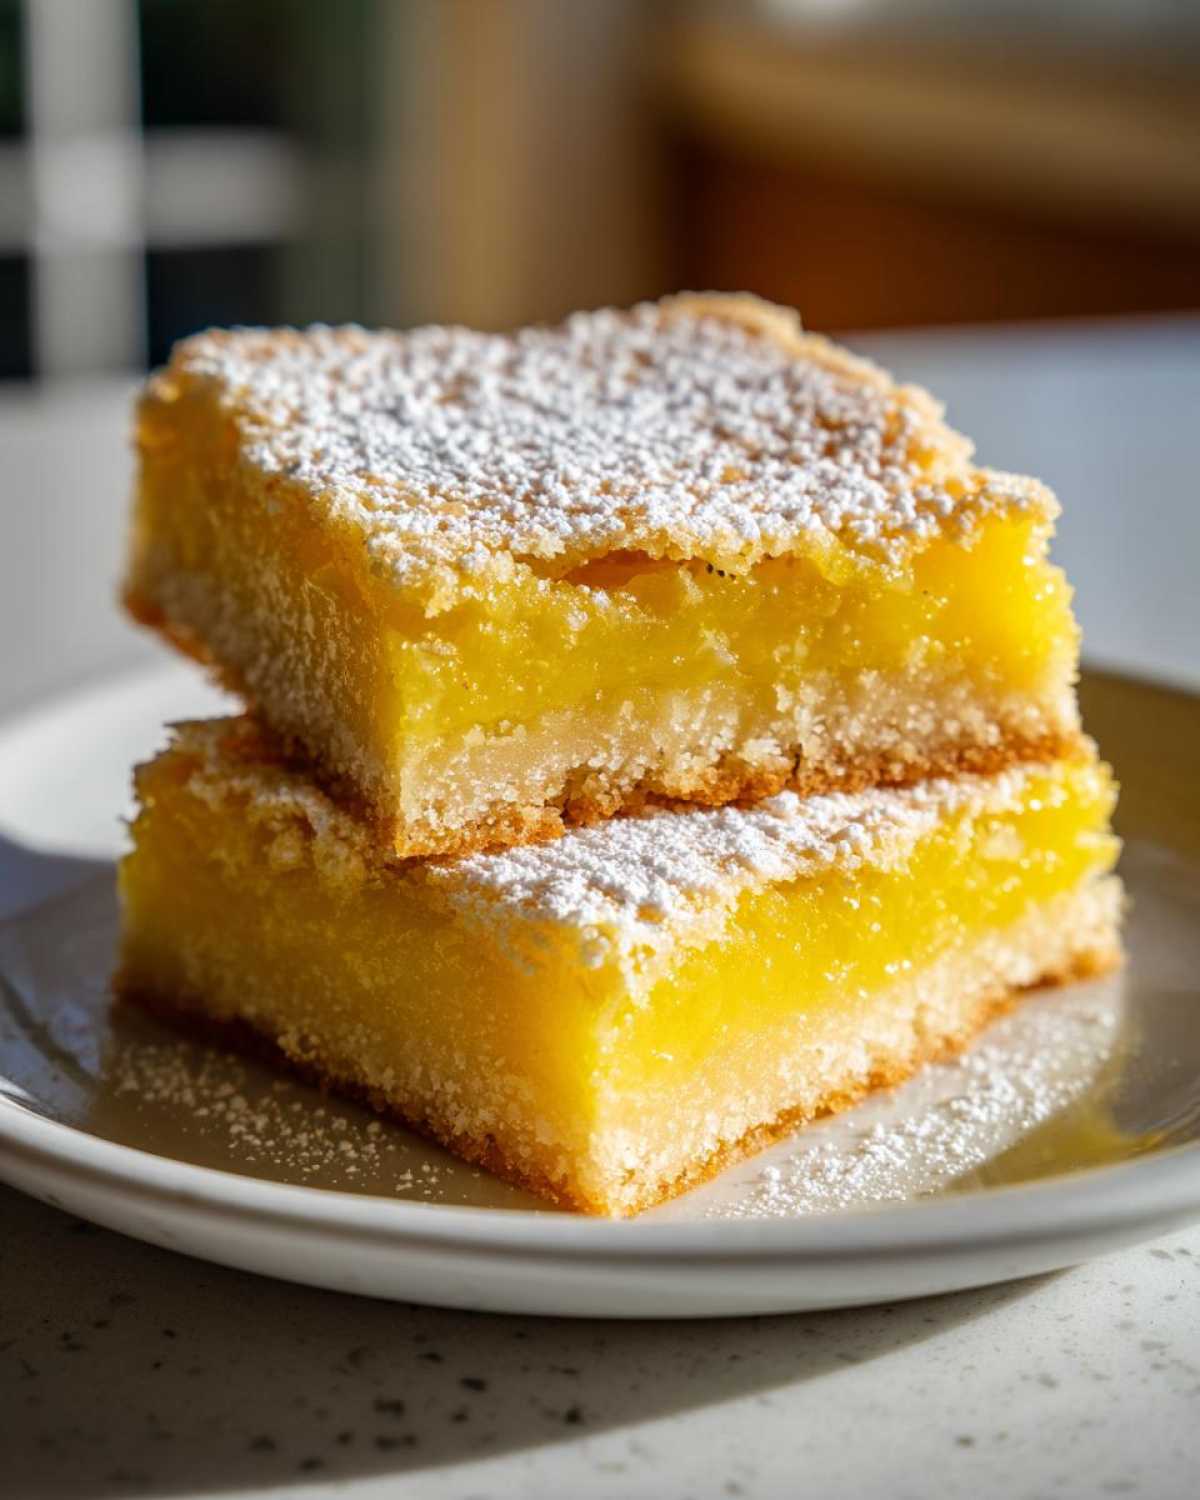
Now, for that picture-perfect dusting of powdered sugar, my favorite way is to sift it over the *completely cooled* bars. You can use a fine-mesh sieve or even a little flour sifter. Don’t go overboard at first; you can always add more! For slicing, this is a big one: use a really sharp knife! And here’s the pro move – wipe the knife clean with a damp cloth between *each* cut. It makes such a difference and gives you those super clean edges you see in pretty food photos!
If you’re curious about how other recipes turn out, you might like my easy lemon bars or my apple butter slow cooker recipe. Sometimes knowing what works in other bakes helps give you confidence in your own kitchen!
Serving and Storing Your Tangy Lemon Dessert
Alright, the moment of truth! Once your lemon bars are completely cool and dusted with that lovely snowy blanket of powdered sugar, they’re ready to be devoured. Just a gentle dusting is usually perfect, but if you’re feeling extra generous, go for it! These are the ultimate tangy lemon dessert, and they’re just divine on their own. They also pair beautifully with a light cup of tea or maybe even a refreshing glass of lemonade. If you’re planning a picnic or need to prep ahead, you’re in luck because these are fantastic make ahead bars!
For storage, keep them in an airtight container at room temperature for up to 3 days. They’re pretty stable like that! If your kitchen is super warm or you want them to last a bit longer, pop them in the refrigerator for up to a week. For even longer storage, you can totally freeze these beauties for up to 3 months! Just wrap them up really well in plastic wrap first, then tuck them into a freezer bag or container. I find baking things like these apple oatmeal muffins or this pumpkin cinnamon roll casserole ahead of time really saves my sanity during busy weeks!
Frequently Asked Questions about Lemon Bars
Got a few lingering questions about whipping up these easy lemon bars? Don’t worry, I’ve got you covered! It’s totally normal to have a few queries when you’re aiming for lemon bar perfection. If you want more baking insights, you can always check out my about page!
Can I use bottled lemon juice instead of fresh?
Oh, I know it’s tempting when you’re in a pinch, but please, please try to use fresh lemon juice for these! Bottled juice just doesn’t have that bright, vibrant, truly tangy flavor that makes these bars so special. The fresh stuff is really the key to that perfect tangy lemon dessert. It makes all the difference, trust me!
My lemon filling didn’t set completely. What went wrong?
No worries, it happens to the best of us! Usually, this means the filling just needed a little more bake time. The eggs and flour are what help it set, and sometimes ovens can run a bit cool. Next time, try baking it for a few minutes longer, until the center looks firm and doesn’t jiggle like a bowl of pudding. It should look set, not wet, when you take it out. That’s how you get those beautiful, clean cuts!
How can I make the crust thicker or thinner?
Great question! If you want a thicker crust for your easy lemon bars, just press the dough a bit firmer into the pan, or even use a little extra dough if you want to go really thick. For a thinner crust, just press it out a bit thinner. Keep in mind that a thicker crust might need an extra minute or two in the oven before you add the filling. That shortbread crust is so forgiving!
Are these good to make ahead for spring desserts?
Absolutely! These lemon bars are practically made for making ahead, which is why they’re such fantastic spring desserts or picnic treats. You can bake them a day or two in advance, let them cool completely, dust them with powdered sugar, and store them in an airtight container. They’re actually even better after a day, letting those flavors really meld together!
What to Pair with Your Lemon Bars
These lemon bars are sunshine in a bite, right? They’re just perfect on their own, but if you’re planning a picnic or a little get-together, they play so nicely with other things! Imagine a spread with some fresh cucumber tomato salad – that cool crispness is a great contrast to the tangy lemon. Or maybe some easy veggie fajita wraps? They’re so easy to pack and share. And for something a little sweet and smoky, a drizzle of my easy homemade honey BBQ sauce on some grilled chicken skewers hits the spot before you finish with dessert. It’s all about those simple, fresh flavors that just feel right for spring!
Nutritional Information for These Lemon Bars
Just a friendly heads-up, the nutritional info below is an estimate, based on how I make these yummy bars. It can totally change depending on exactly what you use! But overall, each one gives you about 200 calories, 10g of fat, and a good amount of carbs and sugar to give you a nice little energy boost.
Share Your Lemon Bar Creations!
I just *love* seeing what you all create in your kitchens! Did you make these lemon bars? If you did, I’d be absolutely thrilled if you’d share your photos and tell me how they turned out. Feel free to leave a rating right here on the page or tag me on social media – you can find me over at Pure Cooking Joy on Facebook! It makes my whole day to see your delicious results!
PrintEasy Lemon Bars with Shortbread Crust

Bright and tangy lemon bars with a buttery shortbread crust, perfect for spring picnics or make-ahead treats.
- Prep Time: 20 min
- Cook Time: 40 min
- Total Time: 60 min
- Yield: 24 bars 1x
- Category: Dessert
- Method: Baking
- Cuisine: American
- Diet: Vegetarian
Ingredients
- 1 cup (2 sticks) unsalted butter, softened
- 1/2 cup granulated sugar
- 1 teaspoon vanilla extract
- 2 cups all-purpose flour
- 1/4 teaspoon salt
- 4 large eggs
- 1 1/2 cups granulated sugar
- 1/3 cup all-purpose flour
- 1/4 cup fresh lemon juice
- 1 tablespoon lemon zest
- Powdered sugar, for dusting
Instructions
- Preheat your oven to 350°F (175°C). Grease and flour a 9×13 inch baking pan.
- For the crust: In a medium bowl, cream together the softened butter and 1/2 cup sugar until light and fluffy. Beat in the vanilla extract.
- In a separate bowl, whisk together 2 cups flour and salt. Gradually add the dry ingredients to the butter mixture, mixing until just combined.
- Press the dough evenly into the prepared baking pan. Bake for 15-20 minutes, or until lightly golden.
- While the crust bakes, prepare the lemon filling: In a medium bowl, whisk together the eggs and 1 1/2 cups sugar until well combined.
- Whisk in 1/3 cup flour until smooth. Stir in the fresh lemon juice and lemon zest.
- Pour the lemon filling evenly over the hot baked crust.
- Return the pan to the oven and bake for an additional 20-25 minutes, or until the filling is set and the edges are lightly golden.
- Let the bars cool completely in the pan on a wire rack.
- Once cooled, dust generously with powdered sugar. Cut into squares.
Notes
- For a clean slice, use a sharp knife and wipe it clean between cuts.
- Store lemon bars in an airtight container at room temperature for up to 3 days, or in the refrigerator for up to a week.
- You can freeze lemon bars for up to 3 months. Wrap them tightly in plastic wrap and then in foil.
Nutrition
- Serving Size: 1 bar
- Calories: 200
- Sugar: 25g
- Sodium: 30mg
- Fat: 10g
- Saturated Fat: 6g
- Unsaturated Fat: 4g
- Trans Fat: 0g
- Carbohydrates: 28g
- Fiber: 1g
- Protein: 2g
- Cholesterol: 50mg
