 Skip to content
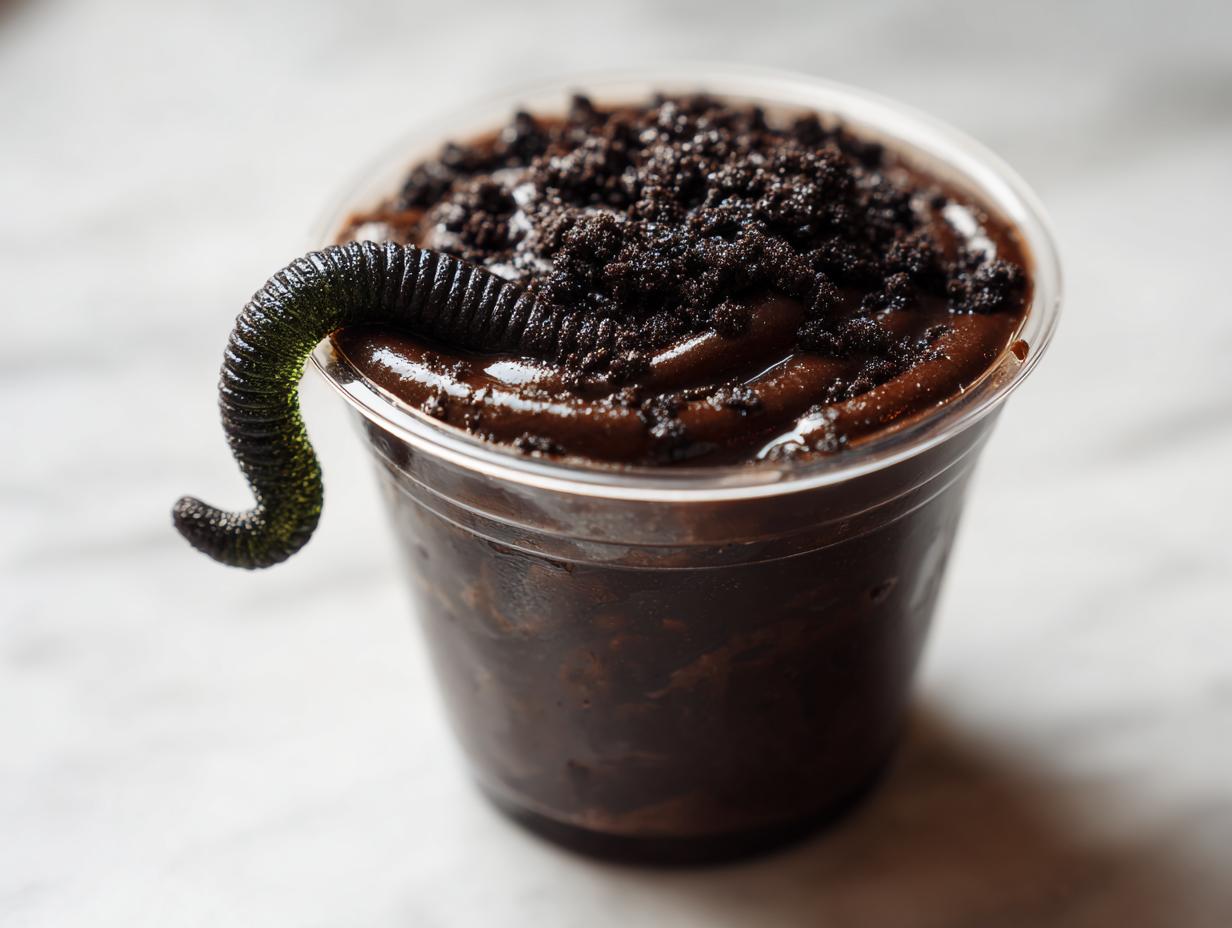

Alright, so Halloween night is coming up fast, and if you’re like me, you love making those fun, spooky treats that just scream ‘October 31st’! There’s something so special about whipping up a batch of halloween dirt cups with the kids. It’s a total blast seeing their little faces light up as they help assemble these creepy-crawly graveyard delights. Honestly, getting into the kitchen and creating something fun, even for just a little bit, brings me so much pure joy, kind of like finding that perfect loaf of bread after a long day. These graveyard pudding cups are ridiculously easy, and they’re the perfect way to bring a little edible magic and a whole lot of accomplishment to your celebration. They’re just pure, unadulterated Halloween fun!
- Why You'll Love These Halloween Dirt Cups
- Gather Your Ingredients for Halloween Dirt Cups
- Step-by-Step Guide to Making Halloween Dirt Cups
- Tips for Perfectly Spooky Halloween Dirt Cups
- Ingredient Notes and Substitutions for Oreo Dirt
- Frequently Asked Questions about Halloween Dirt Cups
- Serving and Storing Your Spooky Treats
- Nutritional Estimate for Halloween Graveyard Pudding Cups
- Share Your Halloween Dirt Cup Creations!
Why You’ll Love These Halloween Dirt Cups
Seriously, these cups are a winner!:
- Super easy to whip up, perfect for little helpers.
- Taste amazing – chocolatey, crunchy, and just plain fun!
- They make the perfect spooky dessert for any Halloween bash.
- Minimal mess, maximum smiles from the kiddos.
- A fantastic kids Halloween treat that’s always a hit.
- Great party food ideas that are always a crowd-pleaser.
Gather Your Ingredients for Halloween Dirt Cups
Alright, let’s get everything together for our halloween dirt cups! The beauty of these graveyard pudding cups is how simple the ingredient list is. You’ll just need:
- One 3.9-ounce package of chocolate instant pudding mix (the kind you just add milk to!).
- 2 cups of milk – chocolate milk works too if you want extra richness, just a little tip!
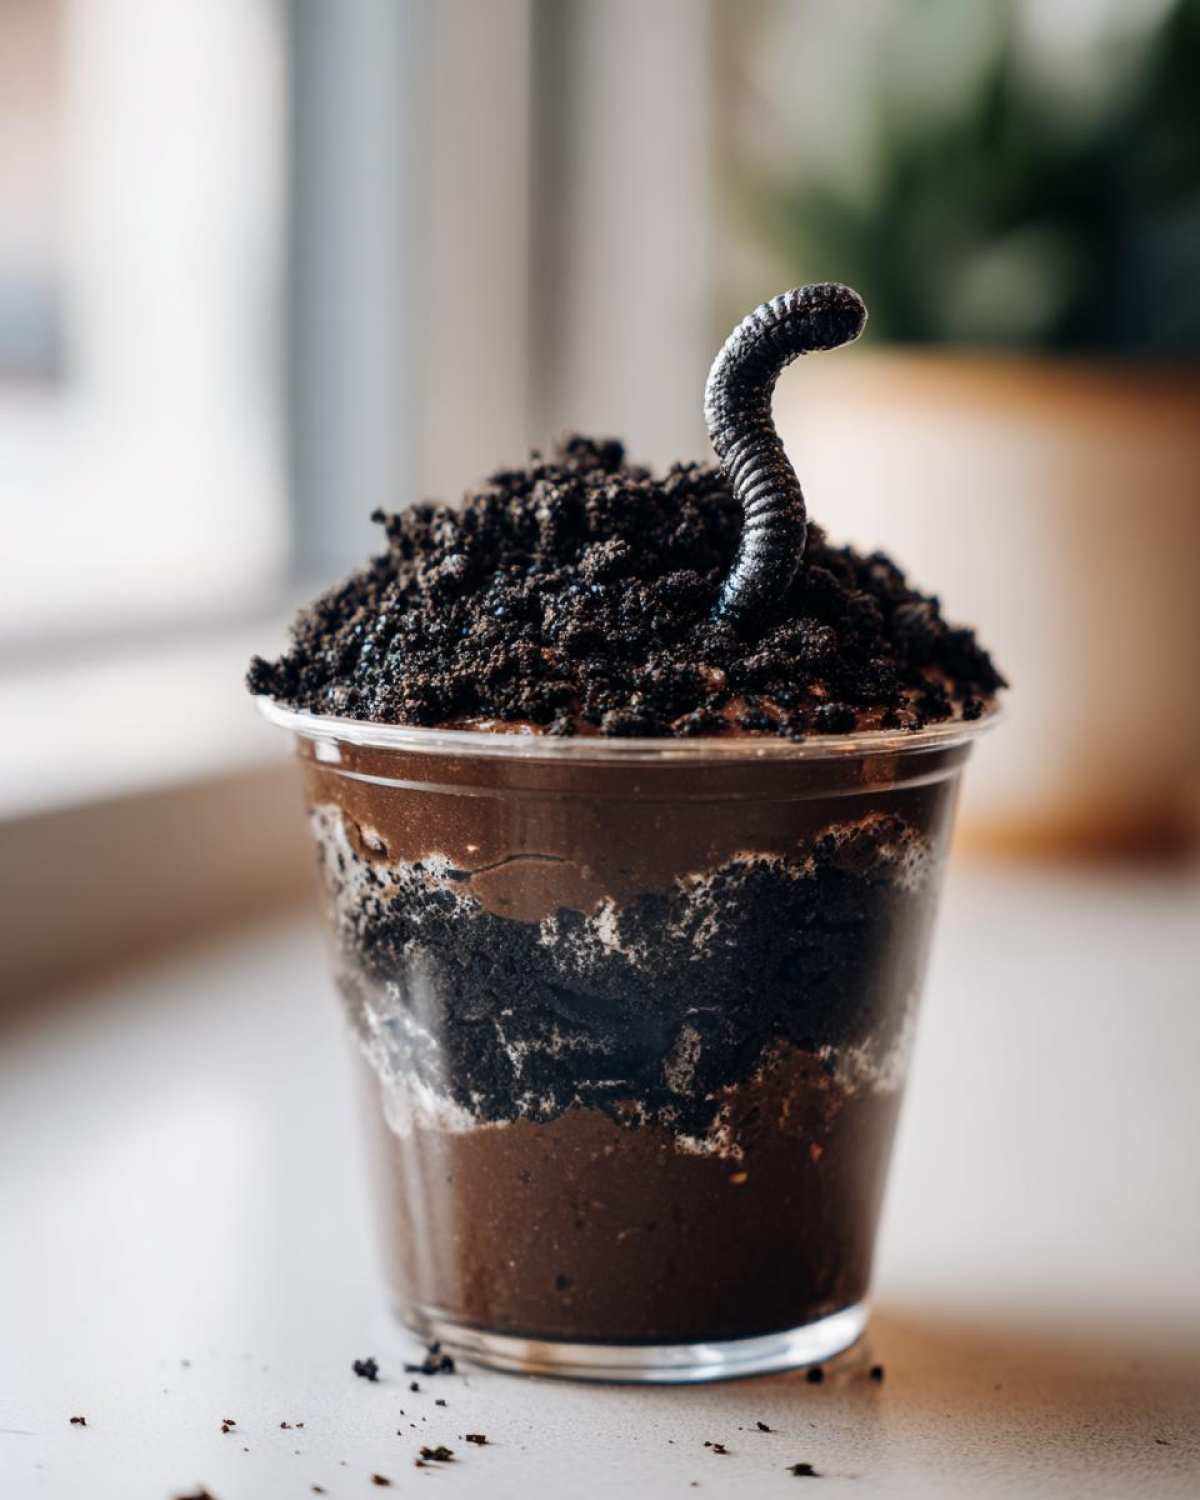
- One 14.3-ounce package of Oreo cookies – these are going to be our spooky dirt.
- About a quarter cup of gummy worms; you want enough to make them look like they’re crawling out of the dirt.
- And for that extra Halloween oomph, some Halloween-themed candy toppers, like little pumpkins, ghosts, or candy eyeballs if you have them!
Step-by-Step Guide to Making Halloween Dirt Cups
Alright, let’s get these spooky graveyard pudding cups assembled! It’s honestly the best part, pulling it all together. Here’s exactly how we do it, step-by-step:
Preparing the Chocolate Pudding
First up, we gotta make the delicious chocolate pudding base for our halloween dirt cups. Just grab your instant pudding mix and the milk, and whisk them together in a good-sized bowl. Give it about 5 minutes to chill out and thicken up on its own. Don’t rush this part; it really helps get that perfect pudding texture!
Creating the Oreo ‘Dirt’
Now for the ‘dirt’! This is the fun part where we get our hands a little messy. Take your whole Oreo cookies and pop them into a resealable plastic bag. My trick is to really get them crushed nicely – use a rolling pin, the bottom of a sturdy glass, or even just your hands if you want to build up some spooky energy. You want nice, coarse crumbs, not dust; it makes the dirt look more realistic!
Assembling Your Graveyard Pudding Cups
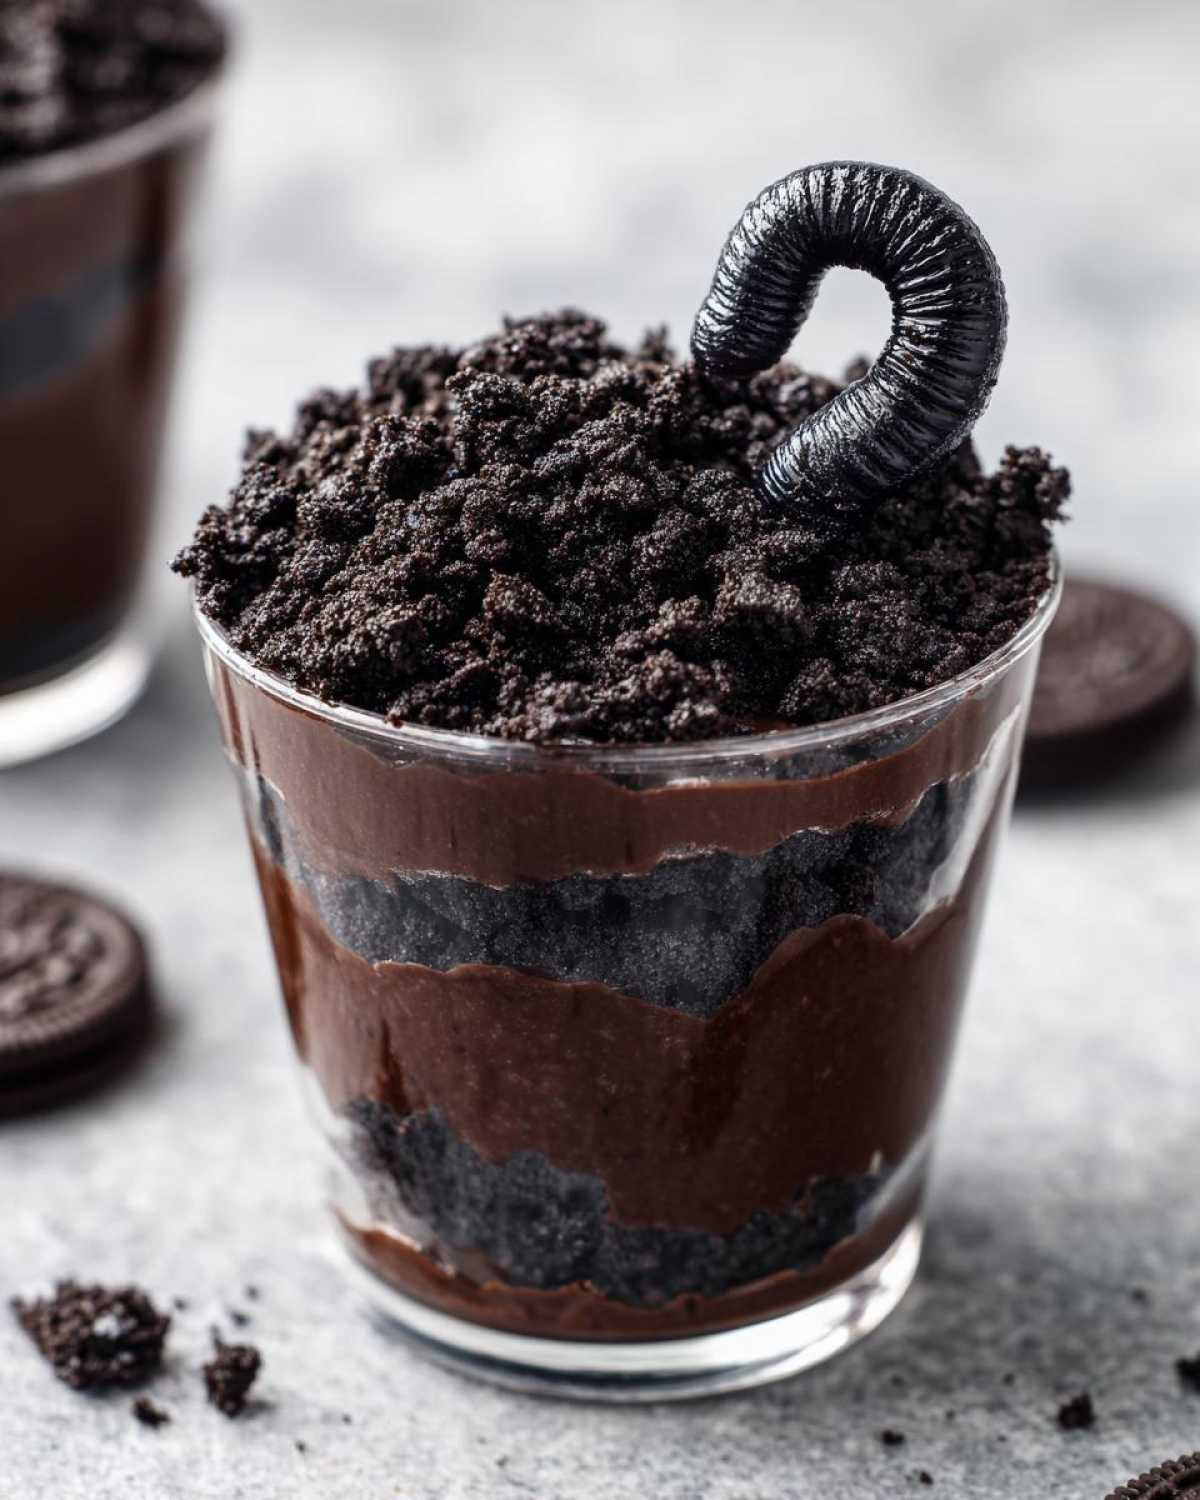
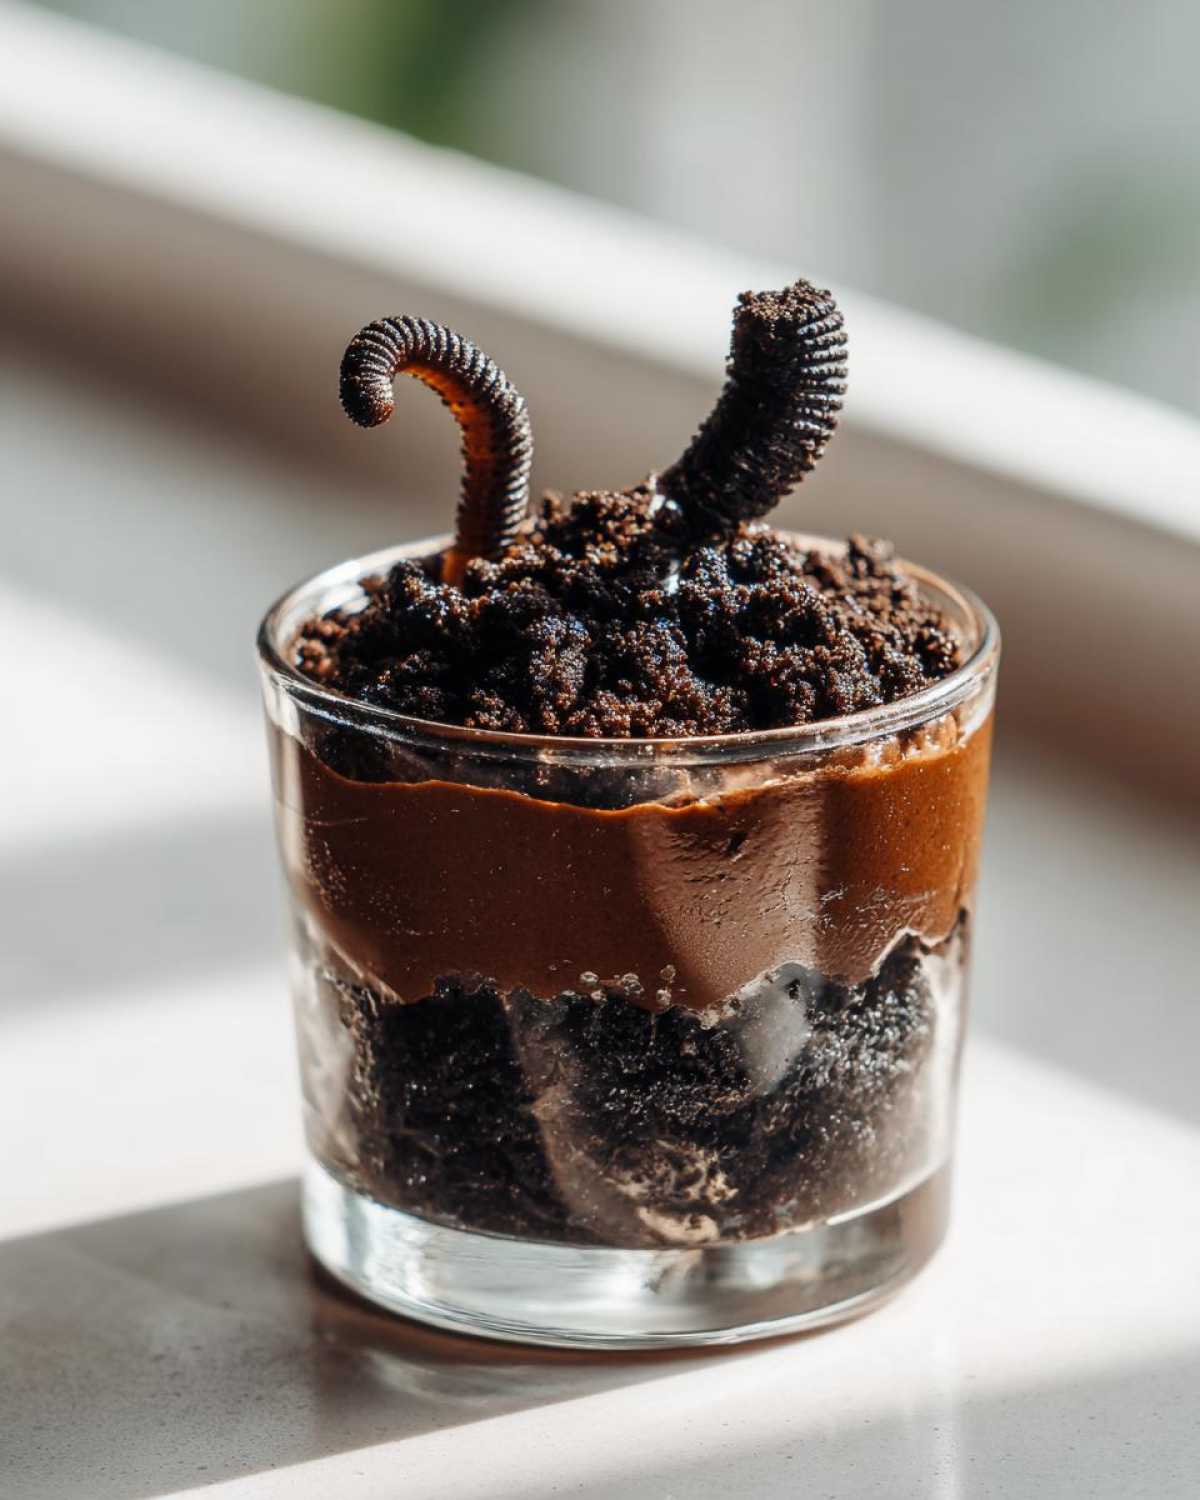
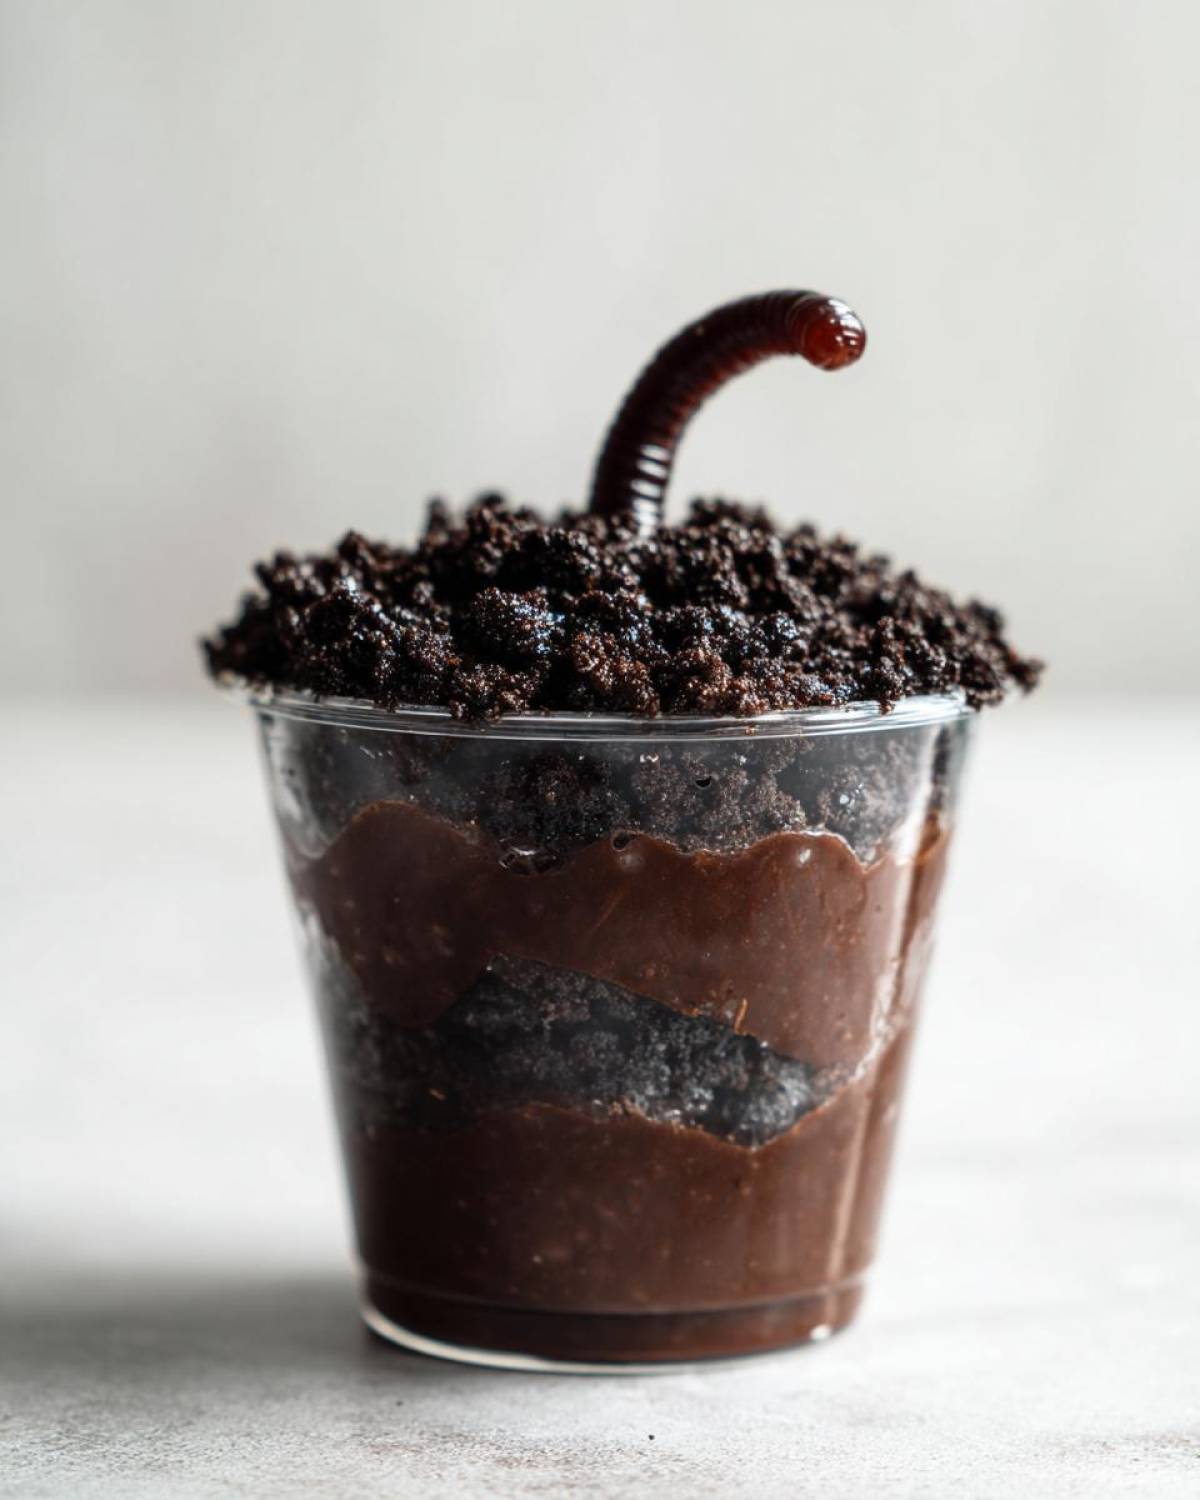
Time to build our little graveyards! Grab your clear cups – the clear ones really let you see all the layers. Spoon some of that luscious chocolate pudding into the bottom of each cup. Then, sprinkle a generous layer of your crushed Oreo ‘dirt’ right over the pudding. It should look like a fresh patch of earth, ready for some graveyard residents. This is where those graveyard pudding cups start to really come alive!
Adding Spooky Decorations
Okay, this is where the magic truly happens! Take your gummy worms and gently stick them into the Oreo dirt layer. Let some of them wiggle out over the sides, like they’re trying to escape! If you’ve got any fun Halloween candy toppers, now’s the time to add those little festive touches. Think candy pumpkins, little ghosts, or even those creepy candy eyeballs. Get creative – the spookier, the better!
Chilling Your Halloween Dirt Cups
We’re almost there! Just pop these beauties in the fridge for at least 30 minutes. This chilling time helps everything set up nicely and lets those flavors really meld together. Trust me, they taste even better when they’re nice and cool!
Tips for Perfectly Spooky Halloween Dirt Cups
Okay, so you’ve got the basics down, but let’s really make these spooky dessert creations shine! A little extra care goes a long way. Sometimes, a touch of chocolate milk instead of regular milk really bumps up the flavor – it’s a secret weapon I love to use. If you want an extra creamy layer, try piping or spooning a bit of whipped cream right on top of the pudding before you add the Oreo dirt. And don’t be afraid to get really creative with those gummy worms! Have some peeking out from different angles, or even have a whole bunch clustered together. The more dramatic, the better!
Ingredient Notes and Substitutions for Oreo Dirt
When you’re making these fun halloween dirt cups, the ingredients are pretty straightforward, but let’s talk a bit about making them your own! The classic choice for that amazing ‘dirt’ is definitely Oreos, but if you can’t find them or want a change, chocolate graham crackers or even chocolate wafer cookies work wonderfully for the ‘oreo dirt’ effect. For the pudding, while chocolate is king here, you could totally experiment with butterscotch or vanilla pudding for a different vibe, though the chocolate really makes those gummy worms pop! Just make sure you’re using instant pudding, as it’s designed to thicken up fast without cooking, making these cups super simple.
Frequently Asked Questions about Halloween Dirt Cups
Got questions about making these fun halloween dirt cups? I’ve got you covered! It’s all about making your party prep as easy and fun as possible.
Can I make these ahead of time?
Oh, absolutely! These graveyard pudding cups are actually best made a few hours ahead of time. It gives the flavors a chance to really meld together and the cookies a little time to soften just slightly. Just keep them chilled in the fridge until you’re ready to serve.
What other candies work well?
Get creative! Besides gummy worms and candy toppers, you can totally add candy pumpkins, candy eyeballs, or even some sour gummy worms for a different flavor kick. A little sprinkle of edible glitter can add a magical touch, too. Anything that looks spooky or fits the graveyard theme works great!
Can I use a different pudding flavor?
While chocolate is the classic for that dark, earthy look, feel free to experiment! Butterscotch or even vanilla pudding can work if you’re aiming for a different graveyard vibe. Just make sure you’re sticking with instant pudding so it thickens up nicely without any cooking.
Are these suitable for very young children?
Definitely! These halloween dirt cups are a huge hit with little ones, both for making and eating. Just be mindful of the gummy worms and any small candy toppers if you have very young children who might be tempted to eat them whole – you can always chop the worms into smaller pieces for safety.
Serving and Storing Your Spooky Treats
These kids halloween treat cups are best served nice and cold, straight from the fridge. It really just makes the pudding that much more delicious and the cookie crumbs get a little soft but still have a nice bite. If you happen to have any leftovers (which is pretty rare in my house!), just pop them back into the refrigerator. They should stay good for about a day or two, but honestly, they’re the absolute best when they’re fresh or made earlier that same day.
Nutritional Estimate for Halloween Graveyard Pudding Cups
Just a heads-up, these delicious halloween graveyard pudding cups are a treat, so the nutrition info is an estimate! One cup generally has around 350 calories, about 35g of sugar, 15g of total fat, and 50g of carbohydrates. Remember, this can change a bit based on your specific ingredients, especially if you add extra candy!
Share Your Halloween Dirt Cup Creations!
I absolutely LOVE seeing what you all make in your own kitchens! If you whip up these halloween dirt cups, or even just put your own fun spin on them, please, please share it with me! Drop a picture in the comments below – I’d be thrilled to see your spooky graveyards and hear all about how your parties went. Your creativity always inspires me!
PrintHalloween Graveyard Dirt Cups
Create fun and spooky graveyard pudding cups for your Halloween party. These kid-friendly treats feature chocolate pudding, crushed Oreo cookies, gummy worms, and festive toppers.
- Prep Time: 15 min
- Cook Time: 0 min
- Total Time: 15 min
- Yield: 6 servings 1x
- Category: Dessert
- Method: No Bake
- Cuisine: American
- Diet: Vegetarian
Ingredients
- 1 package (3.9 oz) chocolate instant pudding mix
- 2 cups milk
- 1 package (14.3 oz) Oreo cookies
- 1/4 cup gummy worms
- Halloween-themed candy toppers (optional)
Instructions
- Prepare the pudding: Whisk together the chocolate pudding mix and milk in a bowl. Let it sit for 5 minutes to thicken.
- Crush the Oreos: Place the Oreo cookies in a resealable plastic bag and crush them into coarse crumbs using a rolling pin or the bottom of a glass.
- Assemble the cups: Spoon a layer of chocolate pudding into the bottom of clear plastic cups or small bowls.
- Add the dirt: Sprinkle a layer of crushed Oreo cookies over the pudding to resemble dirt.
- Add the worms: Insert a few gummy worms into the dirt layer, letting some hang out.
- Decorate: Add any optional Halloween-themed candy toppers, such as candy pumpkins or ghosts.
- Chill: Refrigerate the dirt cups for at least 30 minutes before serving.
Notes
- For a richer flavor, use chocolate milk instead of regular milk.
- You can add a layer of whipped cream between the pudding and the cookie crumbs for extra creaminess.
- Get creative with your decorations! Use candy eyeballs or edible spiders for an even spookier look.
Nutrition
- Serving Size: 1 cup
- Calories: 350
- Sugar: 35g
- Sodium: 250mg
- Fat: 15g
- Saturated Fat: 5g
- Unsaturated Fat: 10g
- Trans Fat: 0g
- Carbohydrates: 50g
- Fiber: 2g
- Protein: 4g
- Cholesterol: 10mg
