 Skip to content
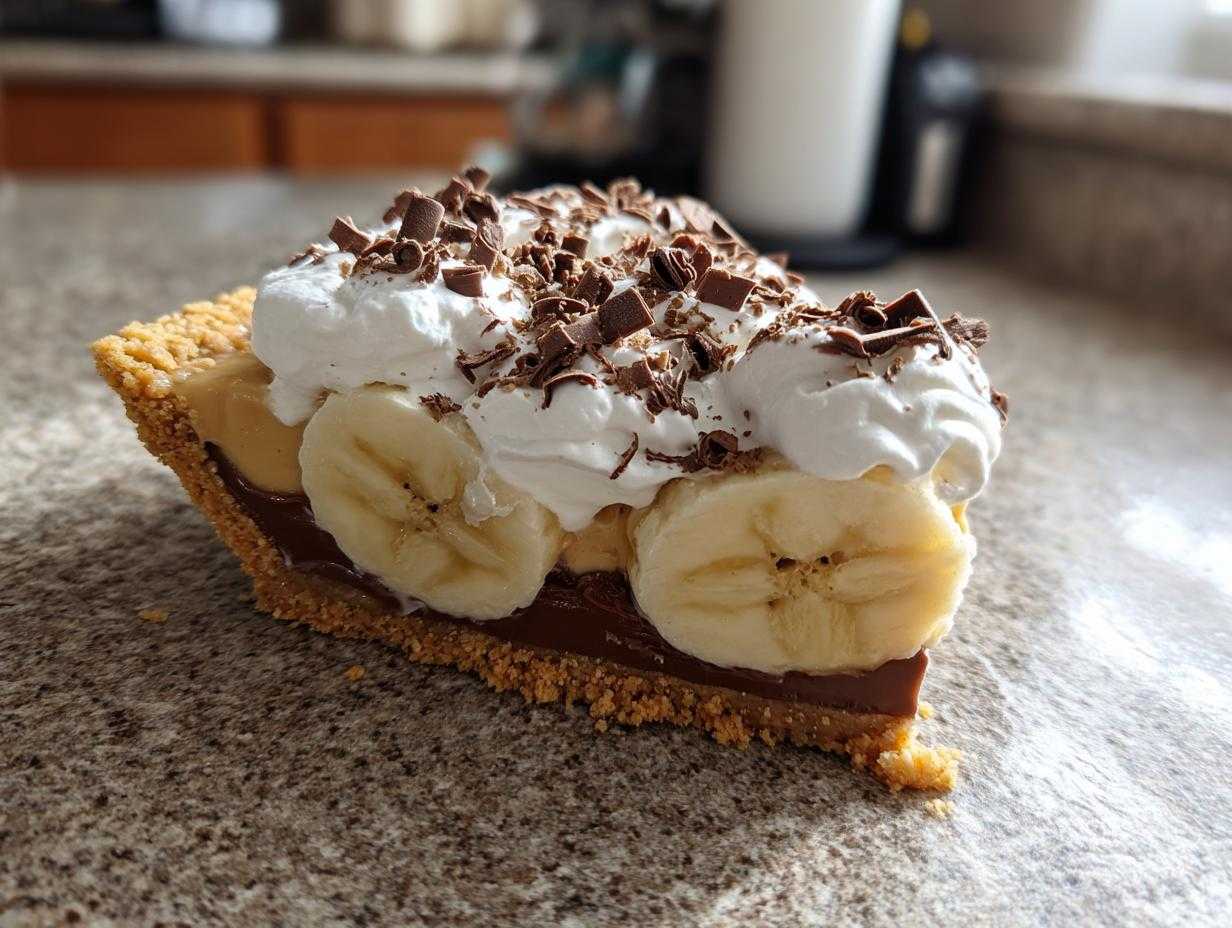

There’s just something magical about a dessert that tastes like pure happiness, right? I’m talking about those show-stopping treats that look like you spent hours slaving away, but really, they’re surprisingly simple. And my absolute favorite for just that? An easy, no-bake banoffee pie. Seriously, it’s a game-changer! I discovered how truly joyful baking could be when I started letting go of complicated recipes and embraced the simple stuff. It reminds me so much of how I felt when I first learned to make a simple loaf of bread – that feeling of creating something incredible with just a few ingredients and a little bit of love. This banoffee pie is exactly that feeling in dessert form, and trust me, it’s going to become your go-to for pretty much any occasion.
- Why You'll Love This Easy Banoffee Pie
- Gather Your Banoffee Pie Ingredients
- Crafting Your Perfect Banoffee Pie: Step-by-Step
- Tips for the Best Banoffee Pie
- Make-Ahead and Storage for Your Banoffee Pie
- Frequently Asked Questions About Banoffee Pie
- Nutritional Estimate for Banoffee Pie
- Share Your Banoffee Pie Creations!
Why You’ll Love This Easy Banoffee Pie
There are so many reasons why this banoffee pie is a total winner:
- Seriously Simple: No fancy techniques or tricky baking needed! You don’t even need an oven.
- Quick to Make: Most of the magic happens in under 40 minutes, leaving you plenty of time for other things.
- Crowd-Pleaser Guaranteed: This banana and toffee combo is just irresistible. Everyone always asks for seconds (and thirds!).
- Perfect for Parties: You can totally make this pie ahead of time, which is a lifesaver when you’re entertaining.
- Pure Comfort Food: It hits all the right notes – sweet, creamy, a little bit crunchy, and totally decadent.
- A Taste of Britain: If you love classic British desserts, this banoffee pie is an absolute must-try.
Gather Your Banoffee Pie Ingredients
Alright, let’s get our ducks in a row and gather everything we need for this dreamy banoffee pie. The beauty of this recipe is how simple the ingredients are, but picking good quality ones really makes a difference, trust me. You’ll want about a cup and a half of graham cracker crumbs – you can buy them or just crush up some graham crackers yourself. Then we’ll need a little granulated sugar and some melted butter to bind it all together for that lovely crust. For the star of the show, the toffee layer, we’ll use a can of sweetened condensed milk, some light brown sugar for that extra caramel depth, a touch more butter, and a splash of vanilla extract. Make sure you have three nice ripe bananas, ready to be sliced, and about a cup of heavy cream that we’ll whip up to perfection. Oh, and don’t forget some chocolate shavings for that gorgeous finishing touch!
Crafting Your Perfect Banoffee Pie: Step-by-Step
Okay, so now that we’ve got all our goodies ready, let’s dive into putting this gorgeous banoffee pie together. It’s really more like building a delicious dessert masterpiece, and honestly, it’s so satisfying to see it come to life!
Preparing the Graham Cracker Crust
First things first, let’s get that crust sorted. Grab your graham cracker crumbs, that little bit of sugar, and pop in the melted butter. Give it a really good mix until it all looks like damp sand. Now, press this mixture evenly into the bottom and up the sides of your 9-inch pie plate. Really pack it down – a flat-bottomed glass or the bottom of a measuring cup works wonders here! This helps give our banoffee pie a nice firm base, and chilling it for about 10 minutes helps it set up firm.
Making the Quick Dulce de Leche
This is where the magic really happens! In a saucepan, combine that can of sweetened condensed milk with your light brown sugar. Cook this over medium heat, but *stir, stir, stir* constantly! You want it to thicken up and turn a lovely, rich caramel color, usually about 10 to 15 minutes. Keep stirring so it doesn’t burn on the bottom. Once it’s that perfect golden-brown, take it off the heat and stir in the butter and vanilla until it’s smooth and glossy. My little tip? If it looks a bit too thin, just give it another minute on the heat, stirring like crazy!
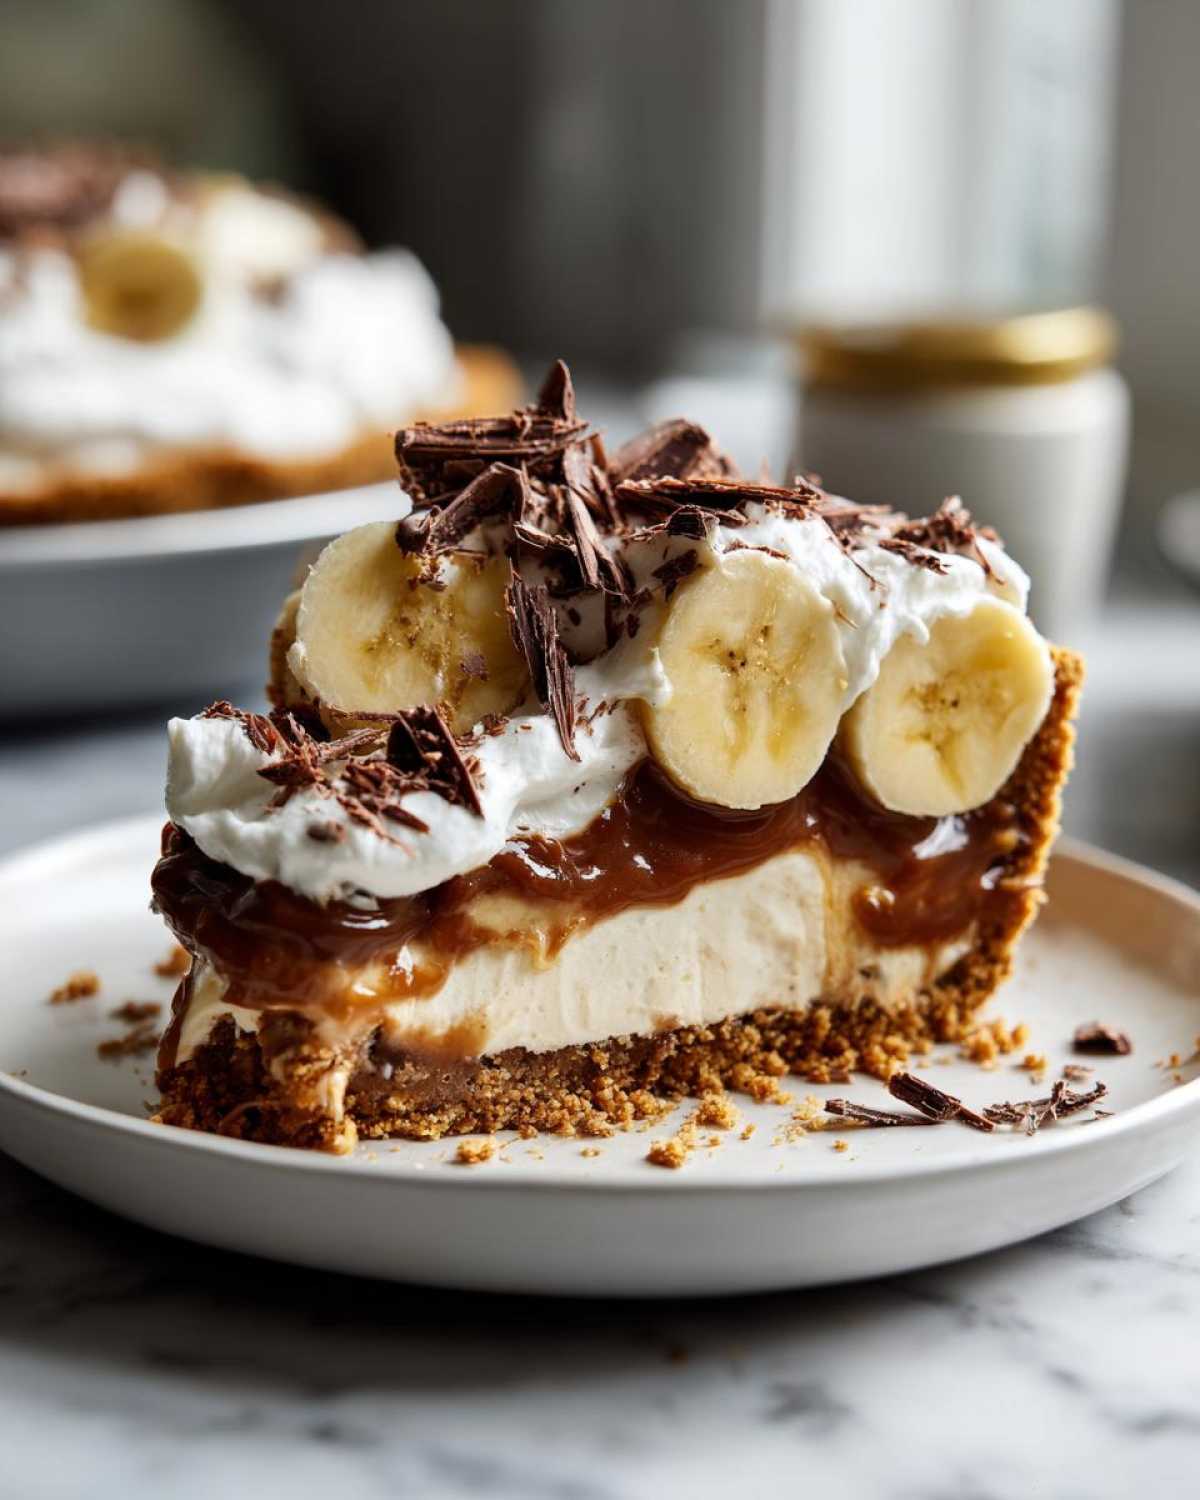
Assembling Your Banoffee Pie
Now for the fun part! Pour that luscious, homemade dulce de leche right into your chilled graham cracker crust. Try to get it as even as possible. Then, we’ll layer on those beautifully sliced bananas right over the toffee. It looks so pretty already! This is also where you can think about making ahead; you can do the crust and the caramel layer the day before, and then just add the bananas and cream when you’re ready to serve.
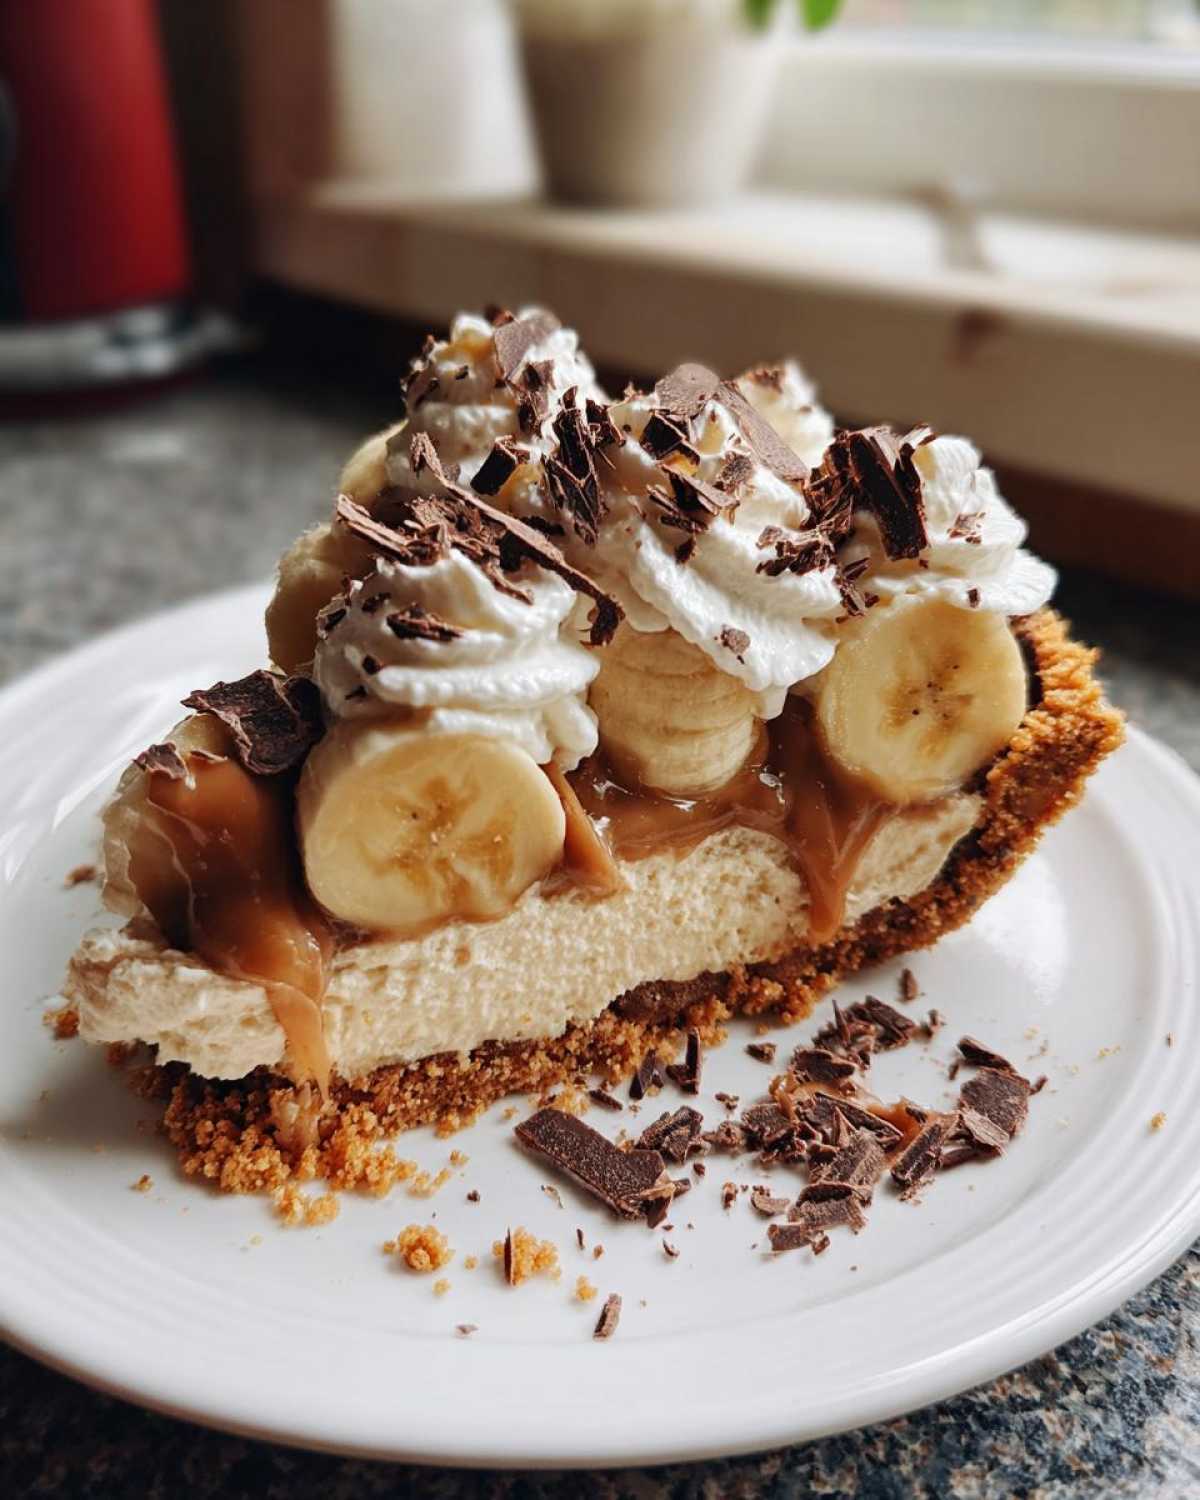
Chilling and Garnishing Your Banoffee Pie
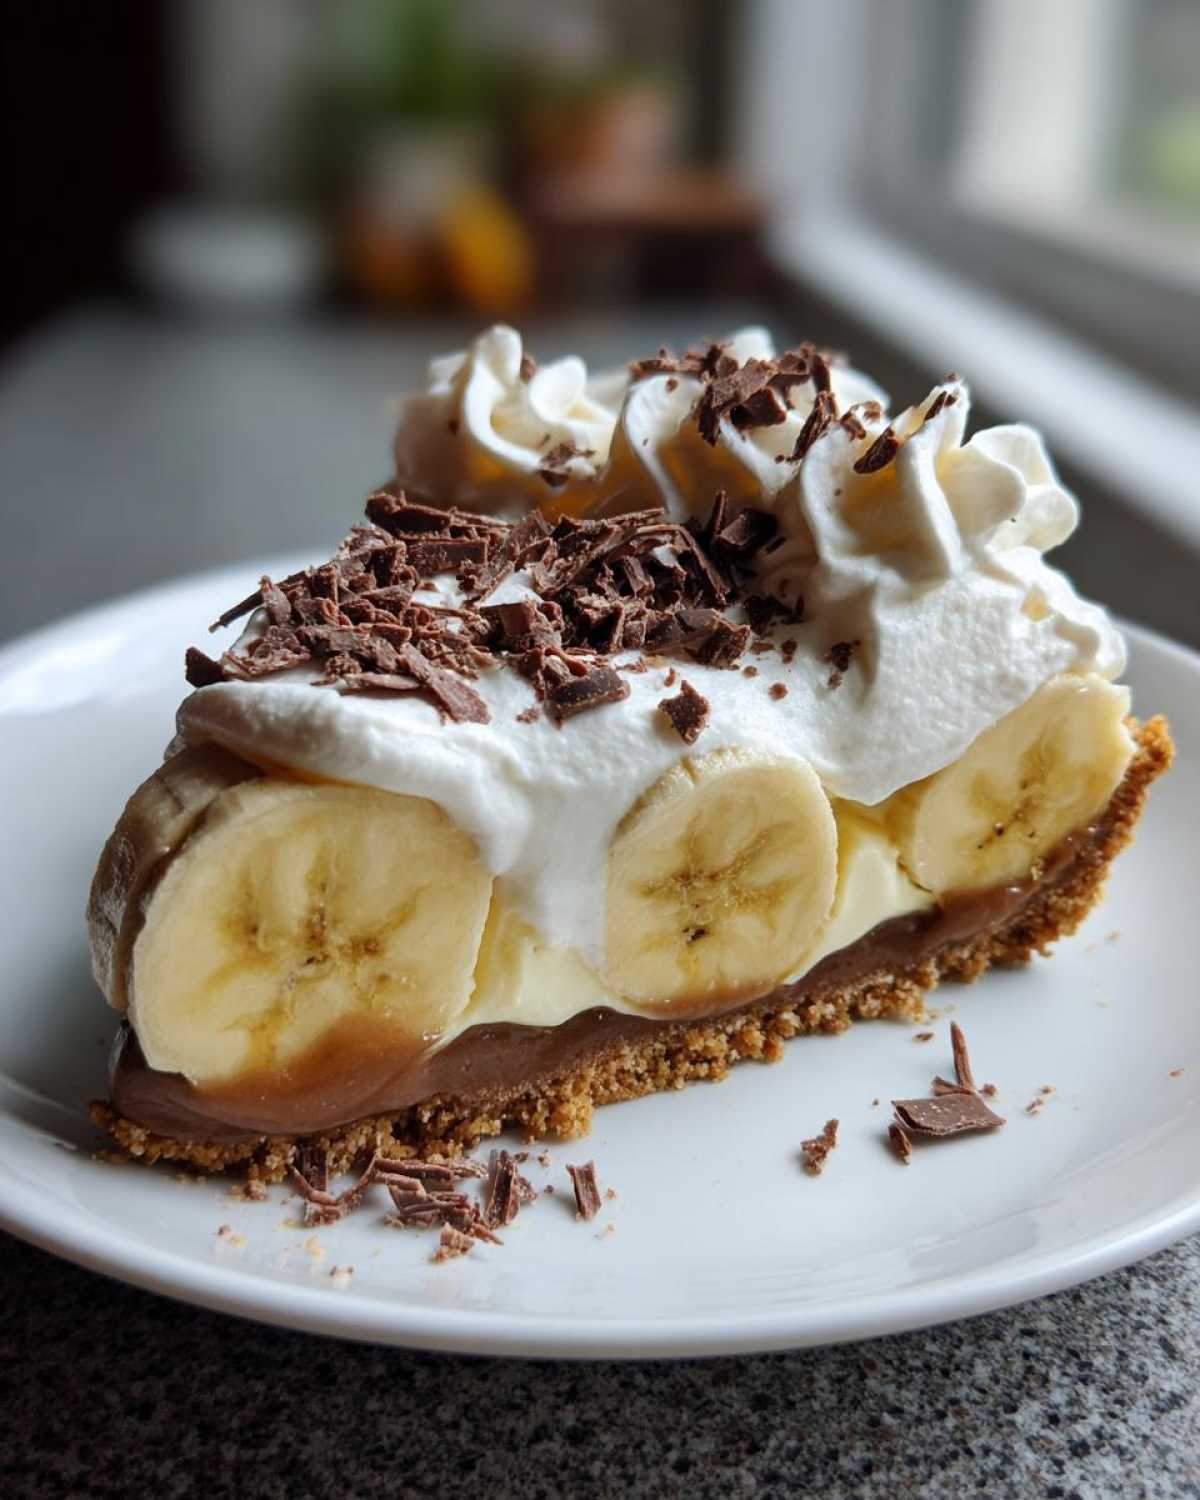
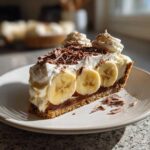
To make sure everything holds together perfectly, pop your almost-finished pie into the fridge for at least 2 hours. This lets all those layers meld together beautifully. Just before you’re ready to serve, whip up that heavy cream until it’s lovely and soft-peaked, then dollop it all over the bananas. A final flourish? Sprinkle some chocolate shavings over the top – it makes it look so professional and adds a little extra yummy-ness!

Tips for the Best Banoffee Pie
Okay, so we’ve whipped up this gorgeous banoffee pie, but let’s talk about how to make it absolutely *perfect* every single time. My biggest tip for this easy banoffee recipe is all about the bananas. You want them ripe, but not *too* ripe – you know, the ones that are just starting to get a few brown spots. These have the best flavor and are just soft enough without turning into mush. If your bananas are still a bit green, they just won’t have that lovely sweetness. For the dulce de leche, make sure you really stir it consistently! That constant stirring is key to getting that rich, thick caramel color without scorching it. If it looks a little thin when you first make it, don’t panic; it will thicken more as it cools and sets in the pie. And for the whipped cream, make sure your cream and your bowl are nice and cold. This helps it whip up to lovely soft peaks super easily. A little extra vanilla in the cream never hurt anyone, either!
Make-Ahead and Storage for Your Banoffee Pie
One of the best things about this banoffee pie is how perfectly it works for making ahead, which is such a lifesaver when you’re hosting! You can totally get the crust and the delicious dulce de leche layer done the day before. Just store them covered in the fridge. Then, on the day of your party, slice your bananas and layer them on. Whip your cream and add it right before serving. If you’re worried about the bananas browning, you can toss them gently with a tiny bit of lemon juice before layering. Any leftovers? Just cover the pie really well with plastic wrap and pop it back in the fridge. It’s usually best eaten within a day or two!
Frequently Asked Questions About Banoffee Pie
Got banoffee pie questions? I’ve got you covered! It’s one of those desserts that just sparks curiosity, and I’ve had plenty of people ask me their burning questions after they’ve tried it.
Can I use a pre-made crust for my banoffee pie?
Absolutely! While I love making the graham cracker crust from scratch, if you’re short on time, a good quality pre-made graham cracker crust works totally fine. Just follow the recipe for the filling and topping, and assemble it in the pre-made crust. Easy peasy!
How do I prevent the bananas from browning in my banoffee pie?
This is a super common concern! The easiest trick is to slice your bananas right before you layer them onto the dulce de leche. If you’re making it a little bit ahead, you can toss the banana slices gently with a tiny squeeze of lemon juice. It really helps keep them looking fresh and bright. The toffee layer also shields them a bit, which is nice!
Can I make banoffee jars instead of a pie?
Oh, I *love* this idea! Yes, you totally can! Just layer all the components – crumbs, dulce de leche, bananas, and whipped cream – into individual small jars or glasses. They look adorable and are perfect for individual servings or even for making ahead for picnics or little treat bags. It’s called a banoffee trifle or banoffee in a jar, and it’s just as delicious!
What’s the difference between this and a traditional baked banoffee pie?
Great question! A traditional baked banoffee pie often has a biscuit base that’s baked, and sometimes the toffee layer is made from boiling a can of condensed milk (which takes longer and is a bit more involved!). This no-bake version uses a simple graham cracker crust and a quick stovetop dulce de leche, making it much faster and easier, especially if you don’t want to turn on the oven. Plus, it’s perfectly creamy and delicious!
Nutritional Estimate for Banoffee Pie
Just a heads-up, this banoffee pie is definitely a treat! We’re looking at roughly 450 calories per slice. It’s got about 25g of fat, with 15g of that being saturated fat, and around 55g of carbohydrates. Of course, this is just an estimate, and it can really change depending on the exact brands you use and how generous you are with those toppings!
Share Your Banoffee Pie Creations!
I absolutely LOVE seeing your creations! Did you make this easy banoffee pie? Did your family devour it? Please leave a comment below and let me know how it turned out. And if you snap a pic, tag me on social media – I can’t wait to see your beautiful banoffee pies!
PrintEasy No-Bake Banoffee Pie
A simple, crowd-pleasing banana and toffee pie with a graham cracker crust. Perfect for making ahead for parties.
- Prep Time: 20 min
- Cook Time: 15 min
- Total Time: 35 min
- Yield: 8 servings 1x
- Category: Dessert
- Method: No-Bake
- Cuisine: British
- Diet: Vegetarian
Ingredients
- 1 1/2 cups graham cracker crumbs
- 1/4 cup granulated sugar
- 6 tablespoons unsalted butter, melted
- 1 (14 ounce) can sweetened condensed milk
- 1/4 cup packed light brown sugar
- 2 tablespoons unsalted butter
- 1 teaspoon vanilla extract
- 3 ripe bananas, sliced
- 1 cup heavy cream, whipped
- Chocolate shavings, for garnish
Instructions
- For the crust, combine graham cracker crumbs and granulated sugar in a bowl. Pour in melted butter and stir until combined. Press mixture evenly into the bottom and up the sides of a 9-inch pie plate. Chill for 10 minutes.
- For the dulce de leche, combine sweetened condensed milk and brown sugar in a saucepan over medium heat. Cook, stirring constantly, until thickened and caramel-colored, about 10-15 minutes. Remove from heat and stir in butter and vanilla extract until smooth. Let cool slightly.
- Pour the dulce de leche evenly into the chilled pie crust.
- Arrange sliced bananas over the dulce de leche layer.
- Top with whipped cream and garnish with chocolate shavings.
- Chill the pie for at least 2 hours before serving to allow it to set.
Notes
- You can make the dulce de leche ahead of time and store it in the refrigerator.
- For a firmer crust, bake it at 350°F (175°C) for 8-10 minutes before filling.
- This pie is best assembled a few hours before serving, or the day before.
Nutrition
- Serving Size: 1 slice
- Calories: 450
- Sugar: 50g
- Sodium: 150mg
- Fat: 25g
- Saturated Fat: 15g
- Unsaturated Fat: 10g
- Trans Fat: 0g
- Carbohydrates: 55g
- Fiber: 2g
- Protein: 5g
- Cholesterol: 60mg
